|
 |
![]()
![]()
![]()
|
|
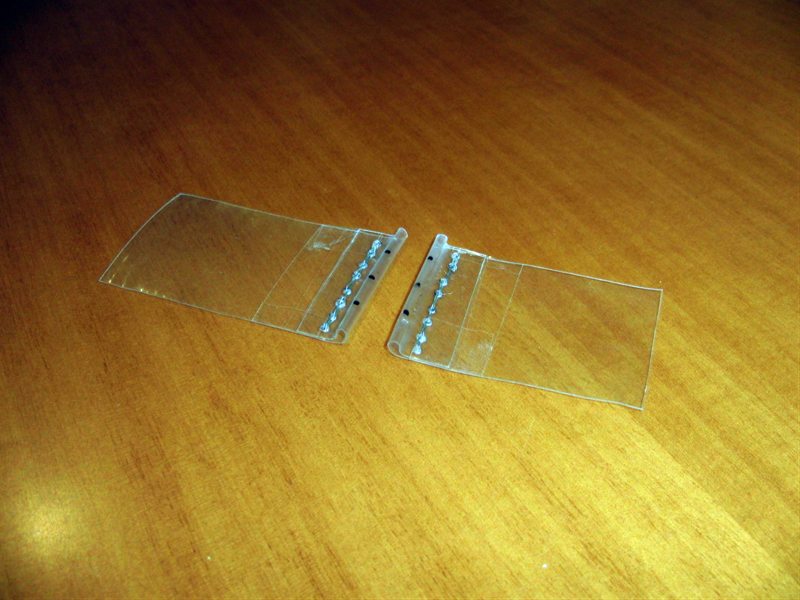
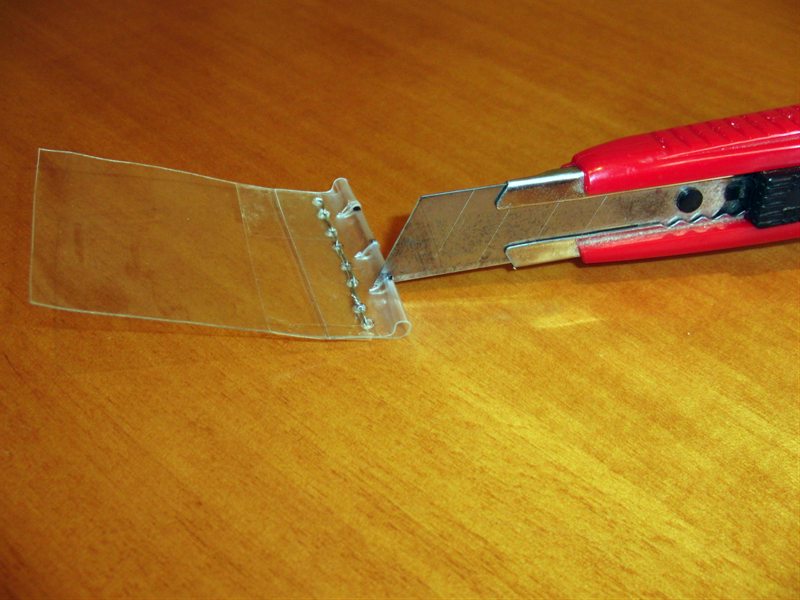
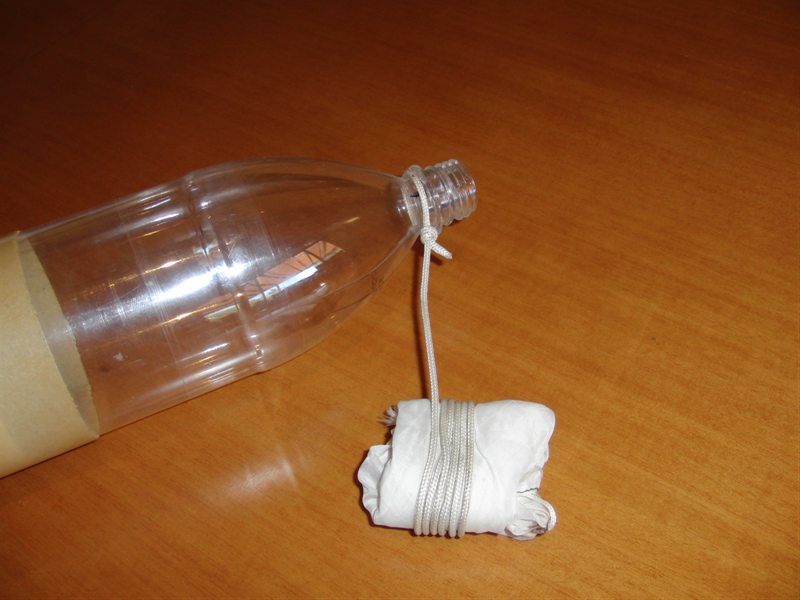
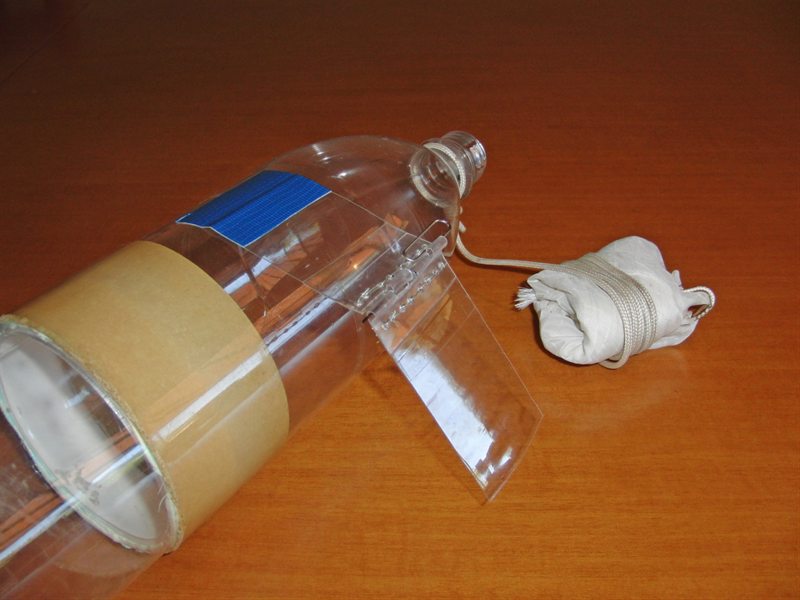
last updated: 3rd May 2026 - Day 245 - Launch Tubes #3 |
|
|
|
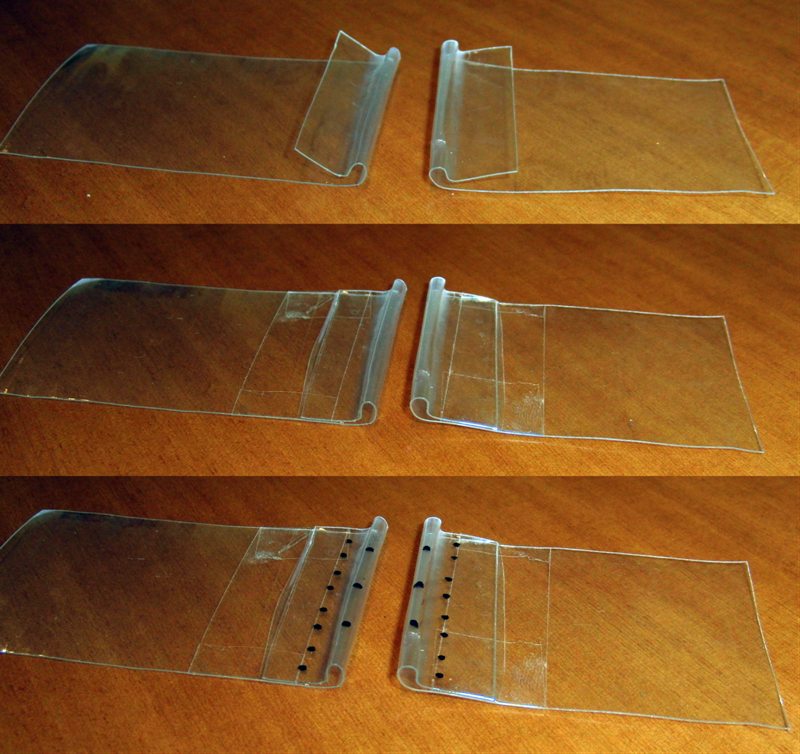
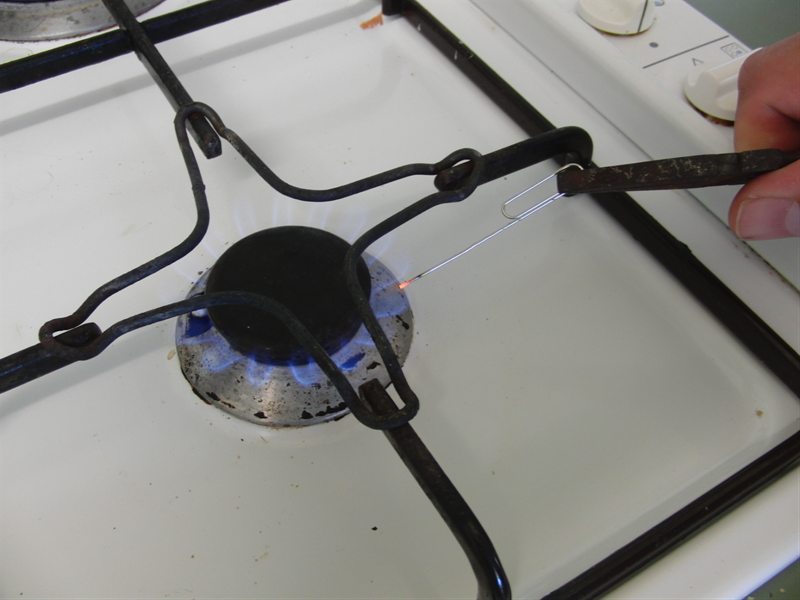
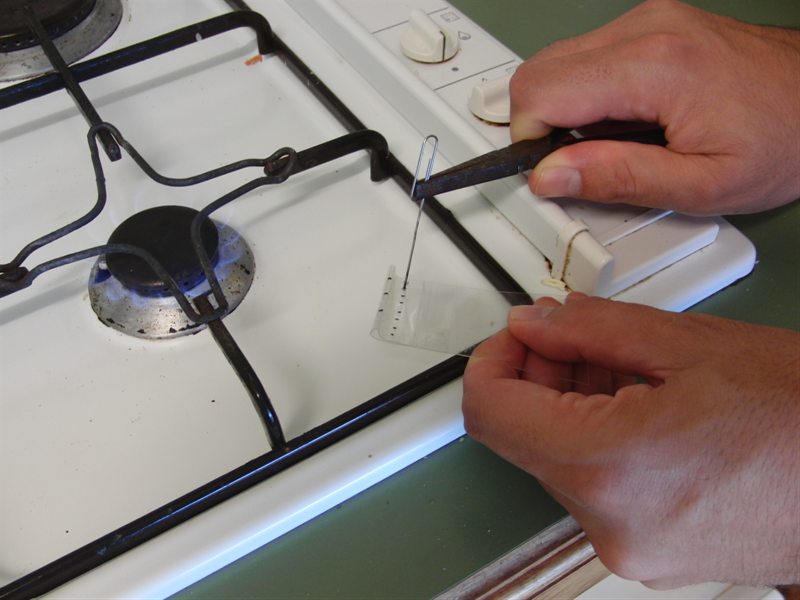
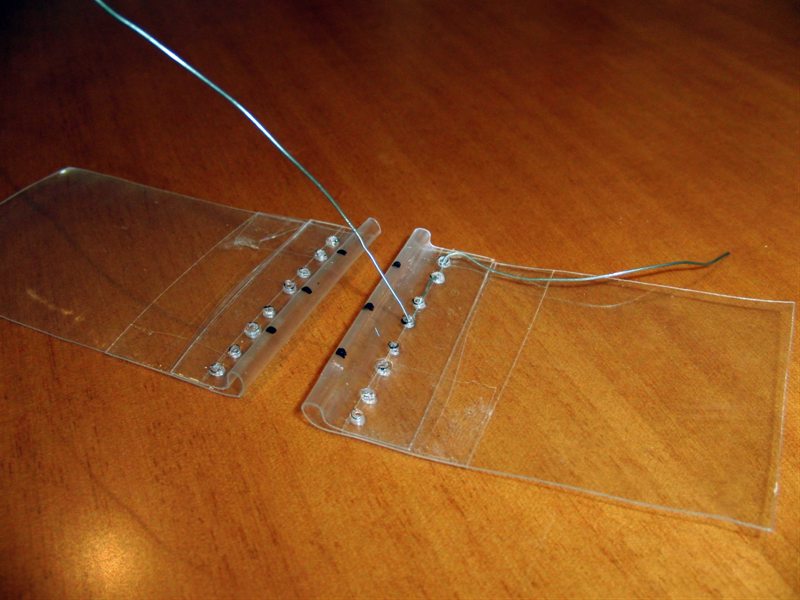
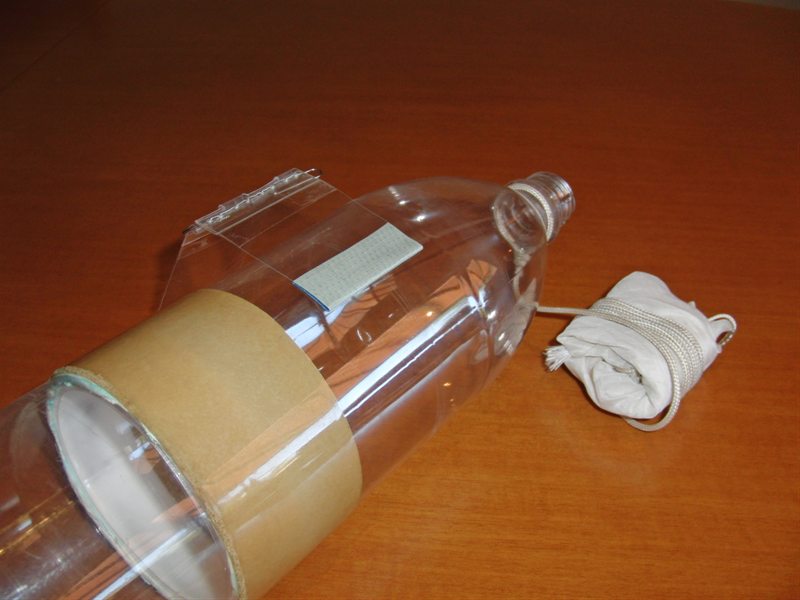
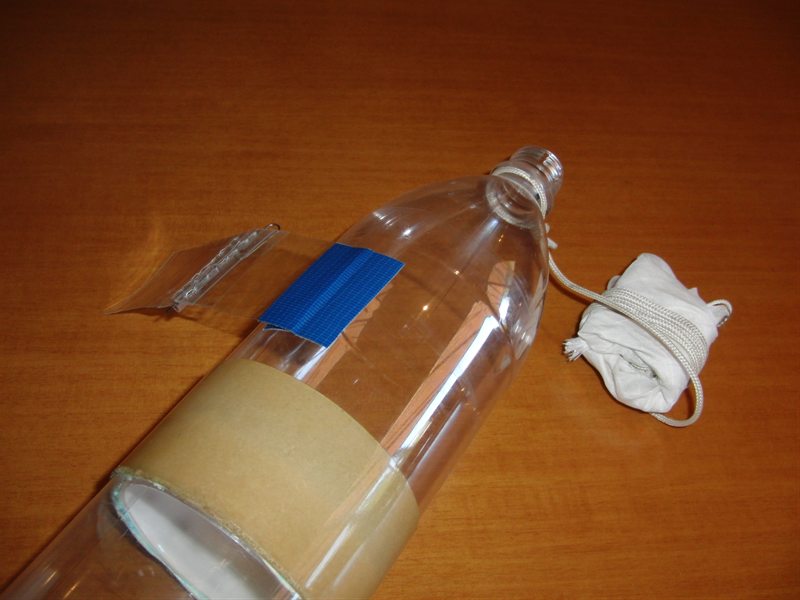
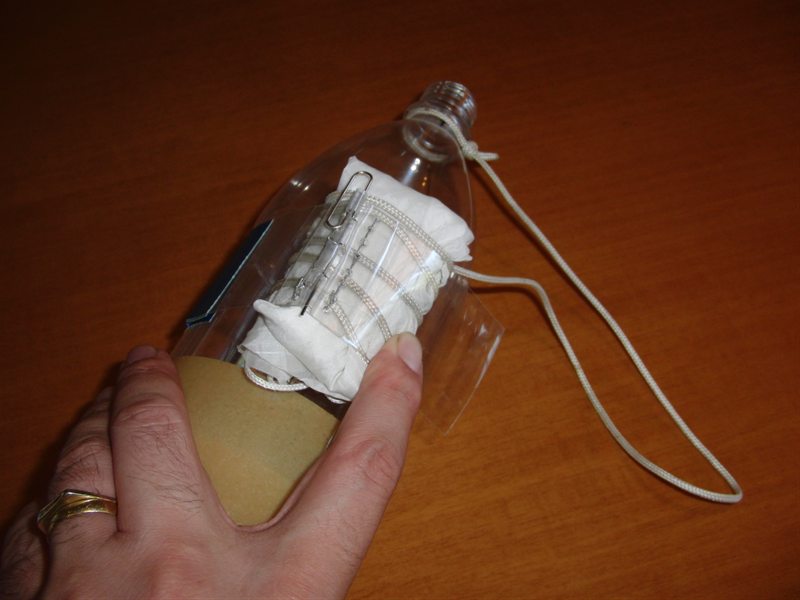
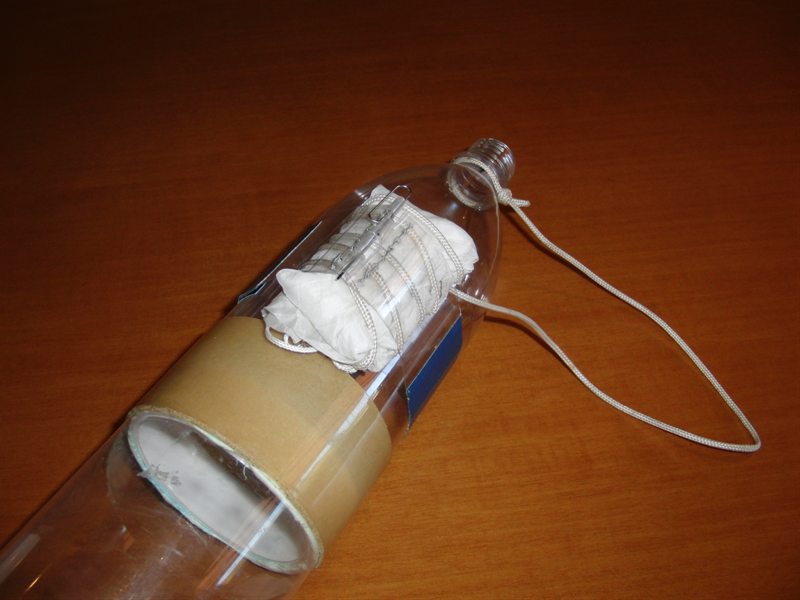
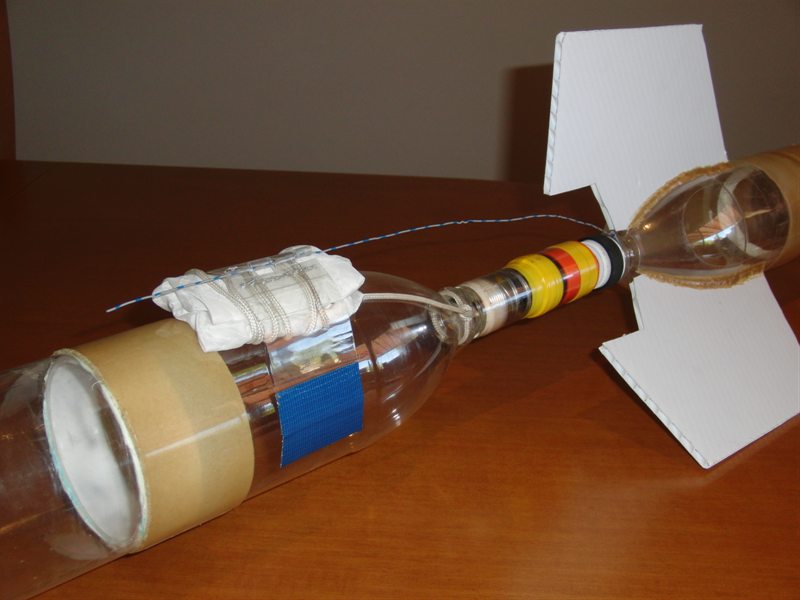
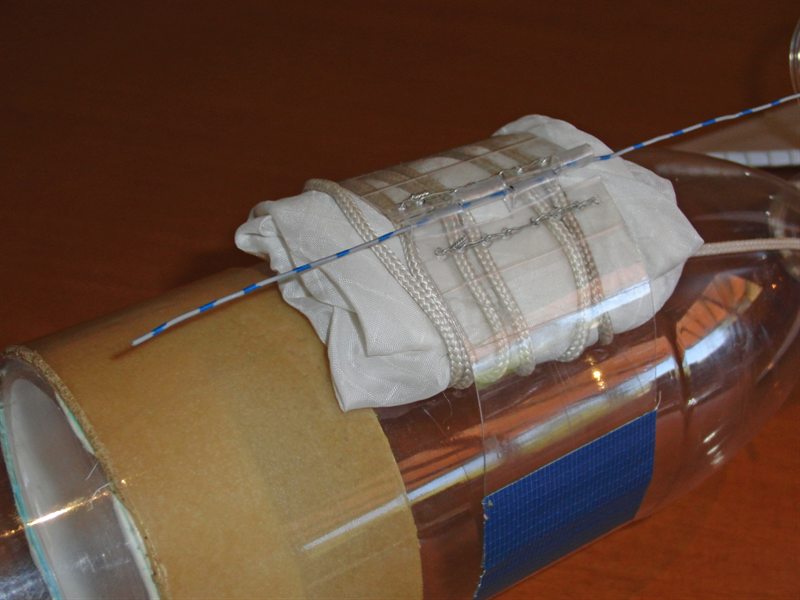
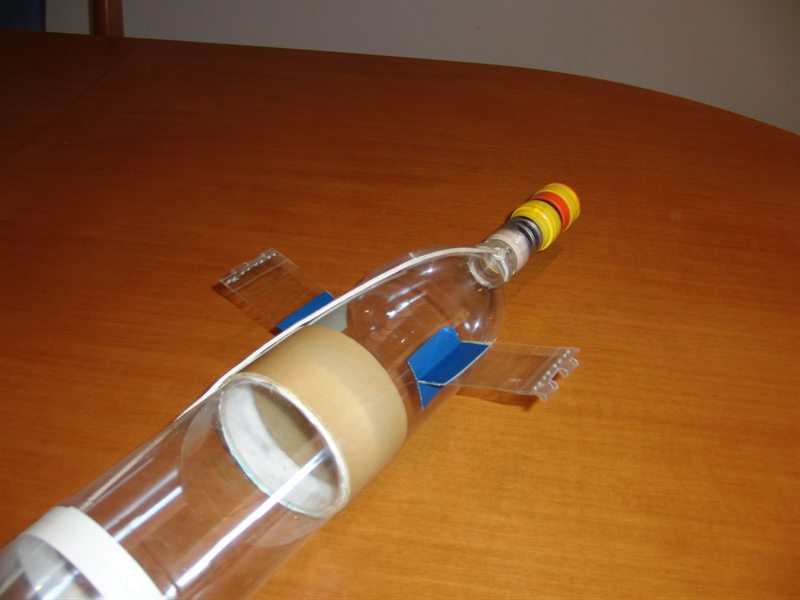
Splicing Bottles AS#5 |
|
#235 - Coming Soon |
|
#234 - Coming Soon |
|
#233 - Coming Soon |
|
#232 - Coming Soon |
|
#196 - Coming Soon |
|
#193 - Coming Soon |
|
#172 - Coming Soon |
|
|
|

|