 |
1. |
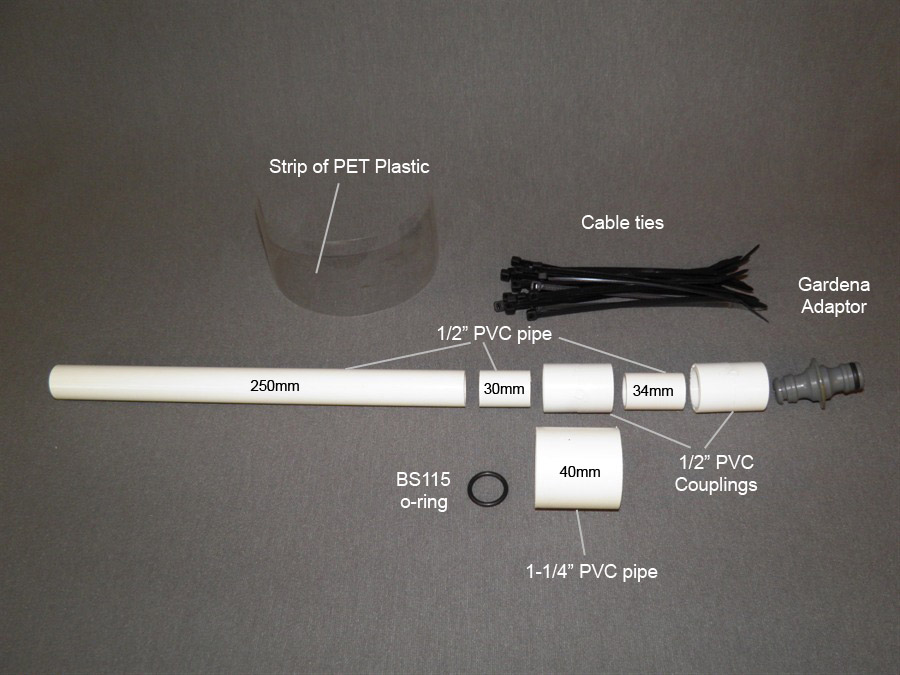
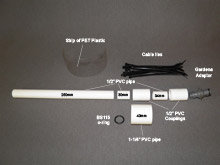
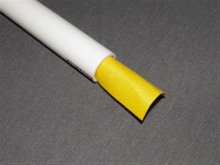
Cut a 1/2" PVC pipe into the following 3 lengths:
30mm, 34mm and 250mm. Try to cut them as square as
possible. Two ends of these will form the o-ring groove
so you want to have nice square
edges. TIP: If you are having trouble cutting square
ends for the o-ring groove, you can often use the two
square ends of
the PVC pipe as it came from the shop. |
 |
 |
2. |
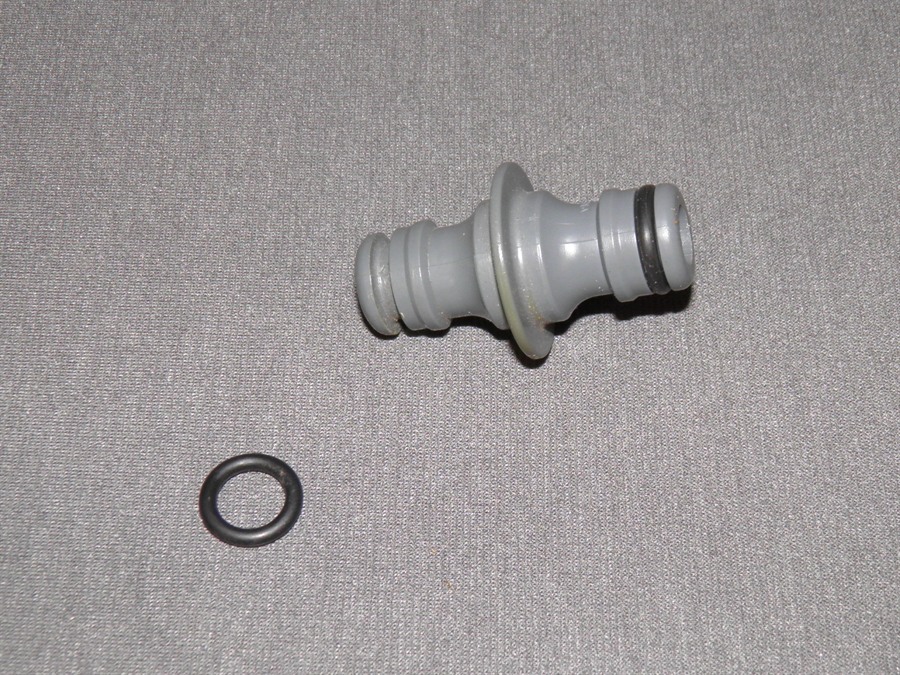
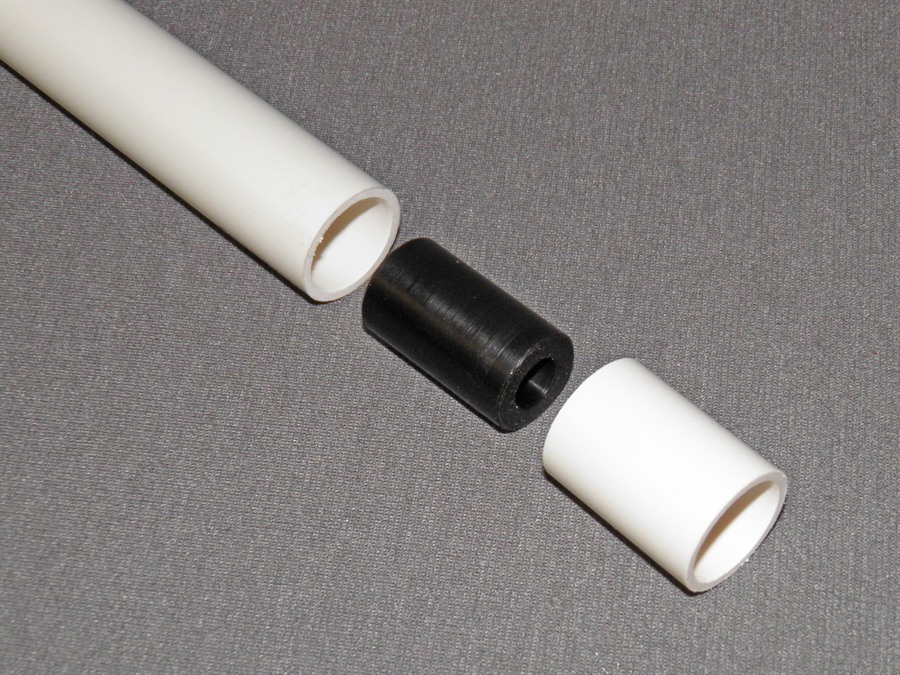
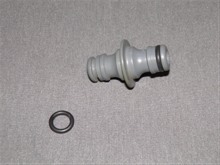
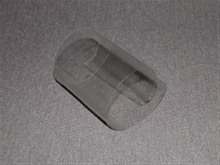
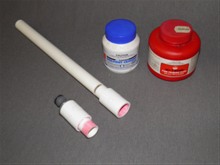
Remove one o-ring from the Gardena
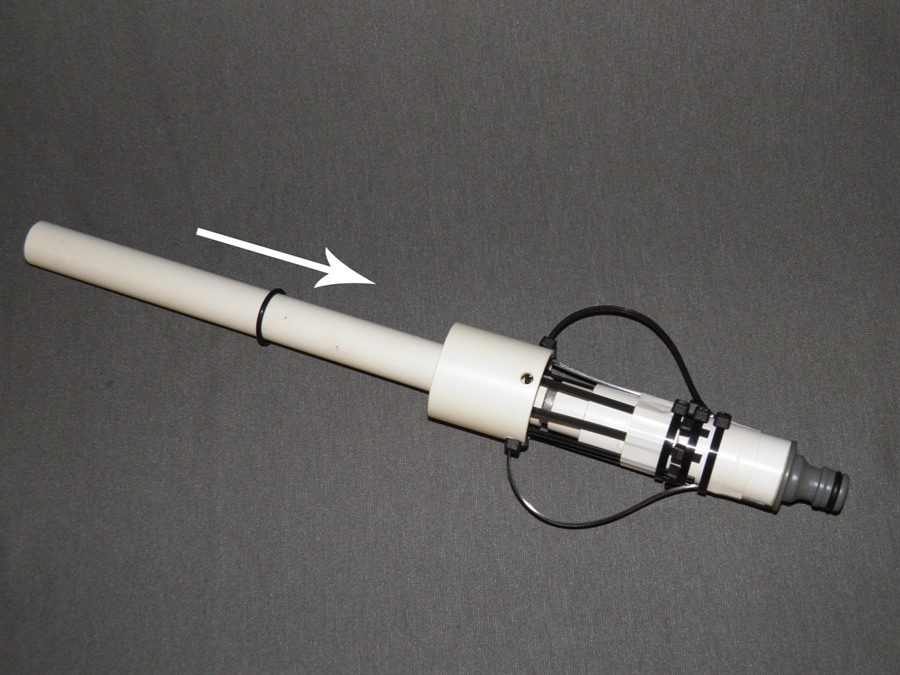
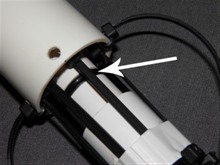
double male adaptor as you won't need it. Keep it as a
spare for future projects. Rough up the inside of one of the PVC
couplings with sand paper. Use a fairly coarse sandpaper
something
like 120 grit. |
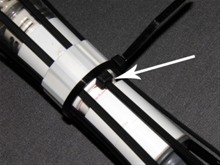
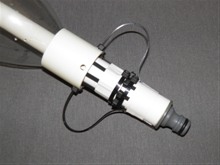
 |
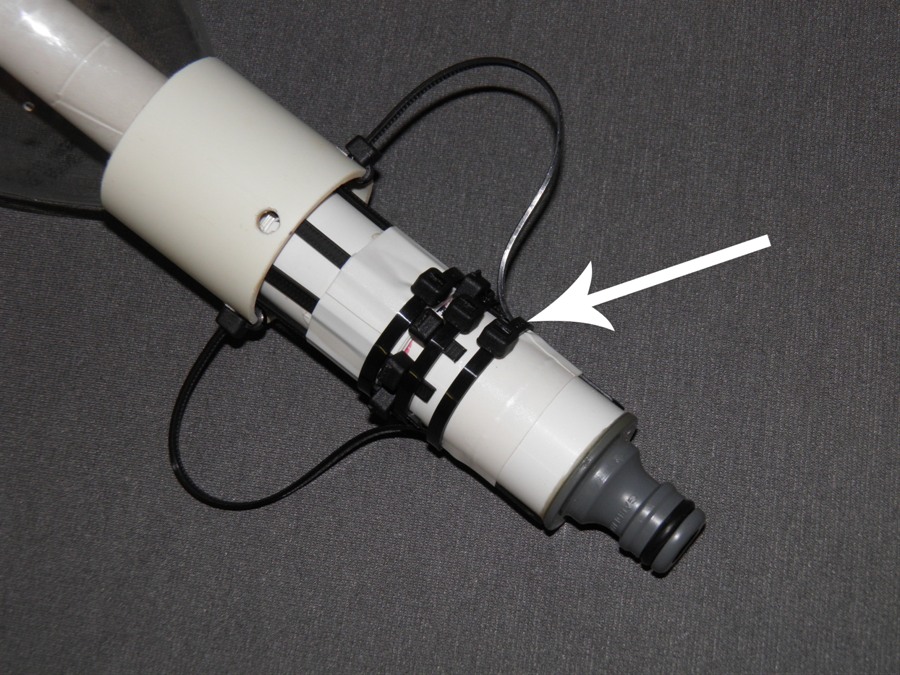
 |
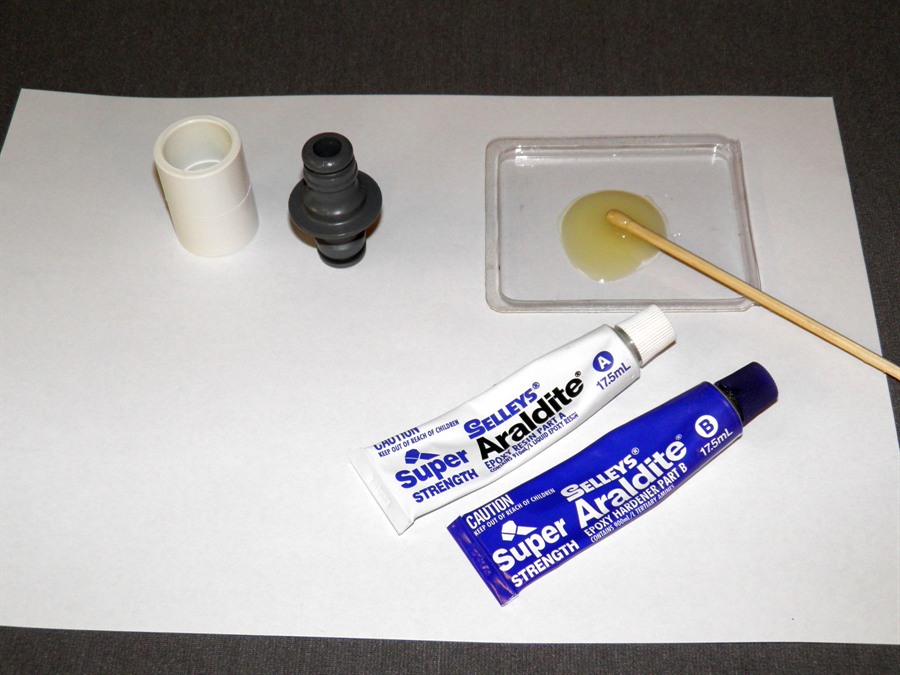
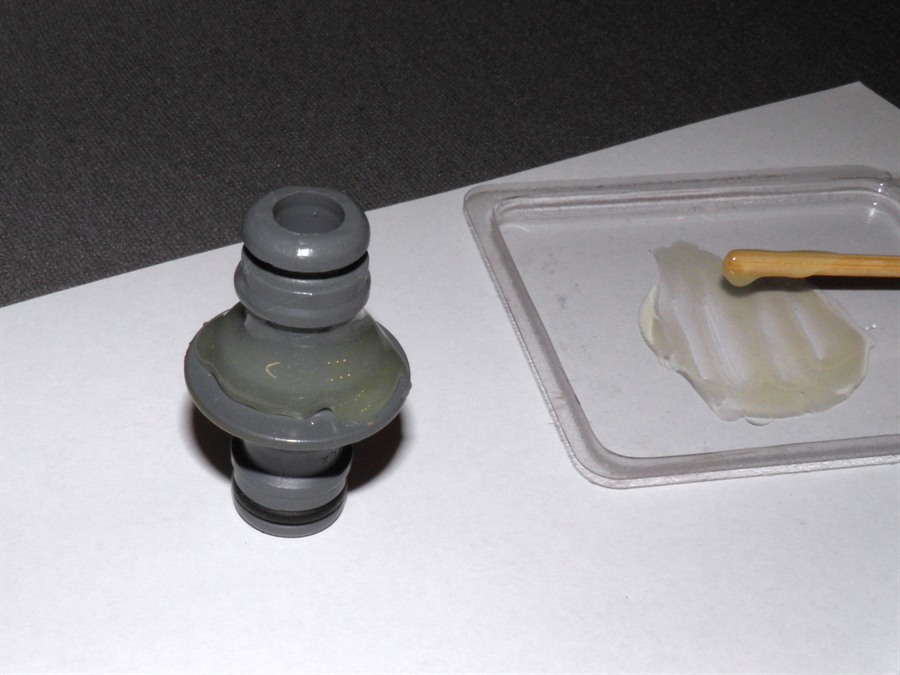
3. |
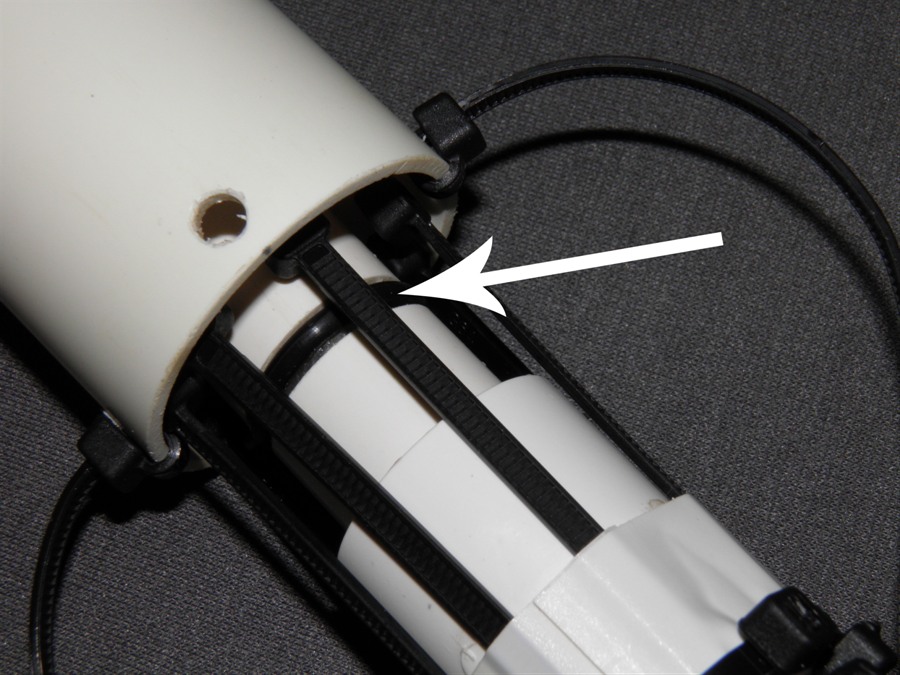
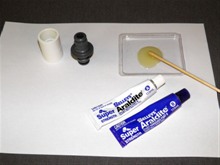
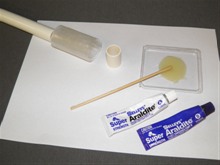
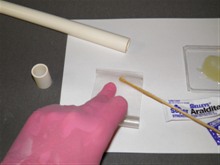
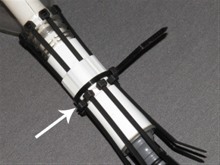
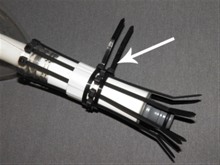
Mix up some epoxy and apply it around
one side of the Gardena adaptor, and also coat the inside of the
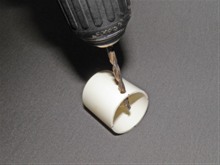
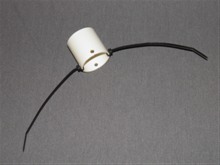
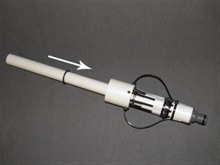
coupling. Use a generous amount of epoxy as you want it
to fill the gap. It's best to use the
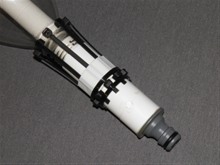
24-hour epoxy
rather than the weaker 5-minute epoxy.
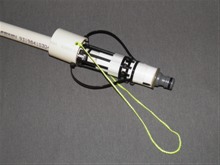
|
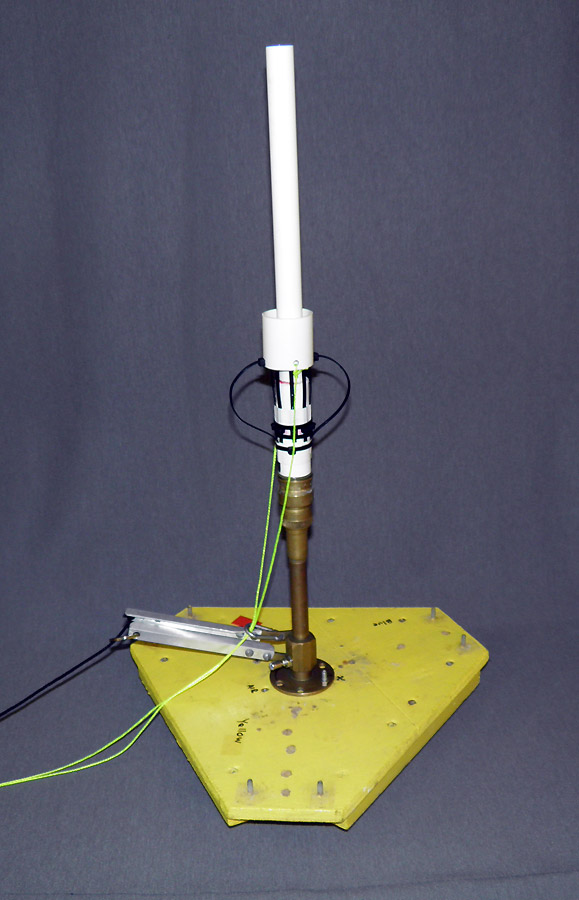
 |
 |
 |
 |
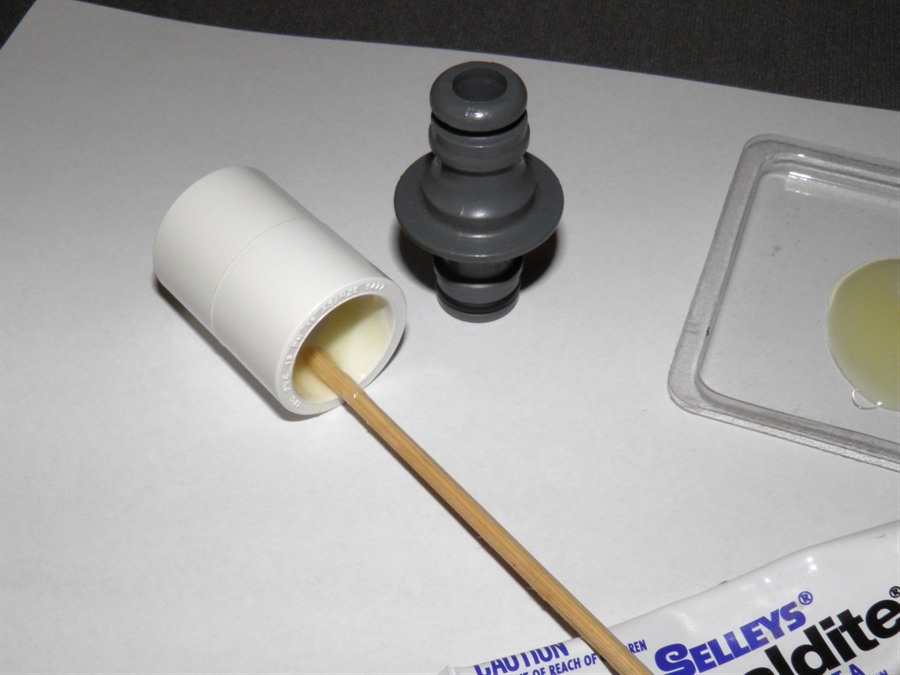
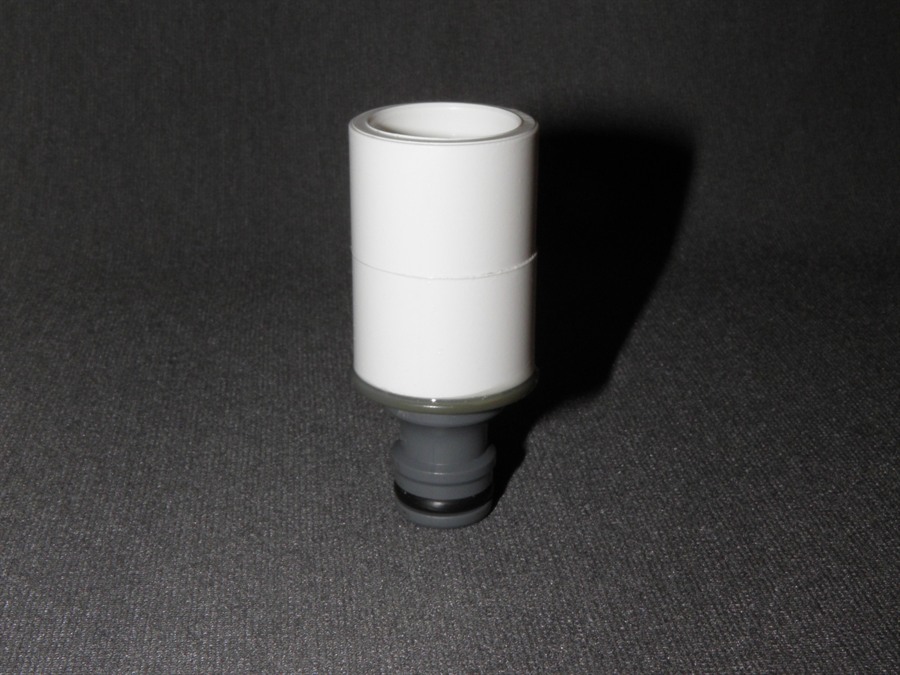
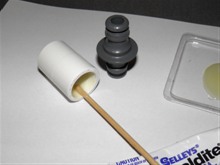
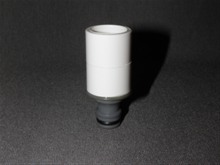
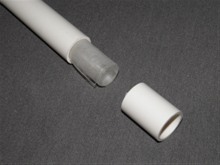
4. |
Stand the adaptor on its end and put
the coupling over the top. Gravity will cause the glue
to settle at the bottom making a seal and joining the
two components together. Let it cure overnight.
You can use the
other coupling at this stage to help it stand up. |
 |
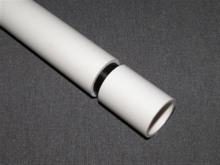 |
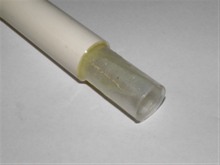
5. |
While waiting for the Gardena adaptor
to cure, you can make the o-ring groove on the launch
tube.
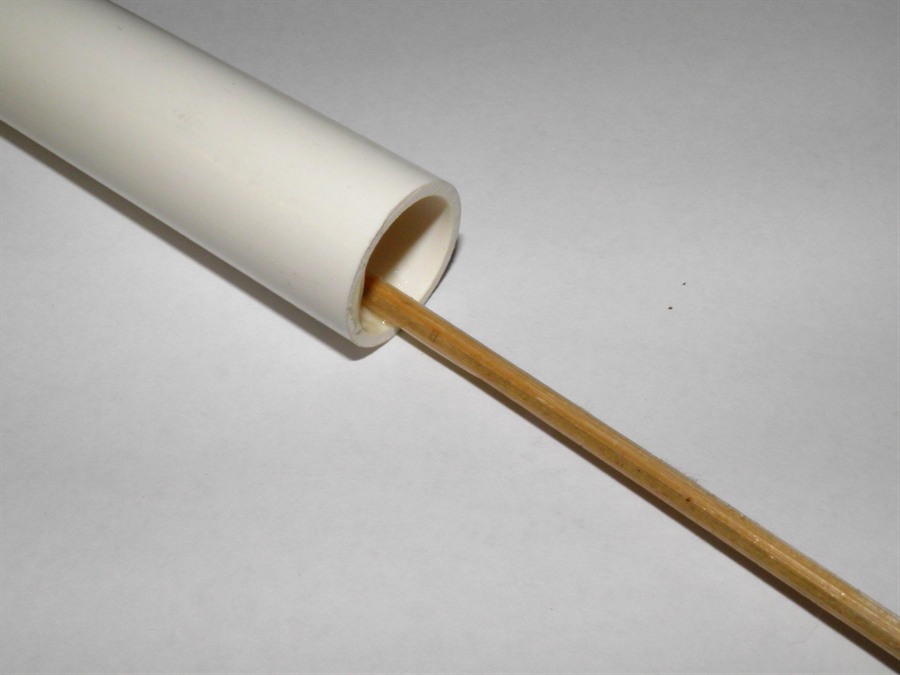
A simple way to make the groove in the PVC
pipe is to insert a smaller diameter pipe into it. While this may sound easy, there aren't many
plastic pipes readily available that snugly fit inside the PVC
pipe. Resist the temptation to hammer oversized
tubes into the PVC pipe which can lead to fine cracks in
the PVC causing it to fail under pressure. If you have
access to a lathe then you can machine down a bar of
plastic to the right size. |
 |
 |
6. |
If you can't get your hands on the correct size pipe
or a lathe then there is a simple alternative you can
use and you already have it at home. This technique is
shown in this tutorial.
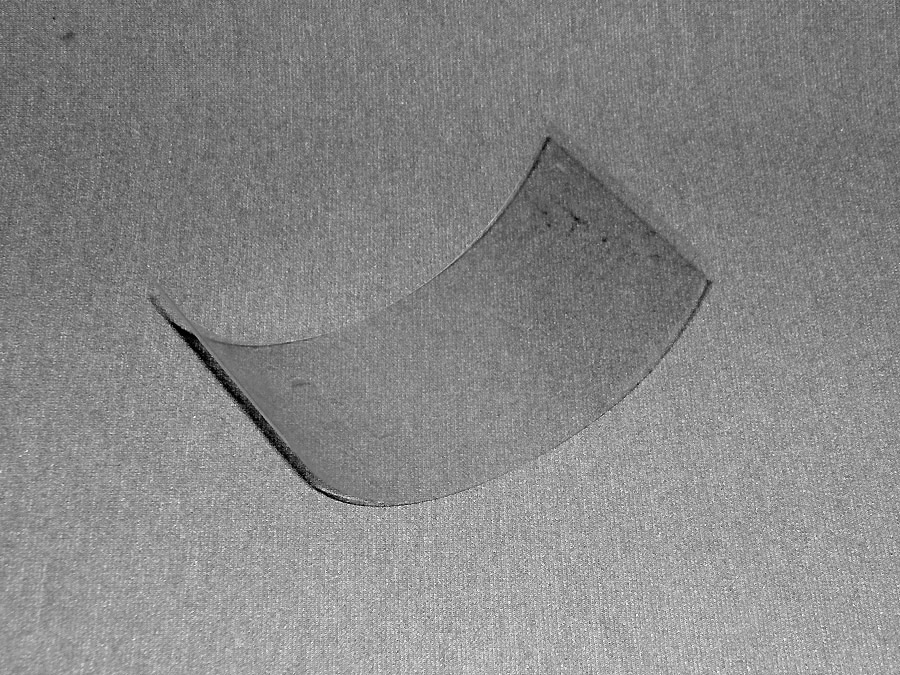
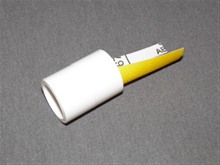
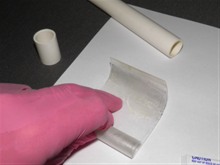
Cut out a flat strip from a PET bottle. You
want the strip to be about 65 mm (2.5 inches) wide and
180mm (7 inches) long.
Sand both sides of the PET strip to
give the glue a better surface to adhere to. Use the
same coarse sandpaper as before. |
 |
 |
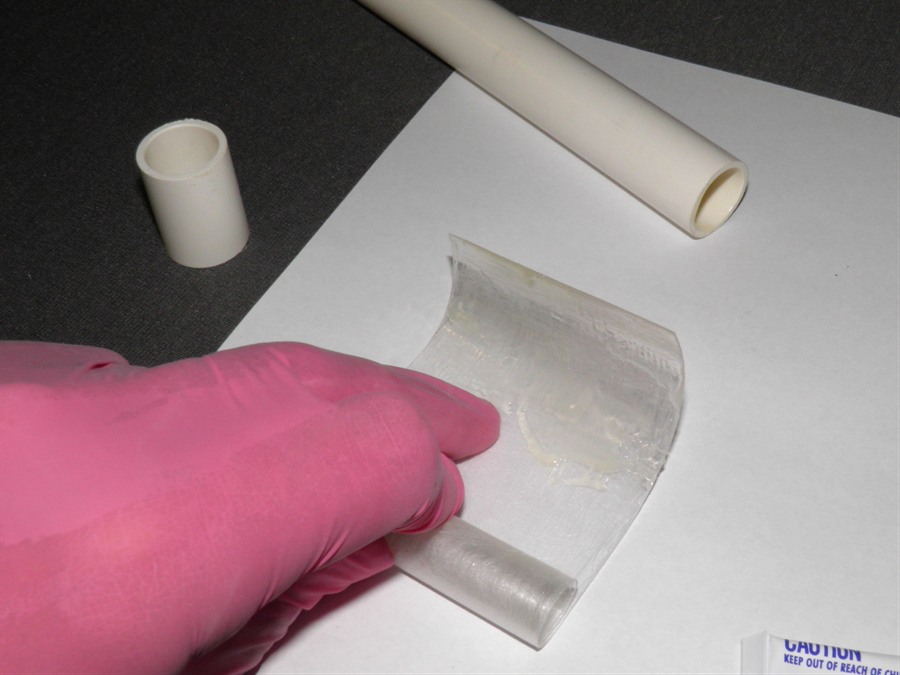
7. |
Roll up the strip tightly until it fits inside
the tube. You want to make sure you have at least 4-5
wraps. If you have more, then that's even better. When
you release it, the strip will expand to tightly fit
inside the tube. If you are happy that the strip will
fit, take it out again. |
 |
 |
8. |
Rough up the inside of the launch tube
and the 30mm section of PVC pipe with sandpaper.
|
 |
 |
9. |
For the next few steps you will want to
use rubber gloves as it can get pretty messy. Apply a coat of the
24-hour epoxy
to the inside of both pieces of pipe. |
 |
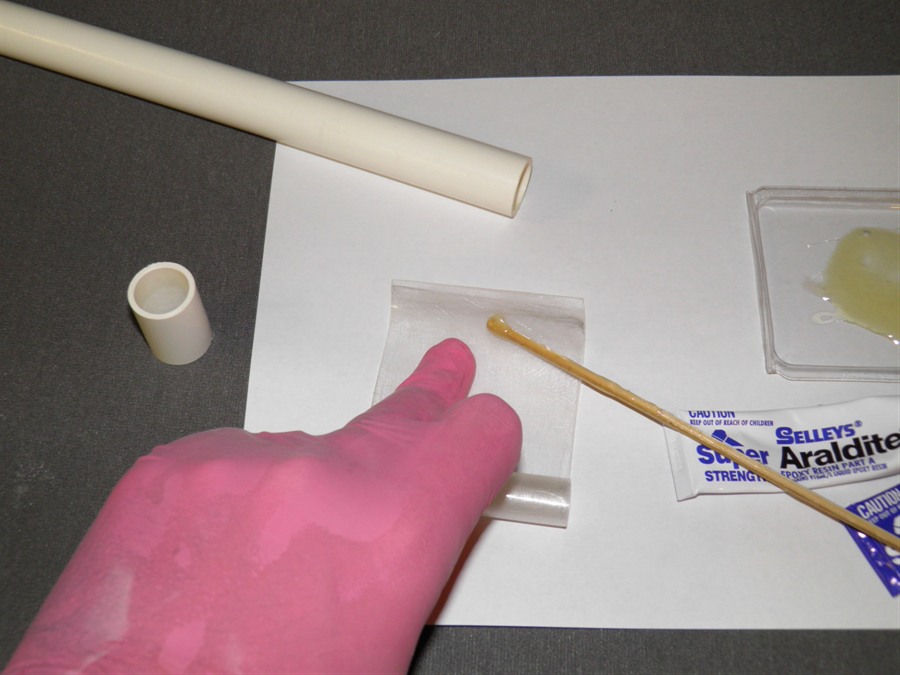
 |
10. |
As you roll up the strip coat the inside of
it with
epoxy. You don't need a lot. Spread the glue all the way
to the edges. When you roll it up, the glue will spread. |
 |
11. |
Roll it up the rest of the way and coat
one end of the roll that will go into the
launch tube. Again you do not need a lot of glue. Insert the strip about half way into the launch tube. |
 |
 |
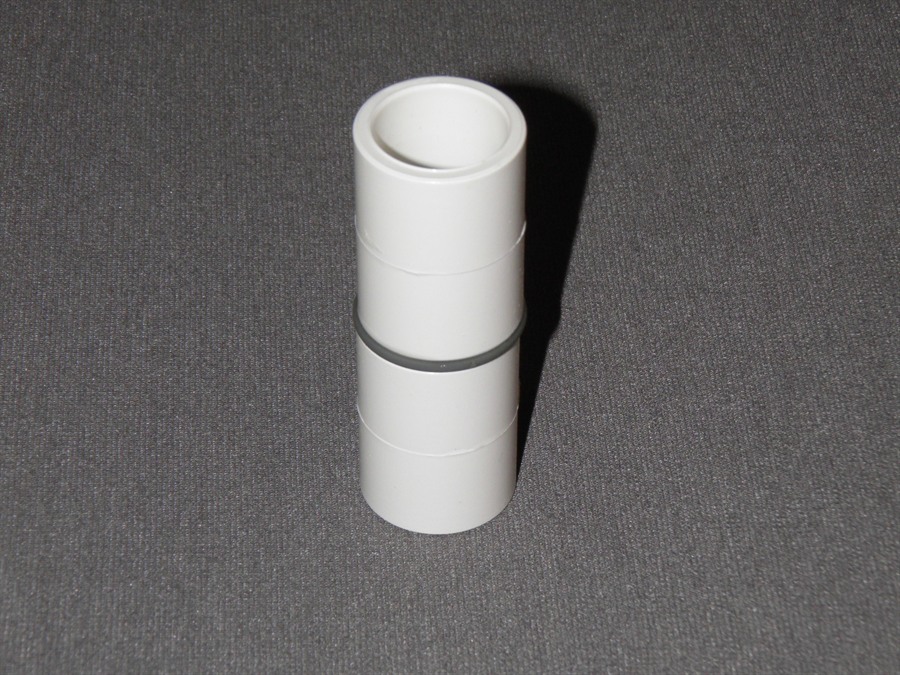
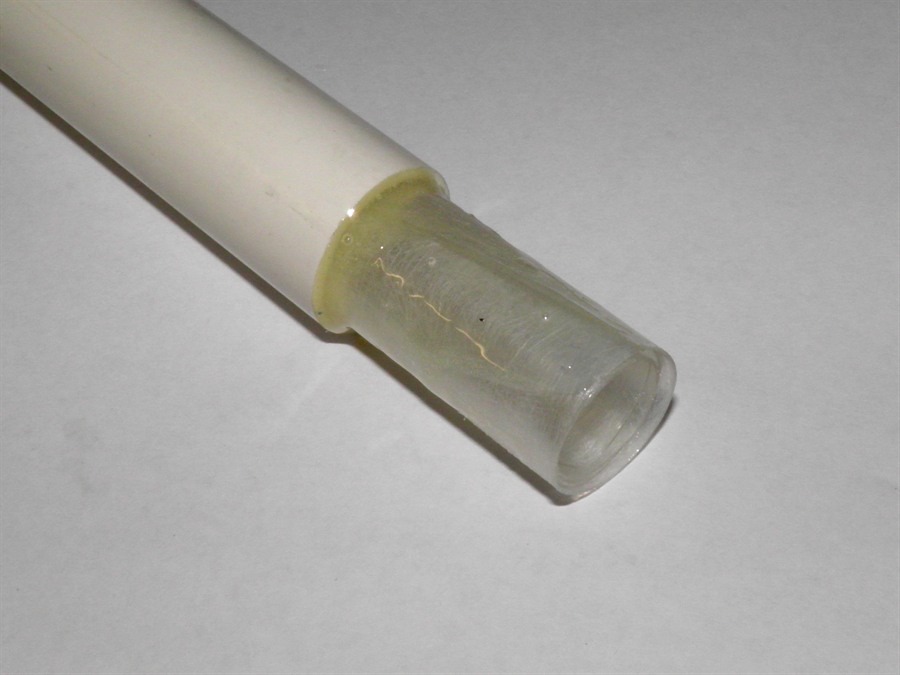
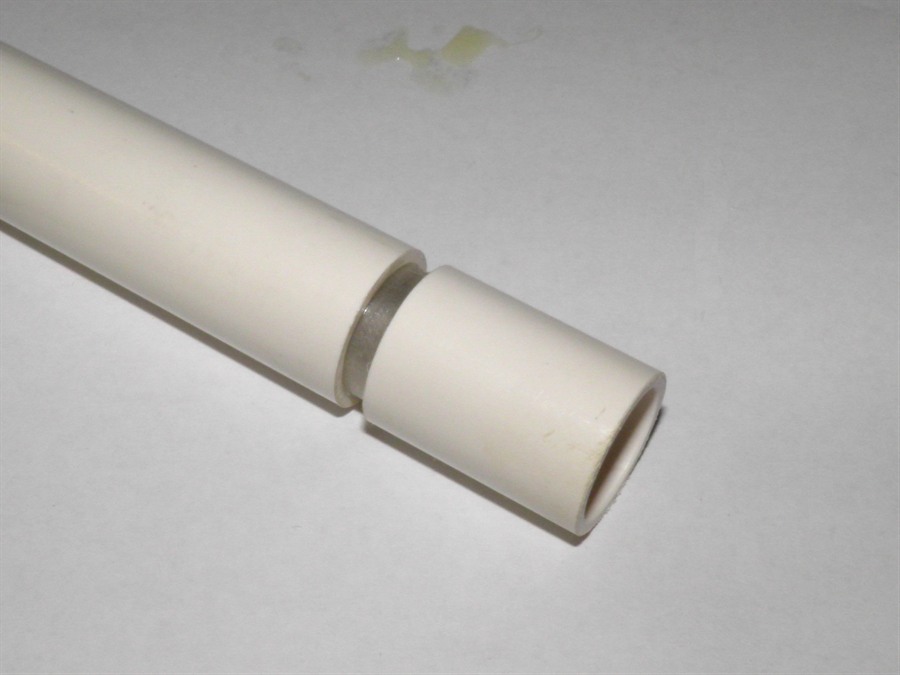
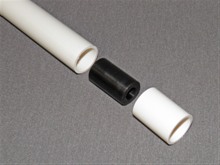
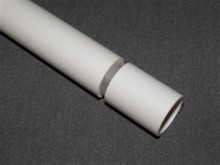
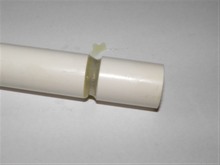
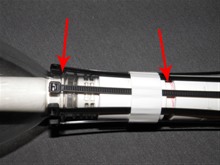
12. |
Now coat the other end of the strip roll with
epoxy and insert it into the
30mm section of PVC pipe. Slide the two together until
you have the correct size gap for the o-ring. This
should be 3.5 - 4mm. See
notes below for details of the
correct o-ring
groove size. As you bring the sections together some
glue will be squeezed into the groove. Just wipe off all
the excess with a tissue both inside the groove and any that
may be on the PVC pipe. Image on the right shows the glue wiped
clean. |
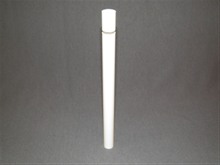 |
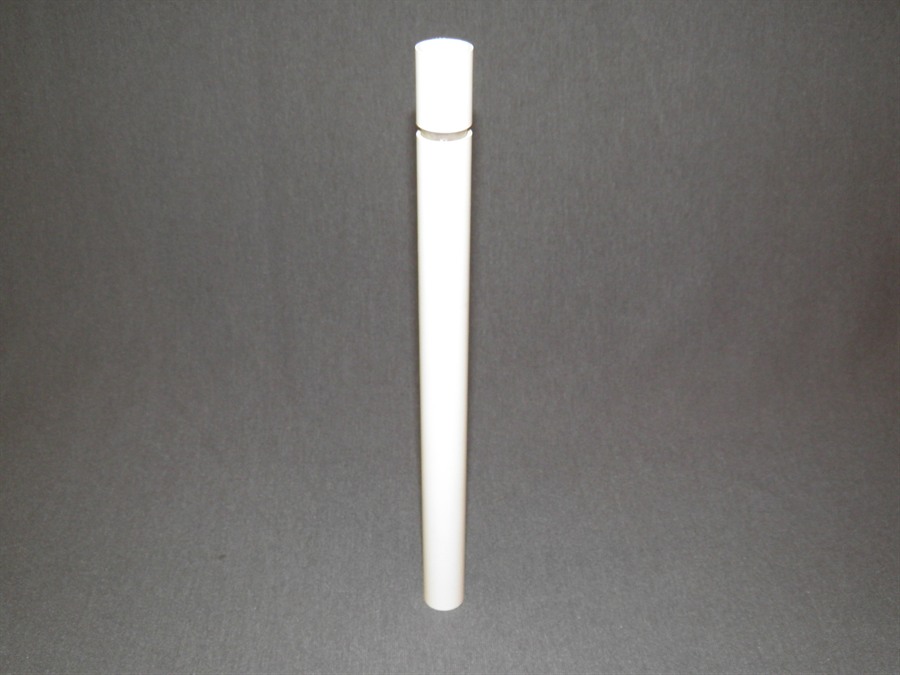
13. |
Stand the launch tube on it's end and
let it cure overnight. |
 |
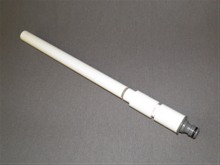 |
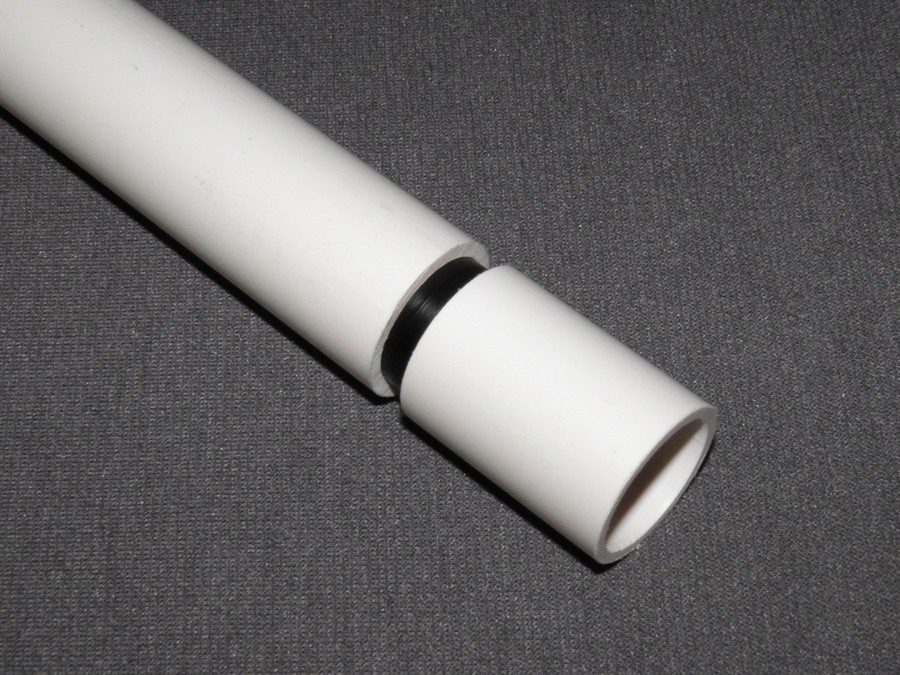
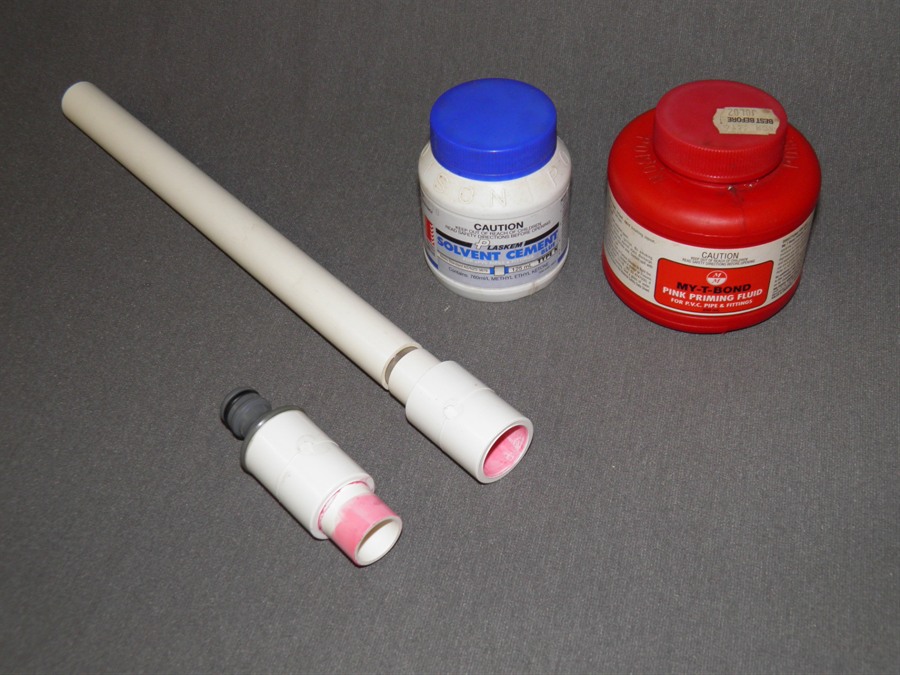
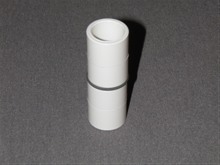
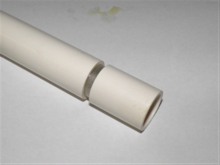
14. |
Using PVC cement, glue the launch tube
into the top coupling, and glue the 34mm section of PVC
tube between the two couplings. Make sure that the gap
between the two couplings is wide enough to accept the
head of the cable ties you are using.
Let the glue cure.
|
 |
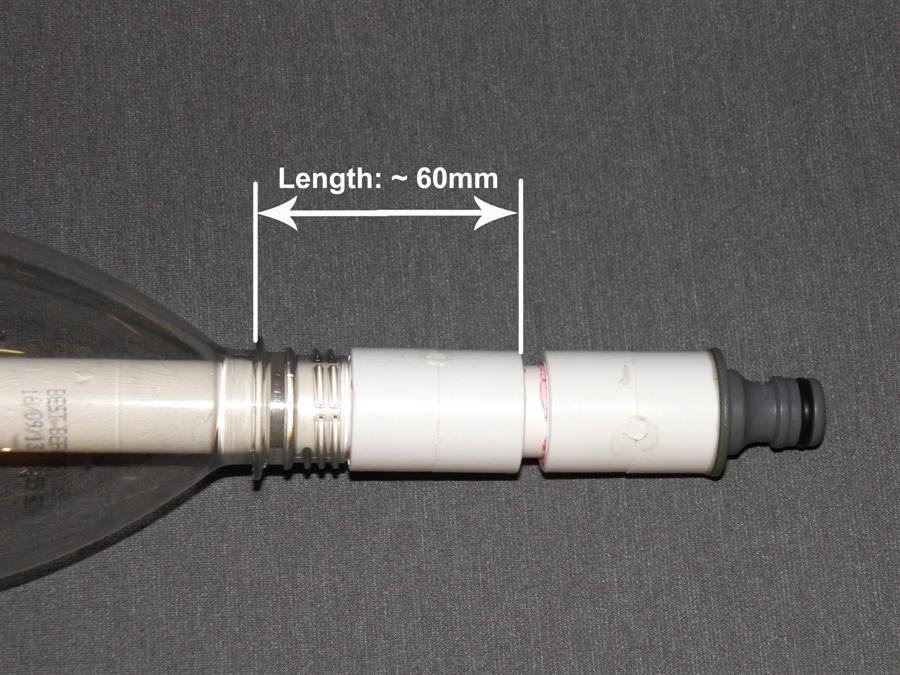
15. |
Put a bottle on the launcher and
measure the distance between the flange and the edge of
the gap between the two couplings. This will help you
position the tape in the next few steps |
 |
 |
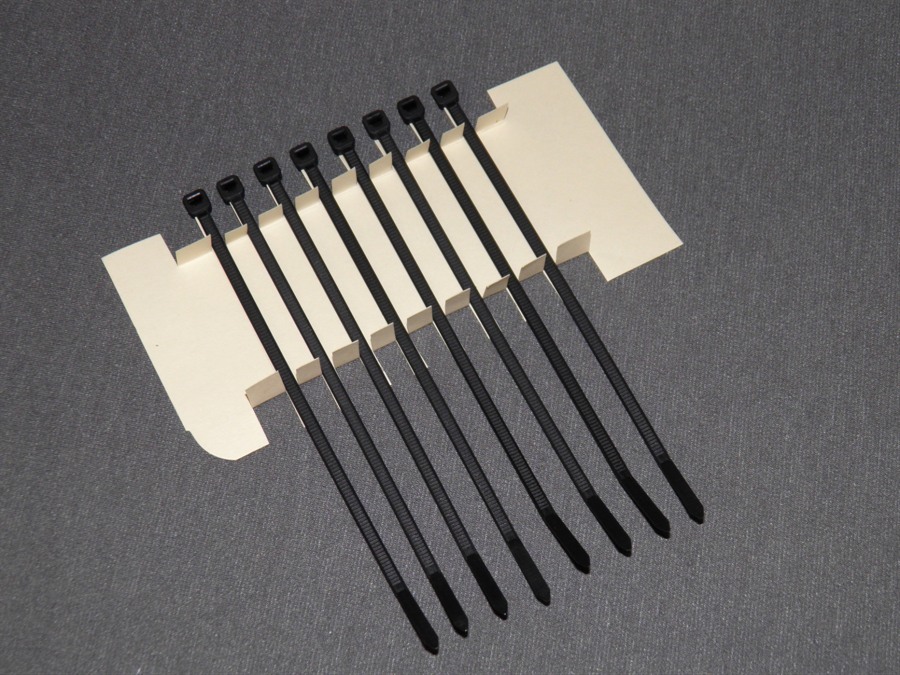
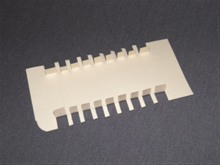
16. |
To get even spacing between the cable
ties we use a piece of cardboard with cut outs bent
over. If you are happy with just eyeballing the spacing
you can skip this step.
We chose to use 8 cable ties in this design as that
is sufficient for the desired range of pressures. (See
testing experiments at the end of the tutorial.) |
 |
 |
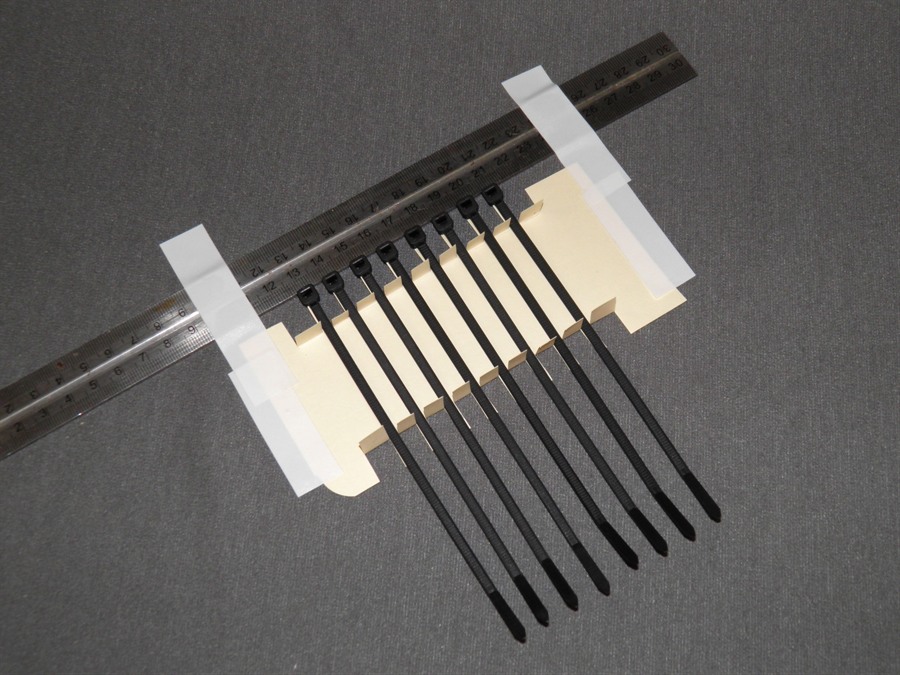
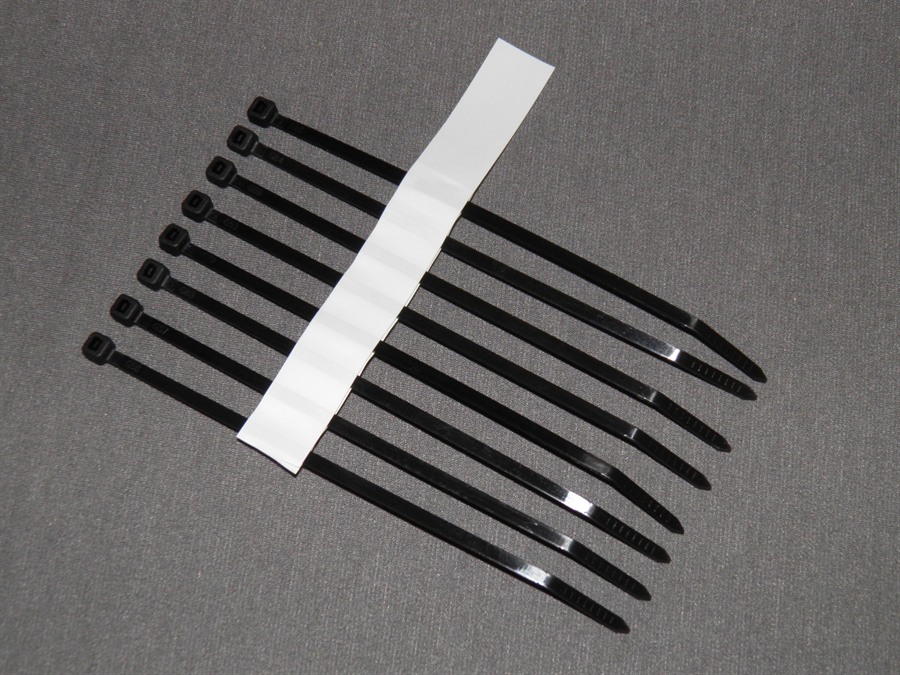
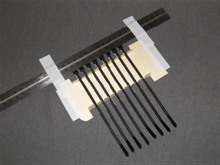
17. |
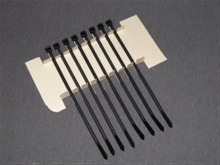
Tape the cardboard template to the
table and put the cable ties in the gaps. Tape a ruler
along the heads to keep them aligned, We use the tabs on
template to stop them moving down. If you are not using
a cardboard template you can just use another ruler under the
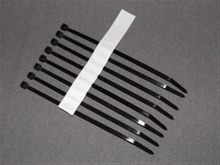
heads. Apply a piece of tape to the cable ties so that they
are held together. You want to make sure the outside of
the tape isn't more than the distance you previously
measured. (The tape
should not cover the gap between the couplings.) |
 |
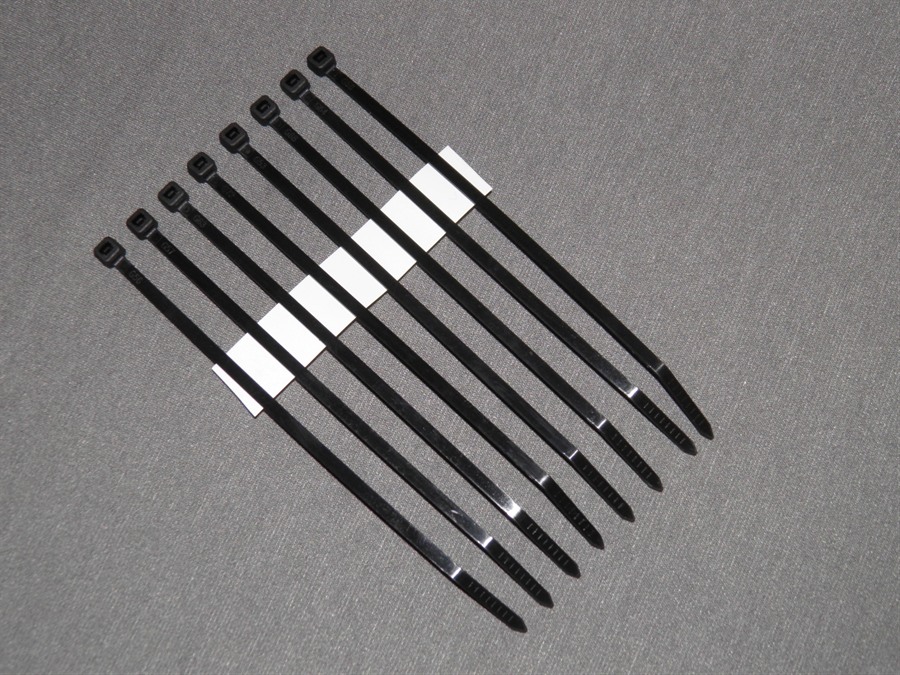
 |
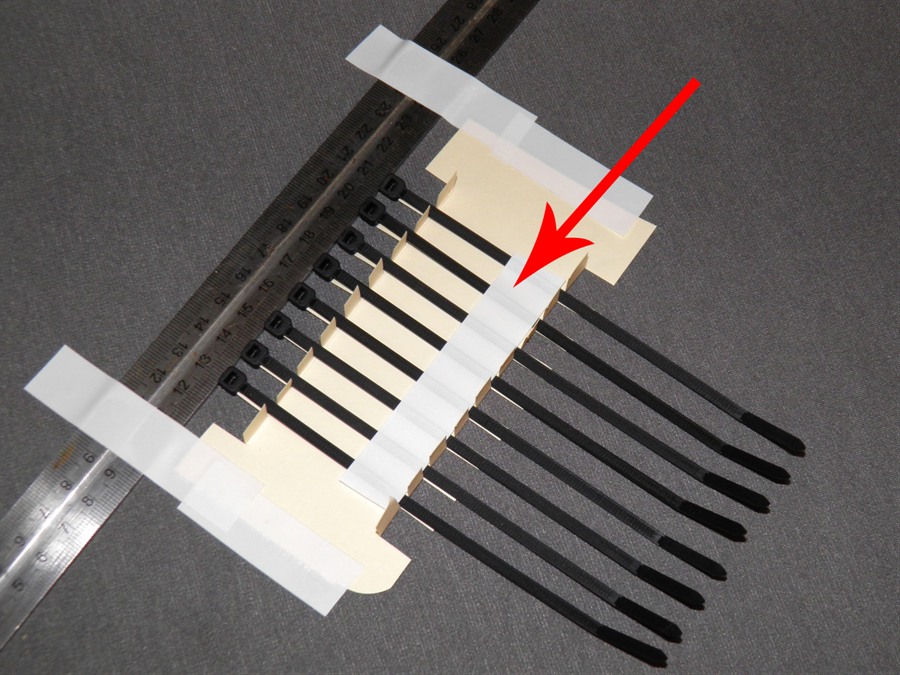
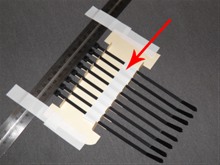
18. |
Take the cable ties out of the template
and flip them over and apply a second layer
of tape to the other side. Have a piece of tape extend
past the last of the cable ties. This will help in
attaching the cable ties to the launcher. |
 |
 |
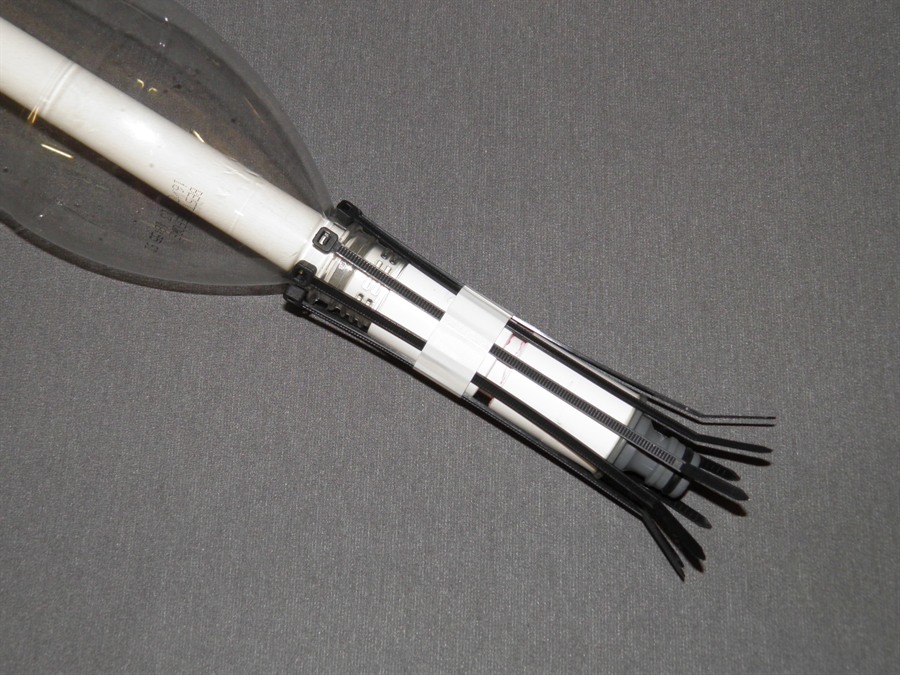
19. |
Wrap the cable ties around the upper coupling and
secure with the end of the tape.
Make sure the heads sit snugly against the flange on
the bottle and that the tape does not cover the gap
between the couplings. |
 |
 |
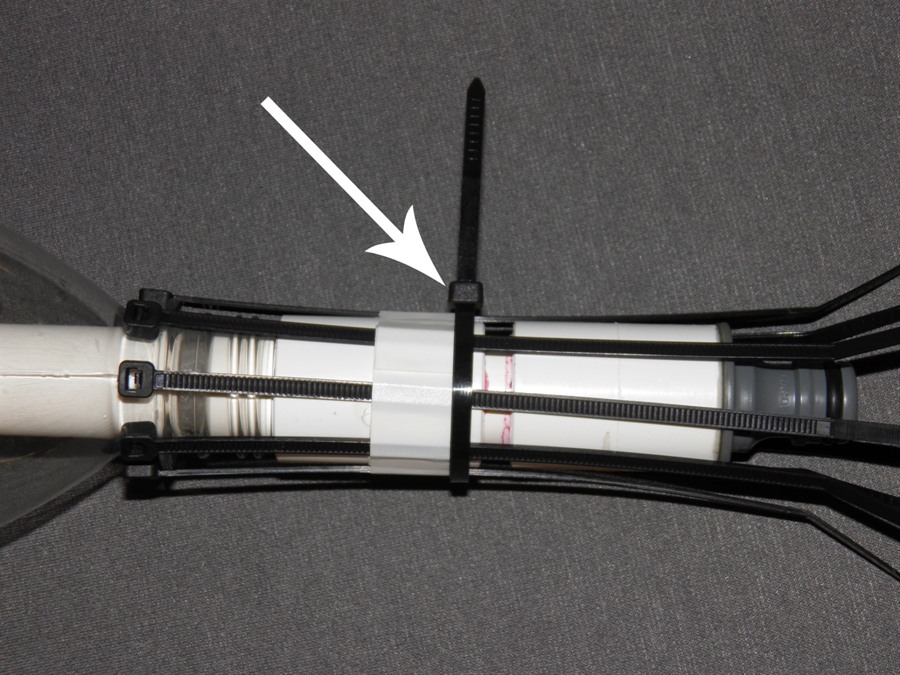
20. |
Wrap a single cable tie around all the
cable ties and tighten it just enough to
apply some pressure to the cable ties.
Thread a bottle onto the launch tube
and rest it against the top of the coupling.
Now you can adjust the position of the
individual cable ties so that they rest firmly against
the flange. The tape will allow you to move them with a
little effort. You may want to use a pair of pliers to
help with this step. When you are happy with the fit for all
the cable ties, tighten the wrapped cable tie. |
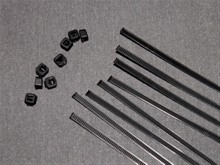 |
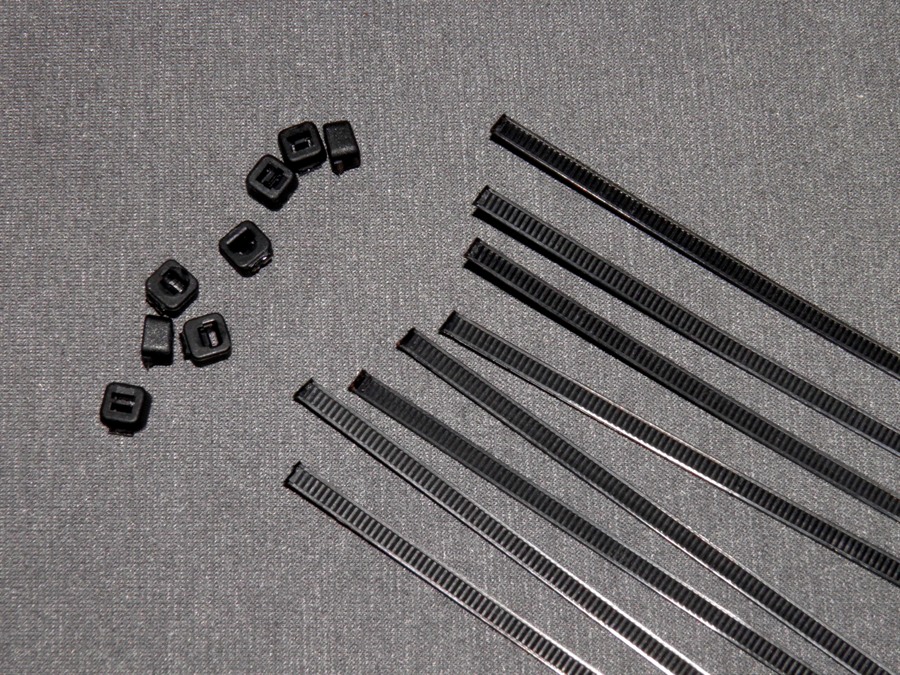
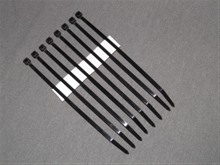
21. |
Cut the heads off another set of cable
ties. |
 |
 |
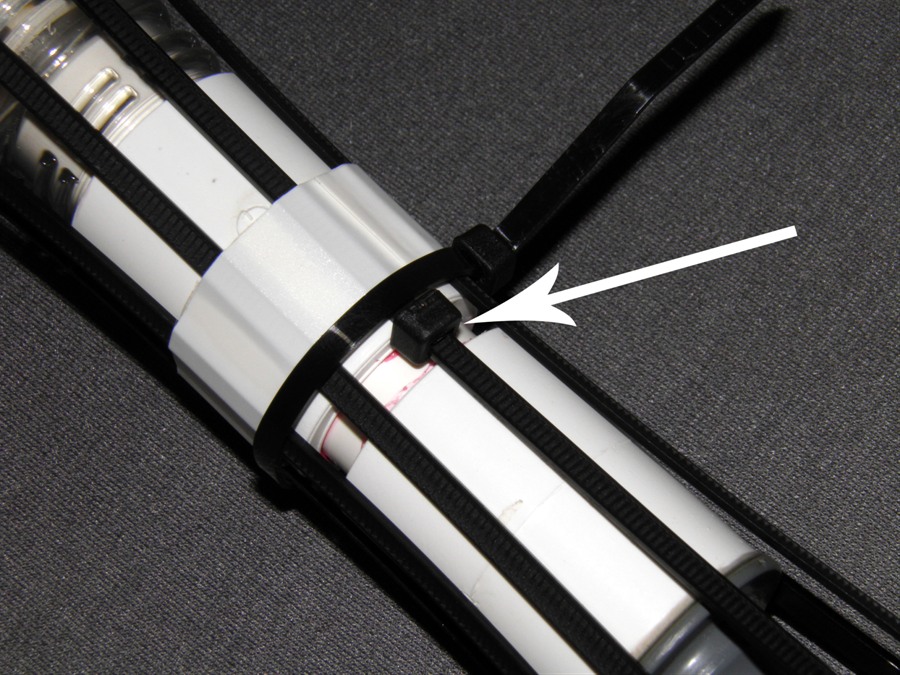
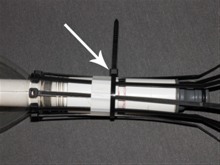
22. |
Thread the heads individually onto the cable ties
that are in place. Slide them all the way up until the
heads sit in the groove. These will help grip the
individual cable ties to stop them from sliding up when
the launcher is pressurised. |
 |
 |
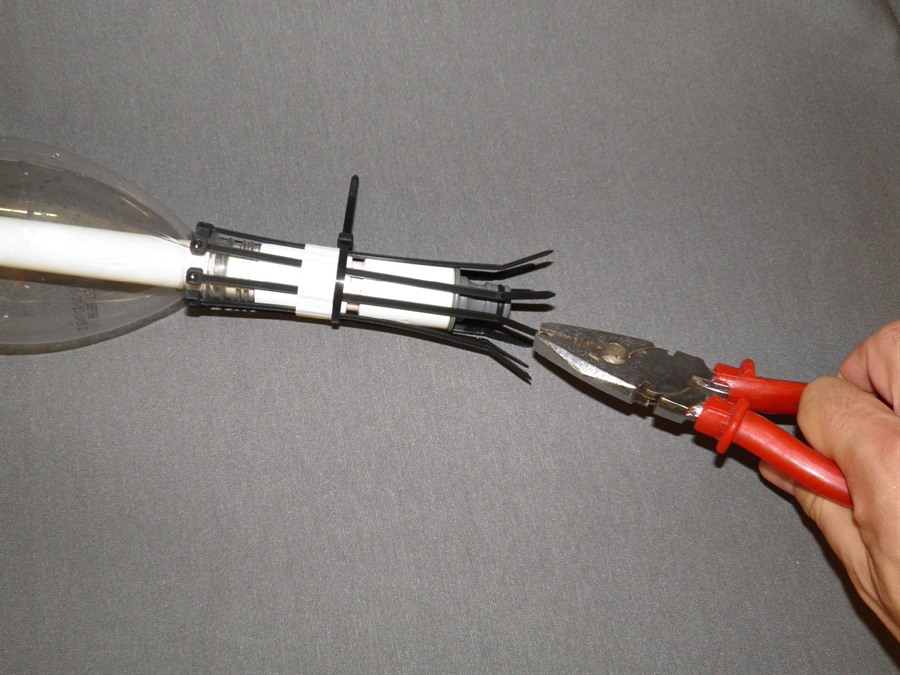
23. |
Wrap a second cable tie on the other
side of the heads and tighten it. You can now trim all the cable ties. |
 |
 |
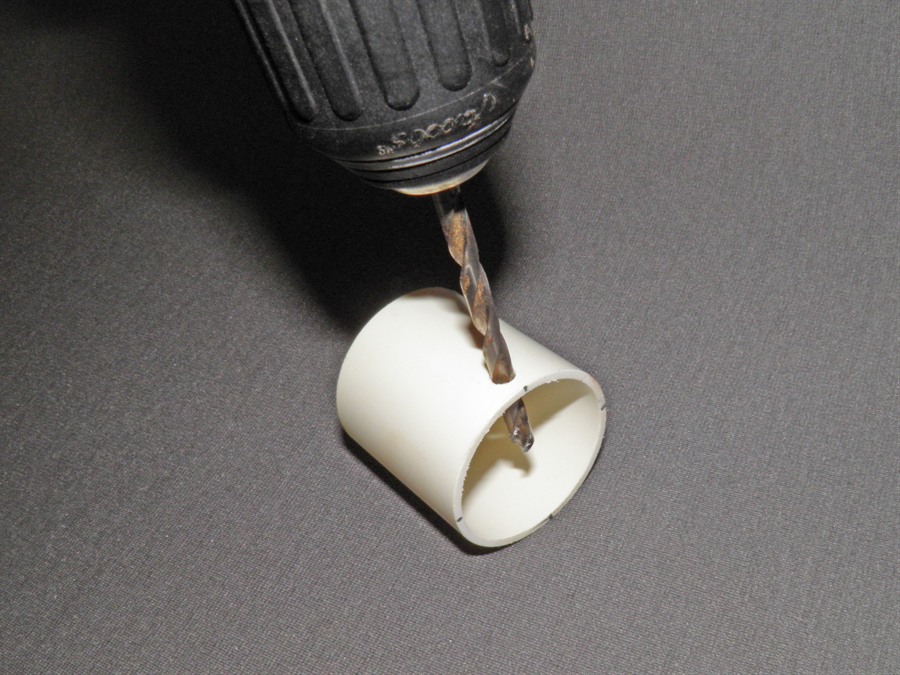
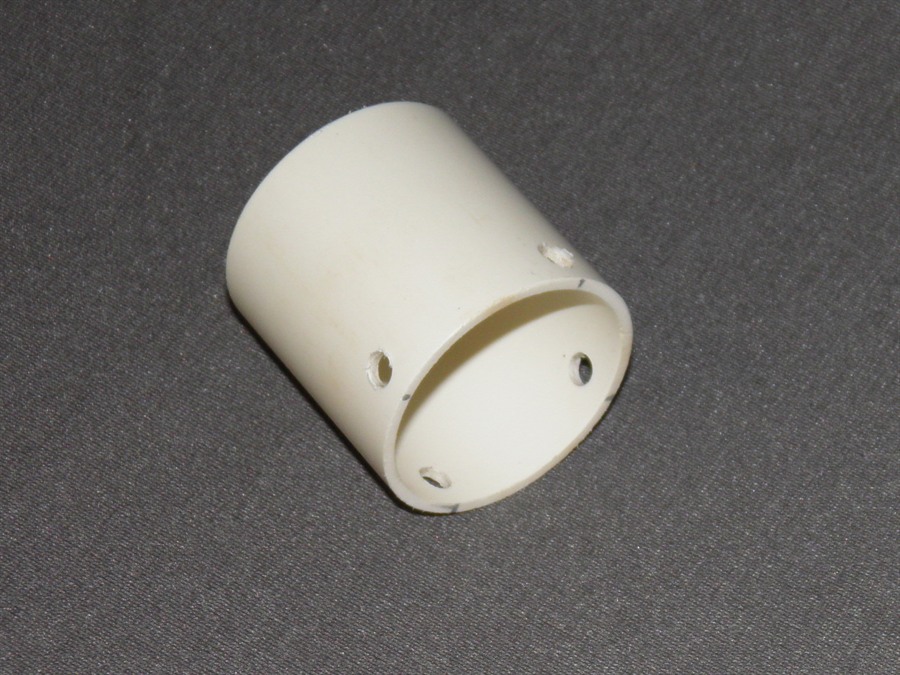
24. |
Drill 4 holes equally spaced near the
bottom of the collar. The holes should be big enough to
pass a cable tie through. |
 |
 |
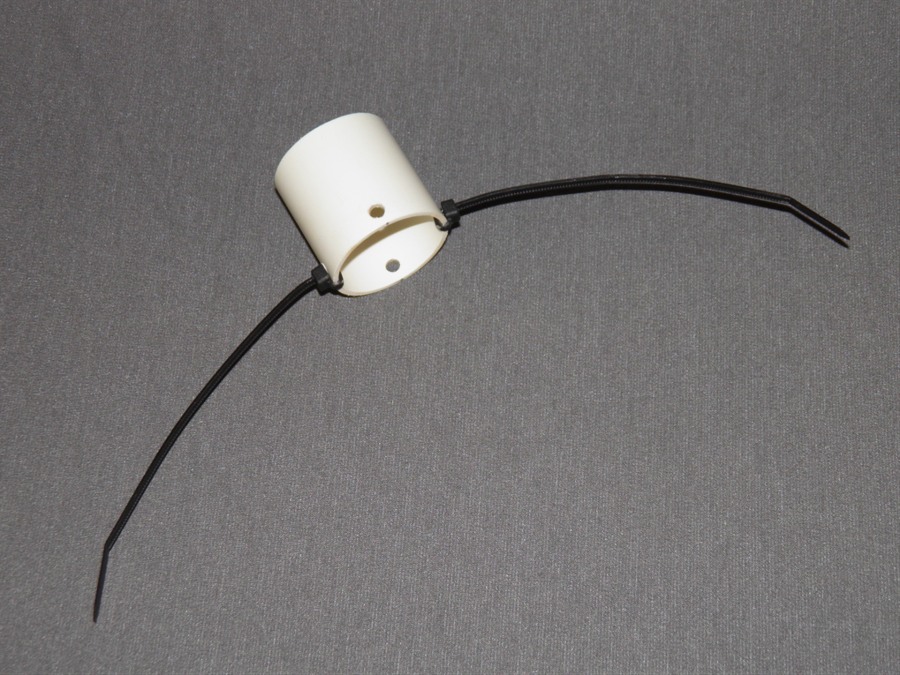
25. |
Insert 2 cable ties as shown on
opposite sides and tighten them so that the heads are on
the outside. |
 |
 |
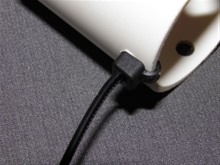
26. |
Bring the two ends together on the
lower coupling and secure with a piece of tape. |
 |
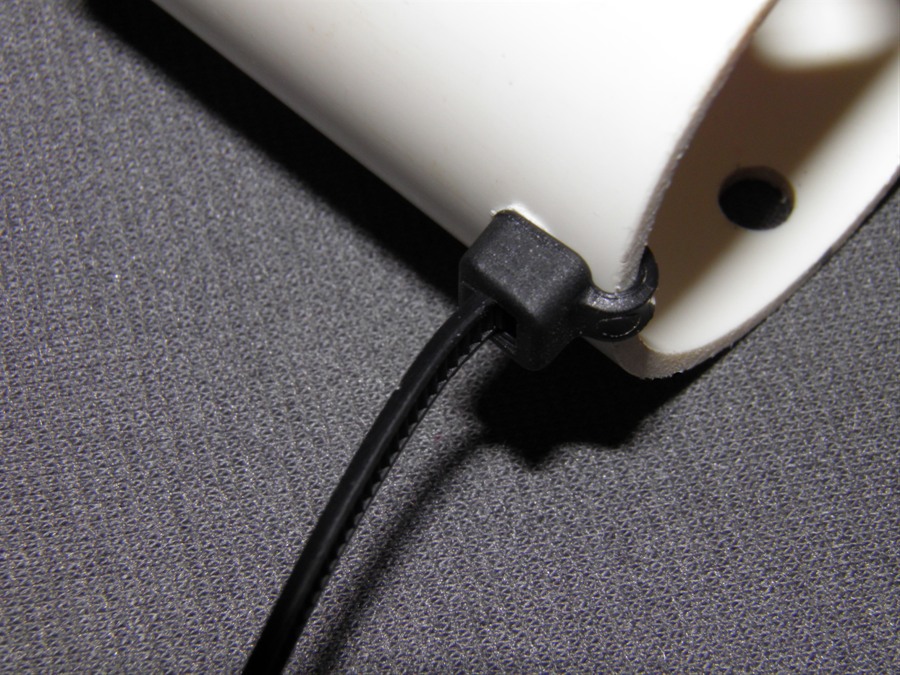
27. |
Add another cable tie
over the top and tighten it. These two
cable ties act as springs to keep the collar up before
the rocket is pressurised. |
 |
 |
28. |
Slide the o-ring over the launch tube
into the o-ring groove. |
 |
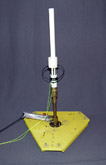 |
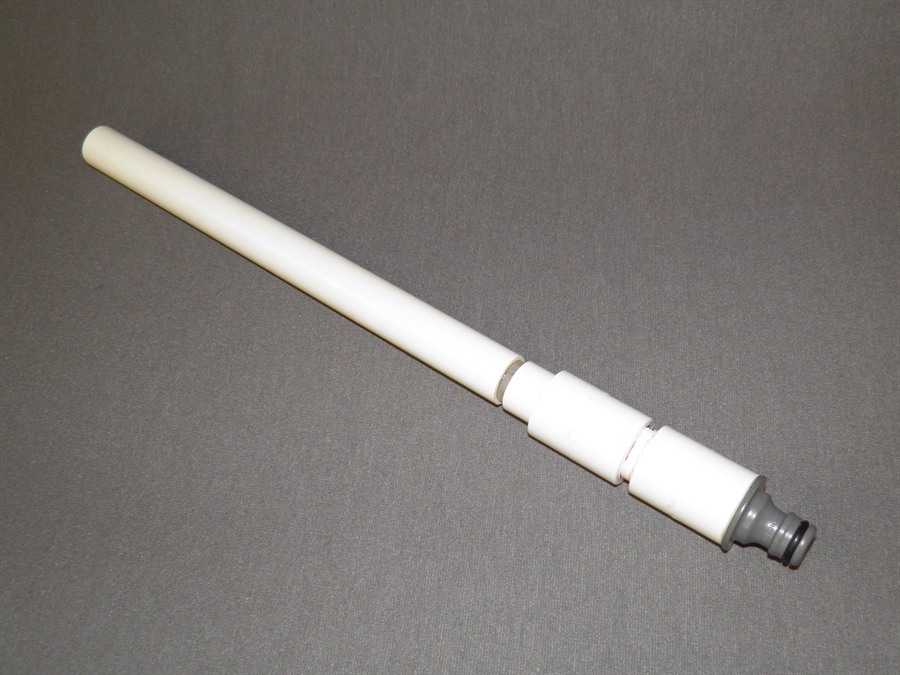
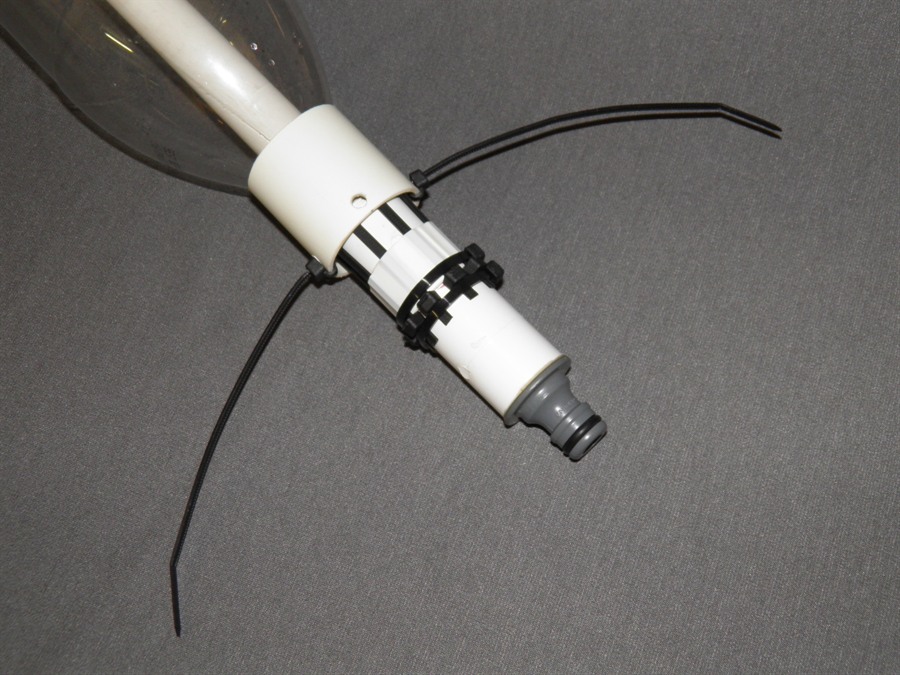
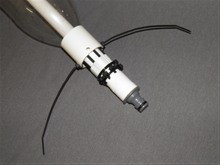
29. |
Tie a loop of string to the other two
holes. These will be connected to your pull string.
Use strong braided nylon for the string to make sure it
does not break.
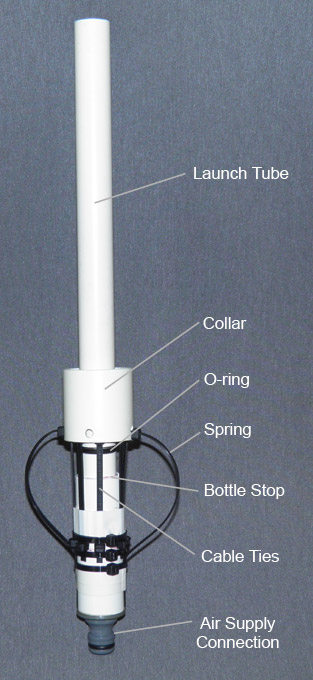
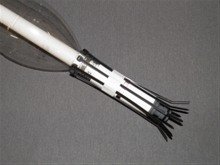
The launcher is now ready. Here the launcher is
plugged into our regular Gardena launcher.
You should first pressure test your launcher
from a safe distance to make sure all the glue and cable
ties hold. |