 |
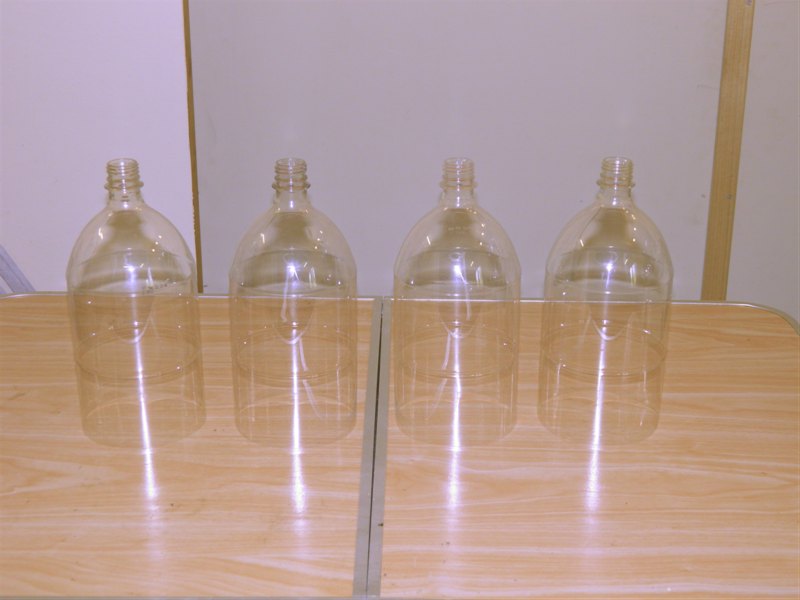
1. |
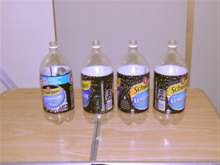
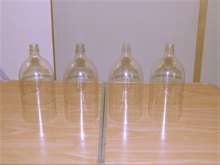
Clean all 4 bottles with soapy water
and thoroughly rinse out. |
|
 |
2. |
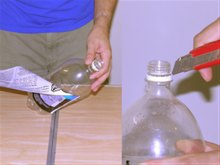
Remove the cap rings and labels on all
the bottles. Make
sure you don't accidentally cut the bottle when removing
the cap ring. |
 |
3. |
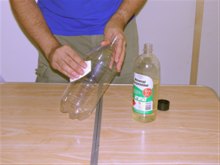
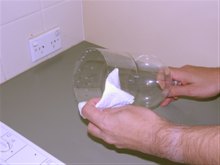
Remove the label glue residue from the
bottle with mineral turpentine. Wipe the bottle
dry with a clean paper towel. |
|

 |
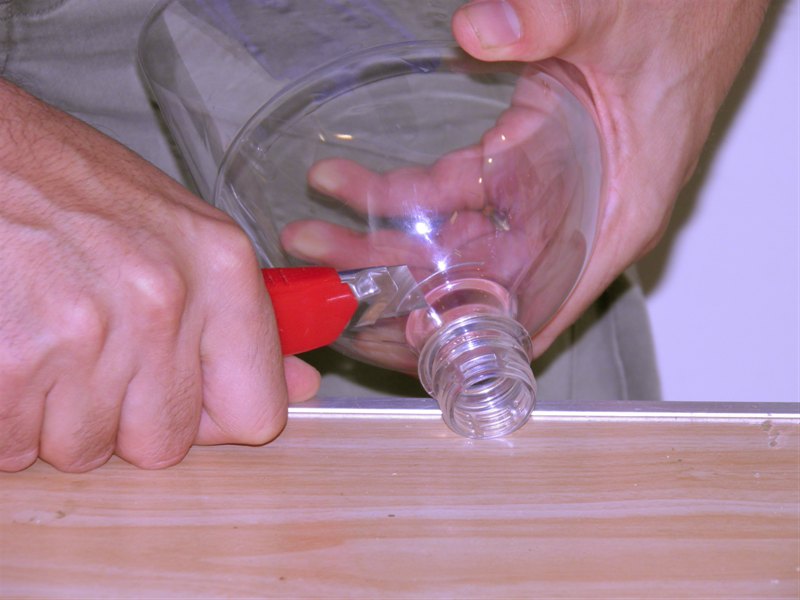
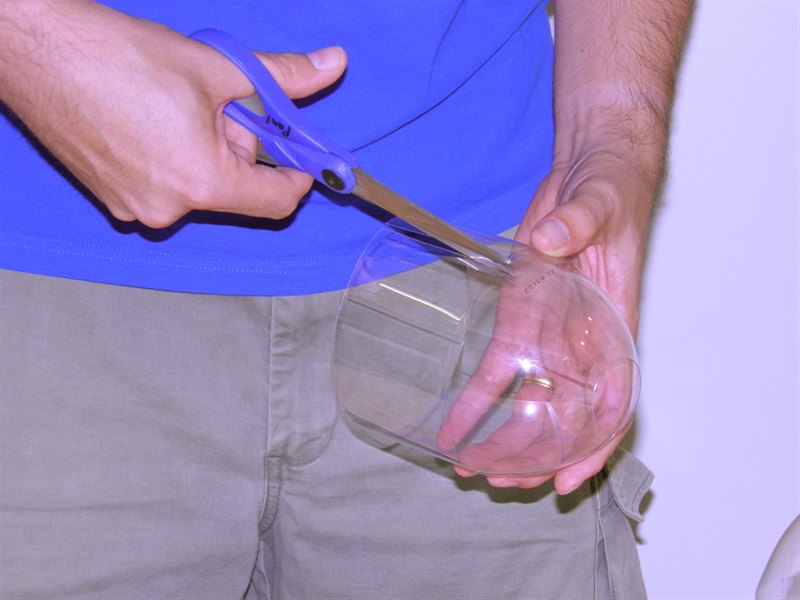
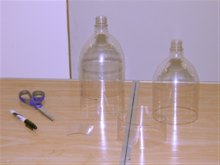
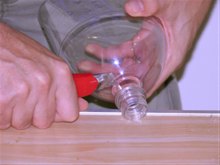
4. |
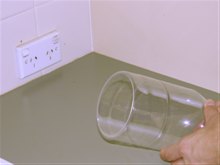
Cut off the base of all 4 bottles and trim
the edge evenly and square.
You can use the edge of the straight section as a
guide to cut the bottle evenly. Make sure you don't
leave a small flange around the edge when you cut the
bottom off.
|
 |
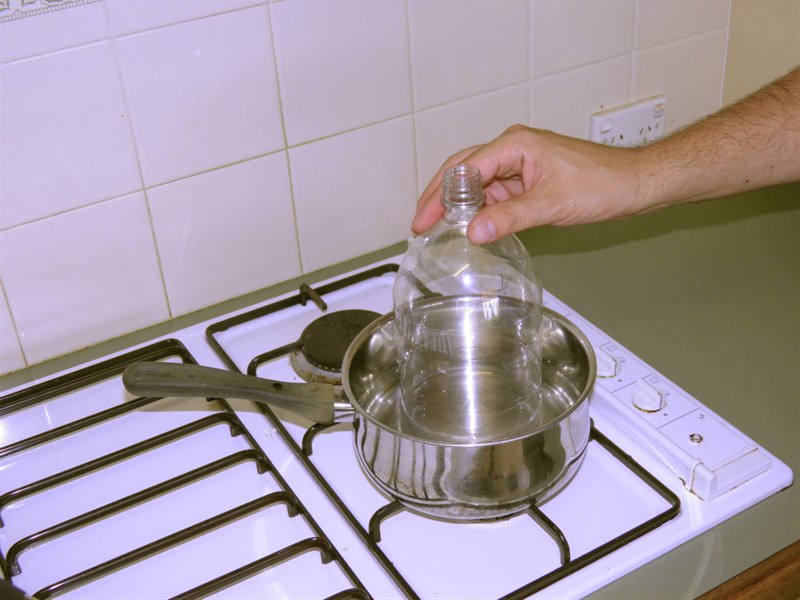
5. |
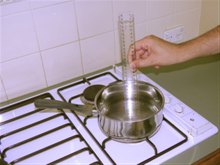
Heat about 3cm of water in a flat
bottomed saucepan. Use a thermometer to measure the
water temperature as it is easy to overheat the
water. |
 |
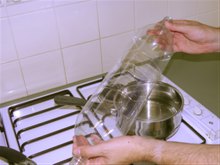
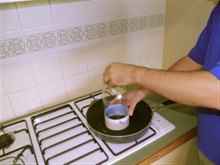
6. |
When the temperature reaches around
72C, place the bottle briefly in the water and quickly
remove.
NOTE: Make sure you let go of the bottle so that it
sits evenly on the bottom of the saucepan. This ensures
the bottle is shrunken evenly to the correct depth.
This will shrink the bottle slightly. The rate
of shrinkage will depend on the temperature. You may
need to submerge the bottle for 2-10 seconds. Make sure
the bottle is open on top. This takes a little practice,
but is easy to master. |
 |
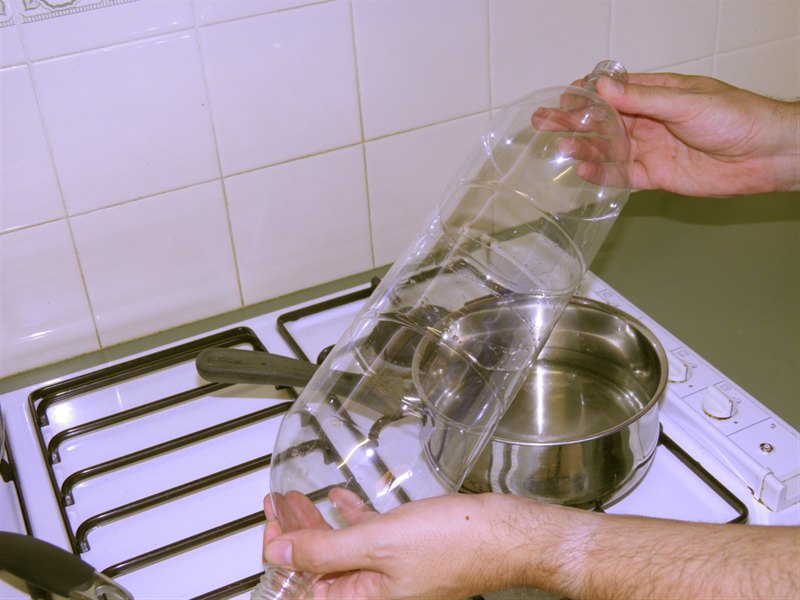
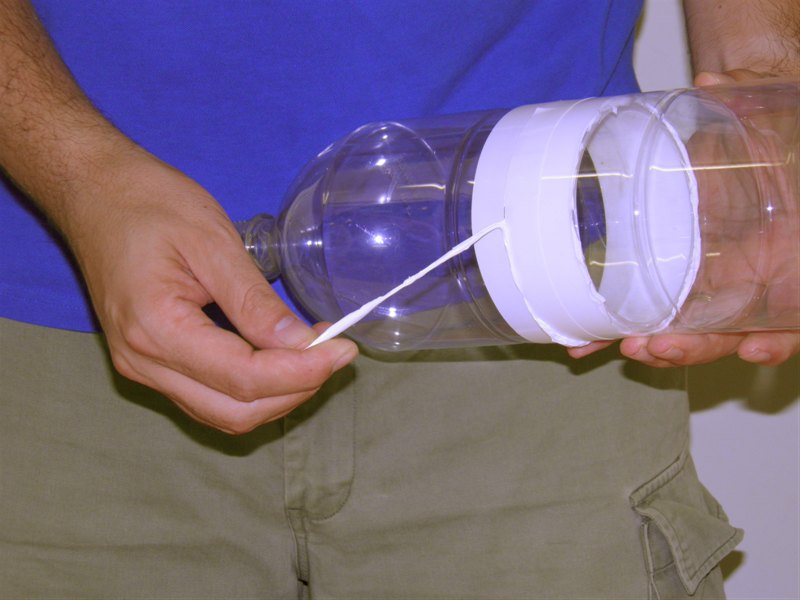
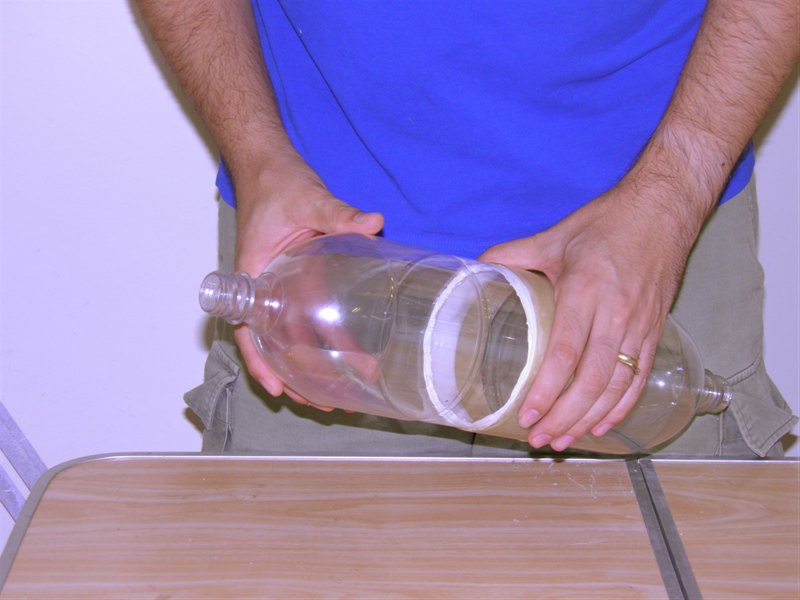
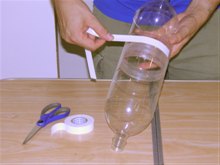
7. |
Test to see if it fits in the other
bottle. If not, submerge it again for a little longer.
But don't make it too loose. The bottle should snugly
but easily slide in. If the bottle is too loose, throw
it away and try again with another bottle. |
 |
8. |
Dry the bottle before the next step. If
there are water droplets on the bottle while curling the
edge then the edge won't curl evenly. |
 |
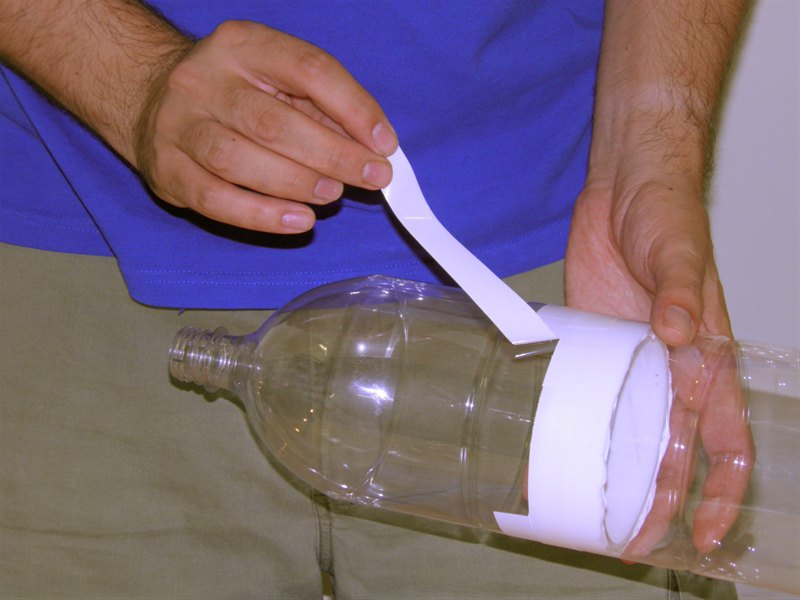
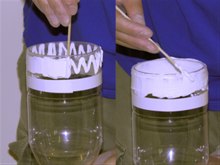
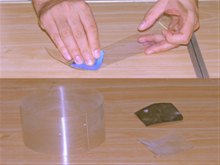
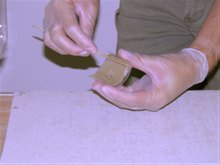
9. |
Curl the shrunken edge of the bottle on
warm frying pan. You can use a ring made of cardboard to
help keep the bottle sitting square on the frying pan. Turn the
bottle continuously to make an even curl. |
 |
10. |
Lightly sand the outside shrunken section of
the bottle. Lightly sand about 2cm of the inside of
the second bottle. |
 |
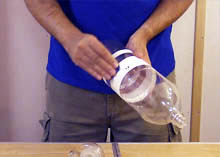
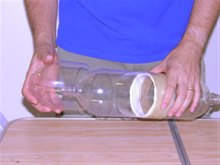
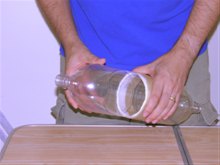
11. |
Fit the two sections together so that
the bottles are aligned.
A quick way to test is to spin
them between your fingers and see if there is a wobble.
If there is then just tap the bottles on a flat surface
a few times while turning them. You may need to repeat a
couple of times. |
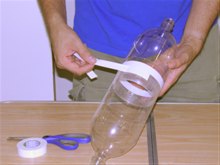 |
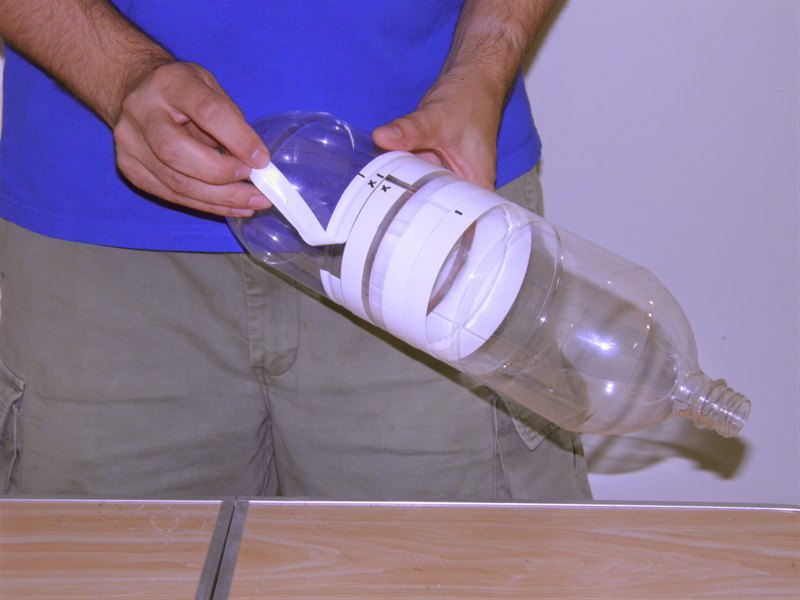
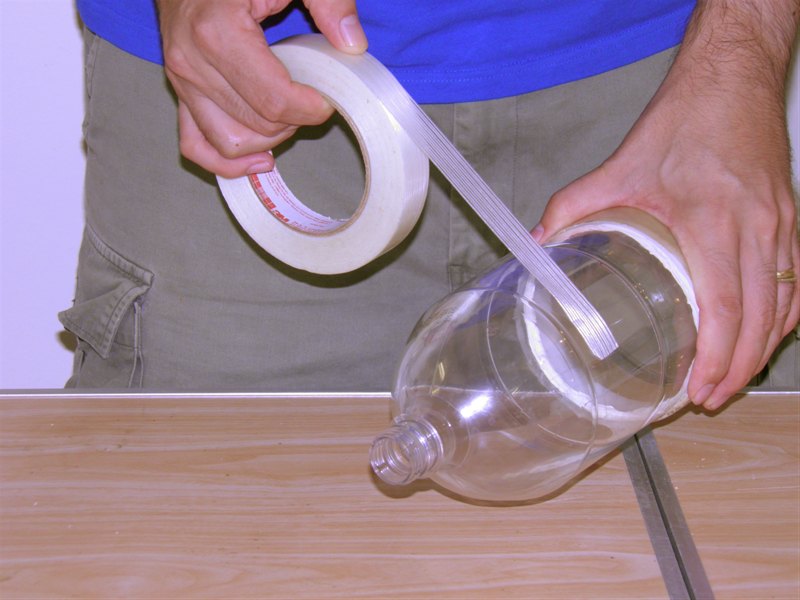
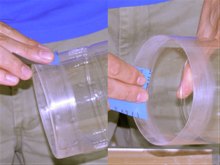
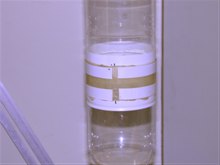
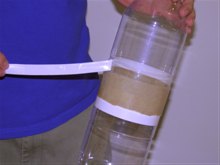
12. |
Apply
electrical tape around both bottles where
the joint meets. This will keep the edge clean, for the
next gluing phase.
Do this step carefully so the bottles don't move. You
want the tape to be as close to the edge as possible, as
it is used as a stop when pushing the bottles together
during gluing. |
|
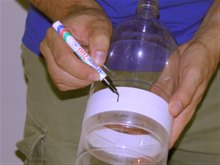 |
13. |
Mark the two sections with a marker pen
to help you align them during gluing. |
|

|
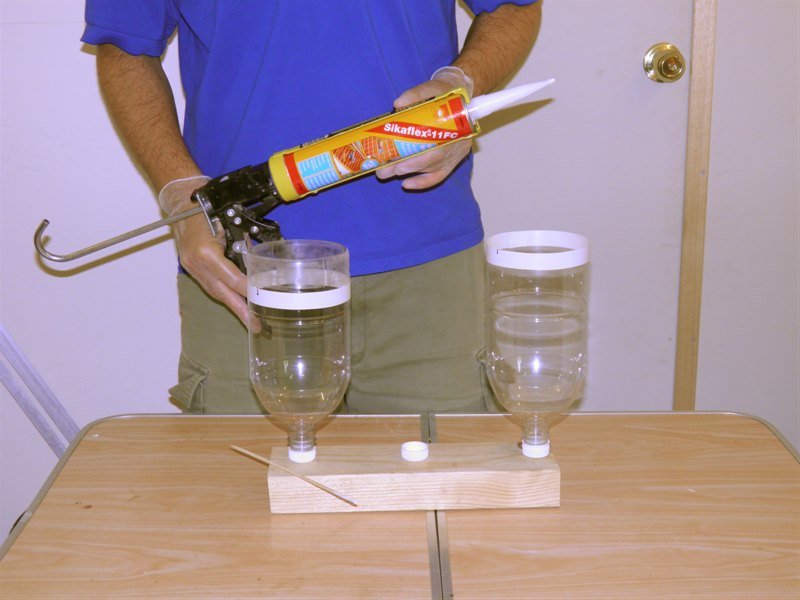
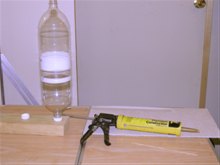
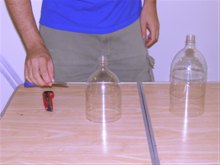
14. |
Glue the two sections together with
Sikaflex 11FC.
NOTE: You can use the
PL Premium glue instead. We use
the Sikaflex glue as it is non-porous and is quite
flexible which prevents
leaks when the bottles stretch under pressure.
On it's own the Sikaflex isn't strong enough to
safely hold the splice together. It will separate beyond
around 60psi.
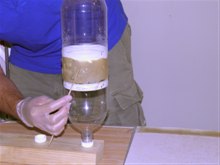
We use a block of wood with two caps screwed into it
to hold the bottles upright while applying the glue. |
 |
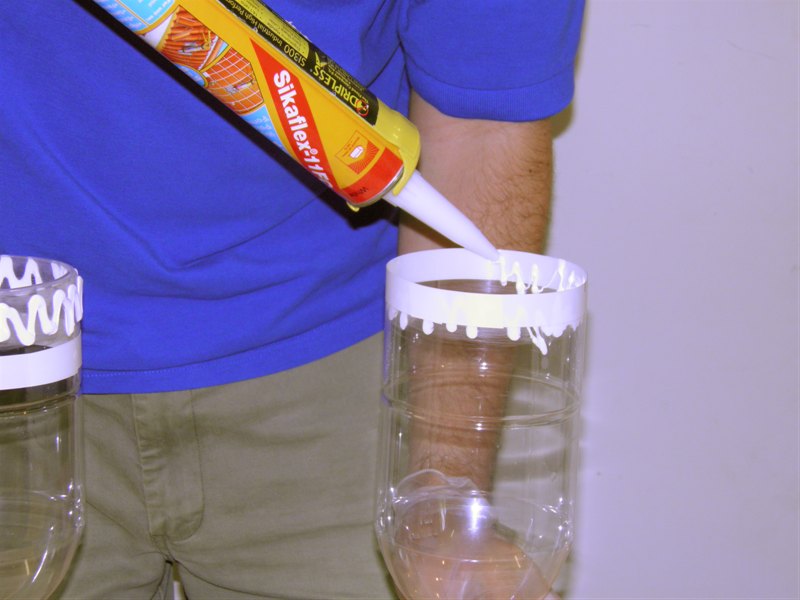
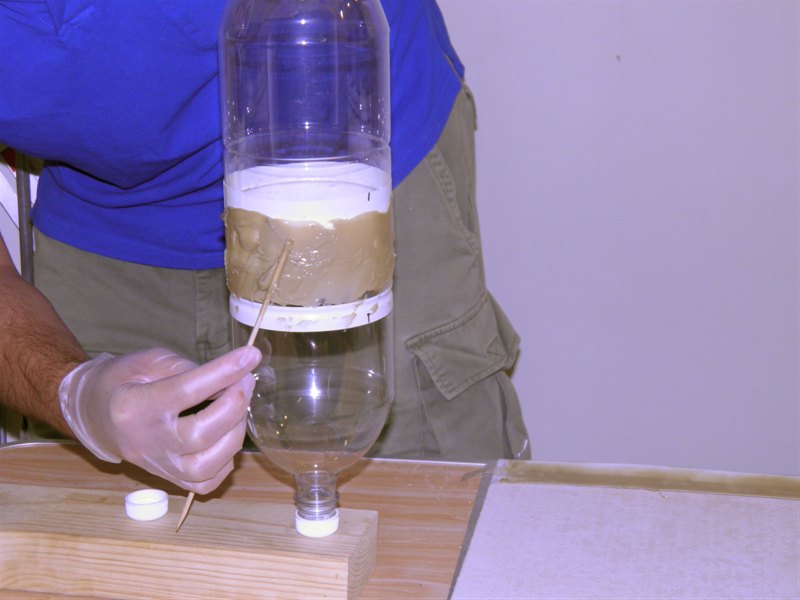
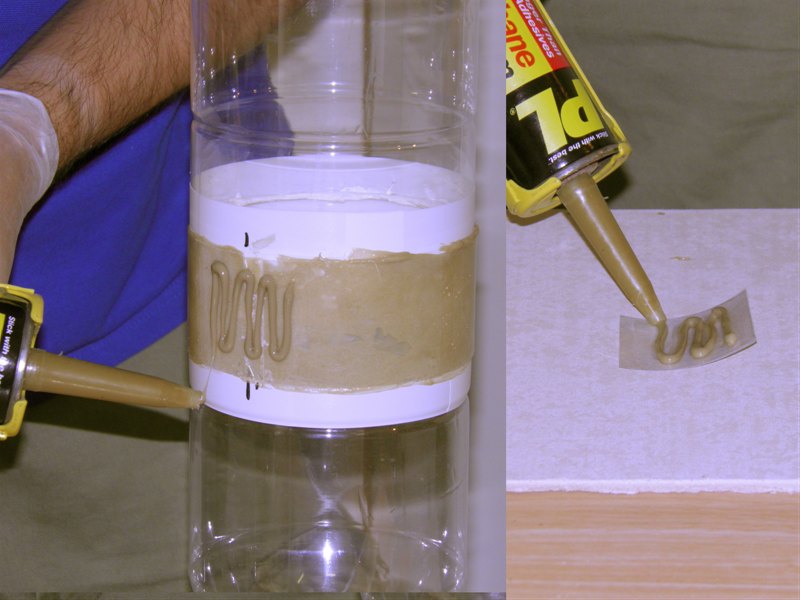
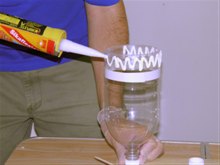
15. |
Apply a generous amount of the glue to
both surfaces. With a little practice you will know how
much is enough.
This splice is important for the integrity of the
seal so you want to make sure there are no bubbles or
channels where air could escape. |
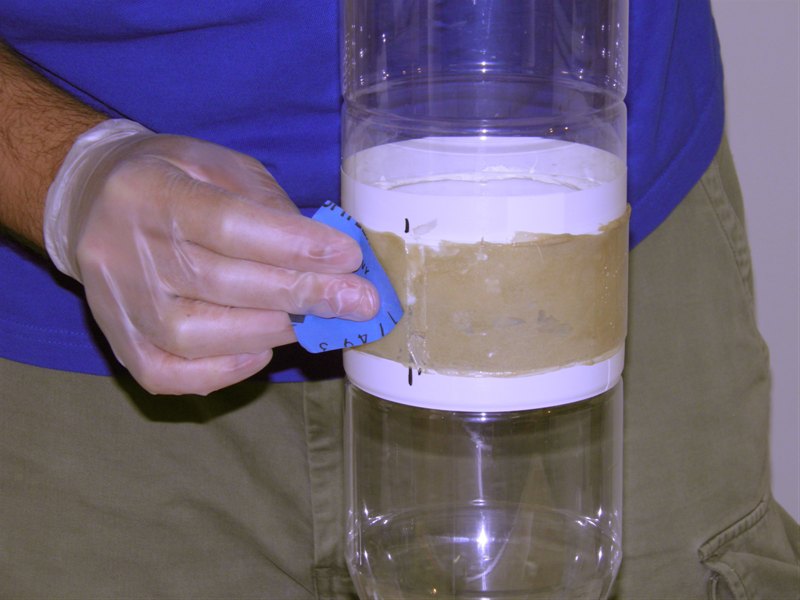
 |
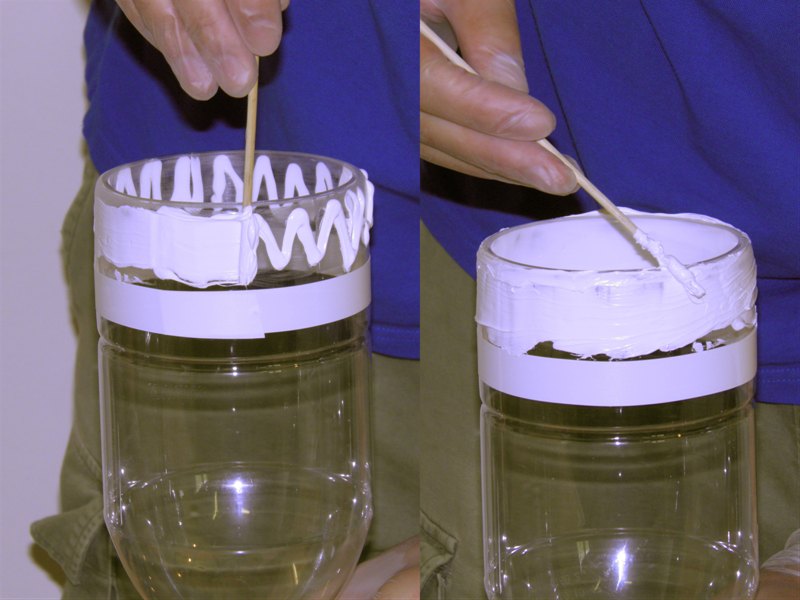
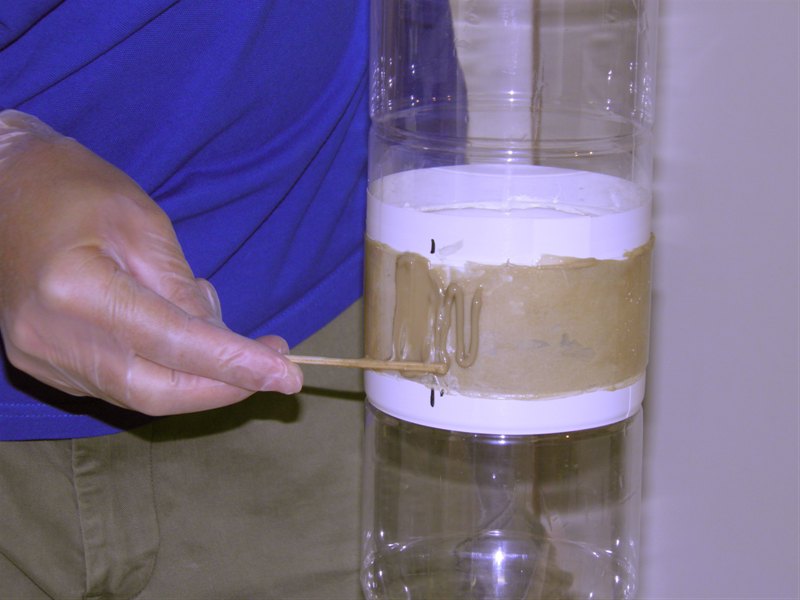
16. |
Spread the glue evenly using a skewer
stick. Make sure that the glue completely covers all the
sections to be glued. |
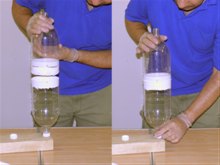 |
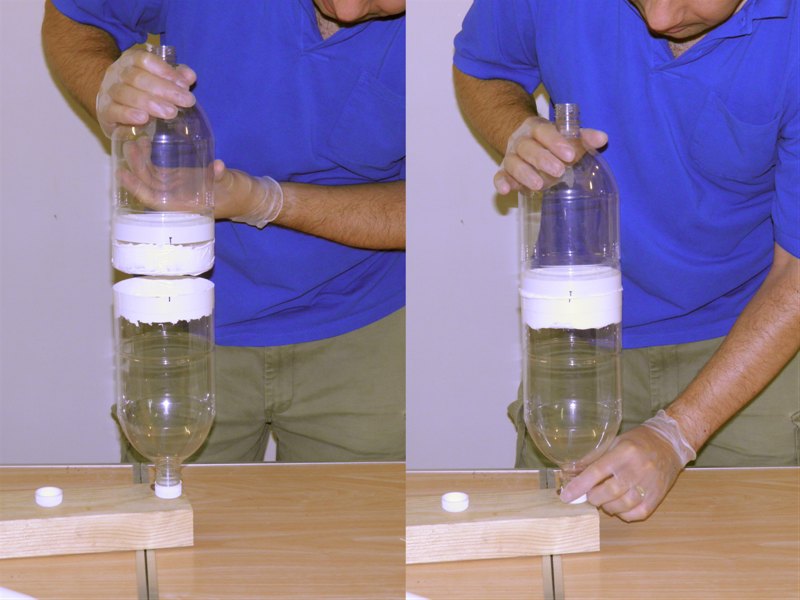
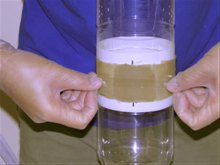
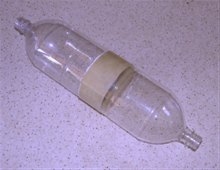
17. |
Align the bottles using the marks on
the tape and slowly press the two halves together until
the top bottle comes to a stop against the tape.
You can inspect the join through the bottle wall to
make sure there are no bubbles. If there are small
bubbles you can usually work them out by lightly
pressing on the join, but be careful not to do it too
much. You can also give the bottles a quick spin test to
see if they are still well aligned. |
 |
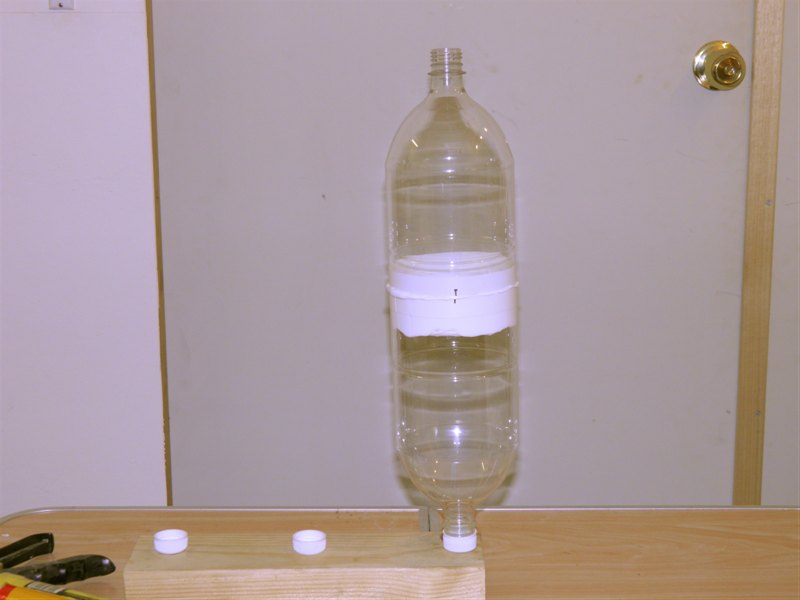
18. |
Let the splice cure for a day.
Polyurethane glues like Sikaflex and PL premium need
atmospheric moisture to cure, so if you live in a dry
climate you may need to wait a little longer. |

 |
19. |
When the glue is cured, remove any excess glue and remove the
electrical tape. The Sikaflex doesn't adhere well to the
tape so it is easy to pull off.
This should leave a nice clean edge. |
 |
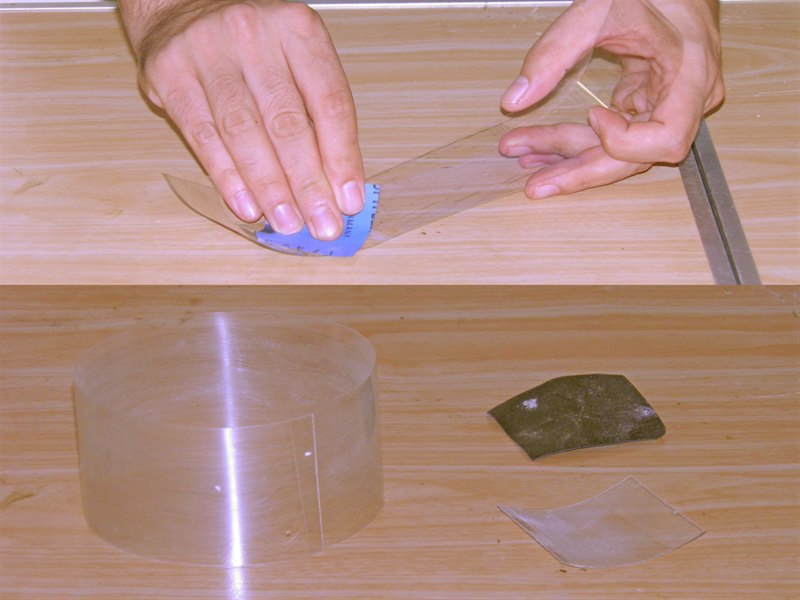
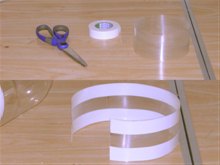
20. |
Cut out a 5cm wide sleeve from the
bottom section of bottle #3. (Save the top section) Cut the sleeve open since being the
same diameter it will not fit over the existing bottles. Cut a 5 x 5cm section from
the bottom of bottle #4. This patch will be used to
cover the gap left in the sleeve. (Save the rest of the bottle.) |
 |
21. |
Lightly sand the inside of the sleeve
and patch. |
 |
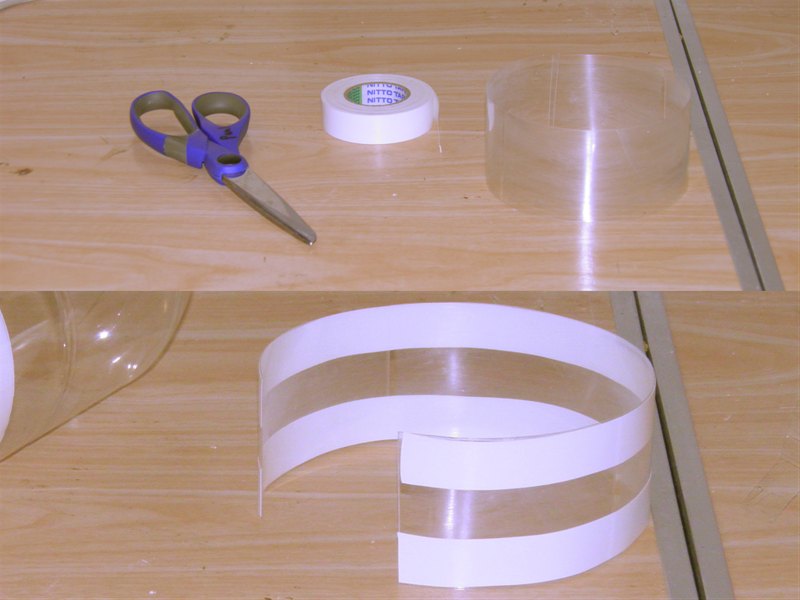
22. |
Apply more electrical tape
along the outside edges of the sleeve. This will make
for a neater looking splice. |
 |
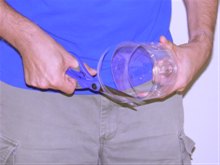
23. |
Place the sleeve on the bottles and
center it on the seam between the bottles. Use a piece
of tape to hold it in place. Wrap a couple more pieces
of tape on the bottles along the edges of the sleeve.
Again this is just to make the splice neater.
Mark on the outside tapes the location of where the
split in the sleeve is to help you align it. |
 |
24. |
Remove the sleeve and lightly sand the outside of the glued
bottles where the sleeve will fit. |
 |
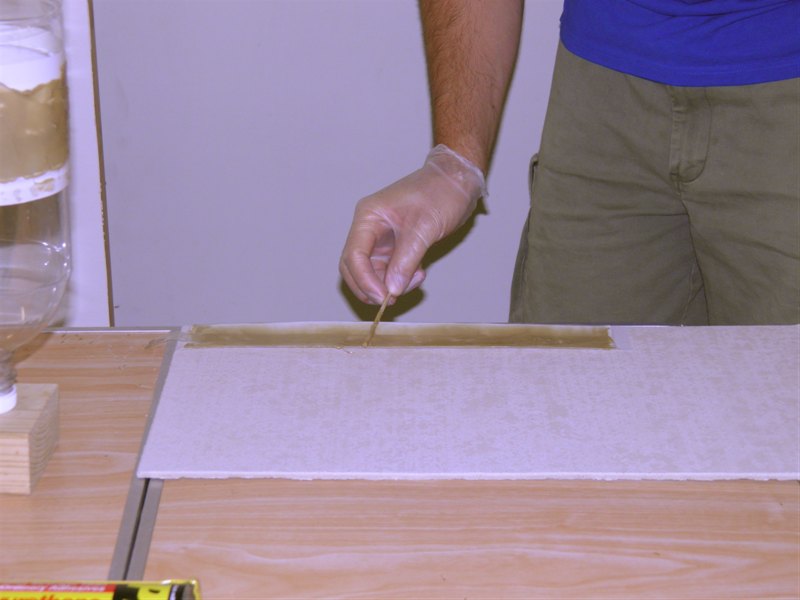
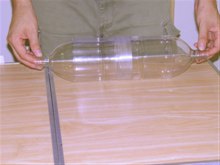
25. |
Spread a coat of
PL premium on the
bottles as well as the inside of the sleeve.
We like to stretch out and tape the sleeve to the
table to make it easier to apply the glue.
|
 |
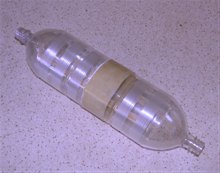
26. |
Wrap the
sleeve on the bottles making sure it is centered over
the join. There will be a small 3-5mm gap in the sleeve
when applied due to the thickness of the glue. Push out any air bubbles, but it is not
critical to get all of them out. Since the airtight seal
is provided by the Sikaflex glue.
Pull the sleeve tight with a piece of
tape over the cut in the sleeve.
Let the glue cure for 2-3 days. This will again
depend on the humidity of your location. |
 |
27. |
When cured, remove the tape from the
sleeve and lightly sand around the edges of the
cut in the sleeve. The area to sand should be the size
of the patch. |
 |
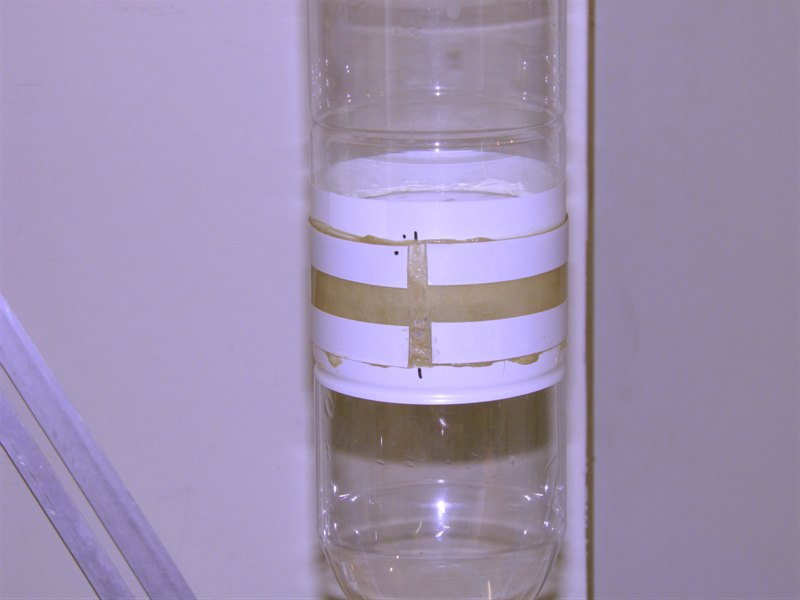
28. |
Apply PL Premium glue to both the
bottle and the patch. |

 |
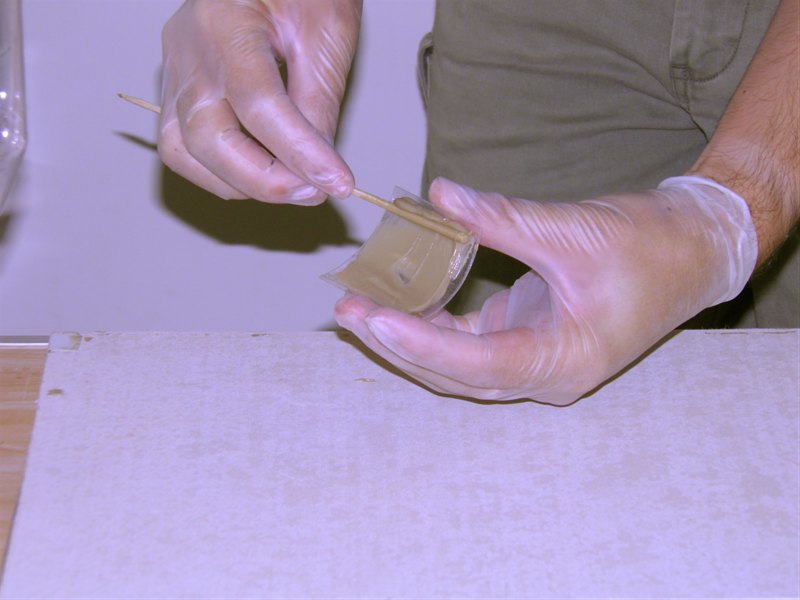
29. |
Use the skewer stick to spread the glue
evenly on both the bottle and the patch. |
 |
30. |
Put the patch on the bottle and center
it over the seam. Work out any bubbles that might be
trapped under the patch. |
 |
31. |
Use tape to hold it
in place while the glue cures. Let the whole splice cure
for at least 5 days before pressurising. This allows the
PL premium to reach maximum strength. The splice is
safe to handle usually within 24 - 48 hours. |
 |
32. |
Remove the tape and any excess glue
from the bottles and patch. |
|
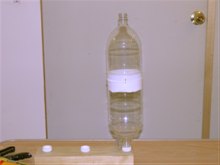
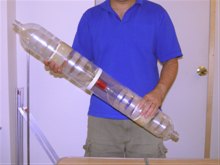
At this point the splice is complete and
can be used in your rockets. However, beyond about
120psi (8.3bar), the necks of the 2L bottles will start getting
stressed and become permanently distorted. The next
section covers how you can reinforce the spliced bottles
so that ~140psi (10 bar) is a usable operational pressure. The
reinforced spliced bottles will fail at around 190psi
(13 bar). |
 |
33. |
Cut off the bottom sections bottles #3
and #4 including the ridge mid way up the bottle (on some
bottles). These become the reinforcing sleeves that fit
over the ends of the spliced bottles. |
 |
34. |
Cut the necks off bottles #3 and #4 so
that the hole left is just big enough to slip over the
necks of the spliced bottles. Take care when doing
this step with a knife. |
 |
35. |
Cut three equidistant slits in these sleeves all
the way up just past the transition from cylindrical to
the curved part of the bottle. This will enable it to
fit over the ends of the spliced bottles. |
 |
36. |
Slide both reinforcing sleeves over the
ends of the bottles as far as they will go. The splits
will open perhaps 1 or 2mm. |

 |
37. |
You can either glue them in place, but
we prefer to just tightly wrap them with glass strapping
tape. You will need to go around 2
or 3 times. Add two or more wraps to each reinforcing
sleeve. There will be a small section of bottle next to
one side of the splice that is not reinforced. Add an
extra wrap of of the glass tape there. Now do a hydrostatic pressure test to make
sure the splice is constructed properly and does not
leak. Make sure you test at slightly above the pressure
you intend to launch the rocket at. |

 |
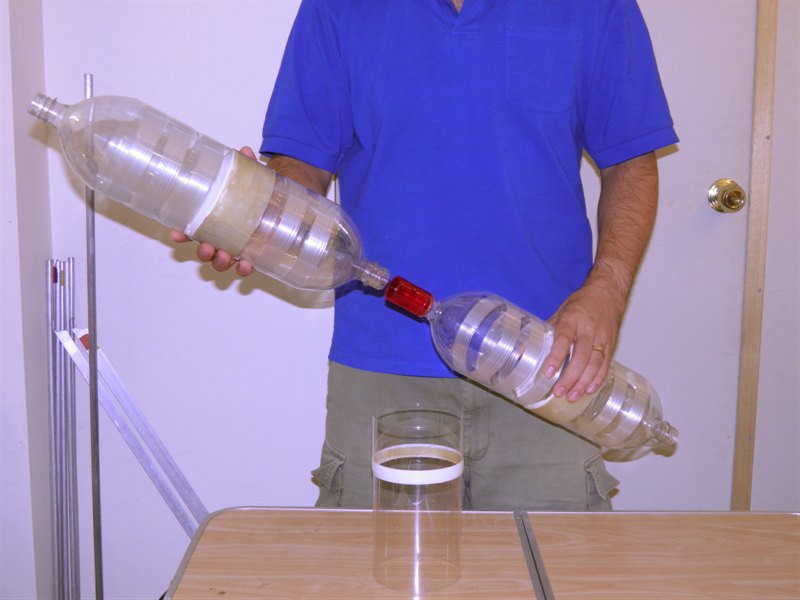
39. |
These spliced pairs of bottles can be connected to others using tornado tubes to make
longer and higher capacity rockets. You can insert a
fairing between the bottles to give the rocket a
streamlined shape. |
|
Here are a couple
of examples where these splices have been used
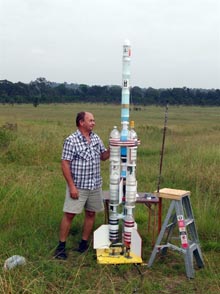
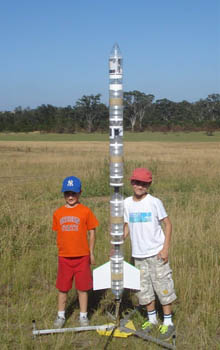
Acceleron V
and Polaron VII |