Each flight log entry usually
represents a launch or test day, and describes the
events that took place.
Click on an image to view a larger image, and
click the
browser's BACK button to return back to the
page.
Day 100 - Polaron G2 First Flight
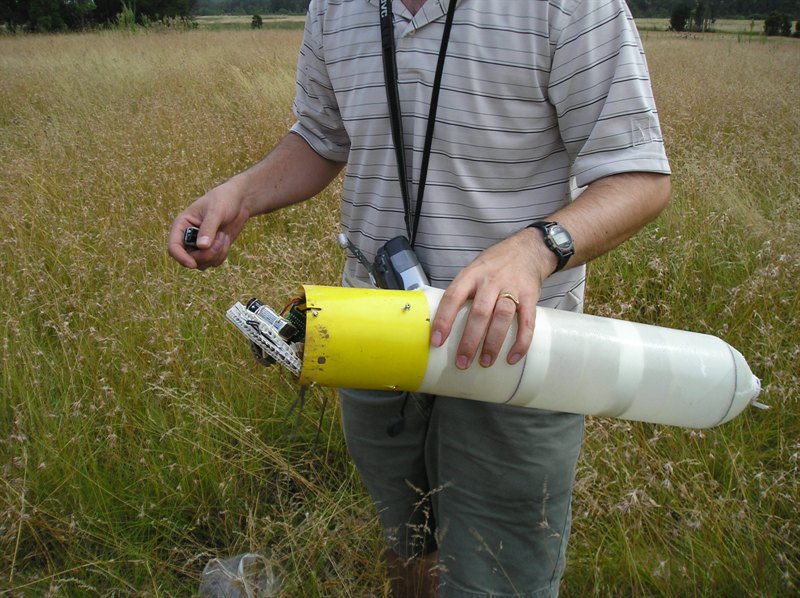
Remote arming switch added (on the right)
Hole for the remote arming switch
not pretty, but the attachment point for the
nosecone.
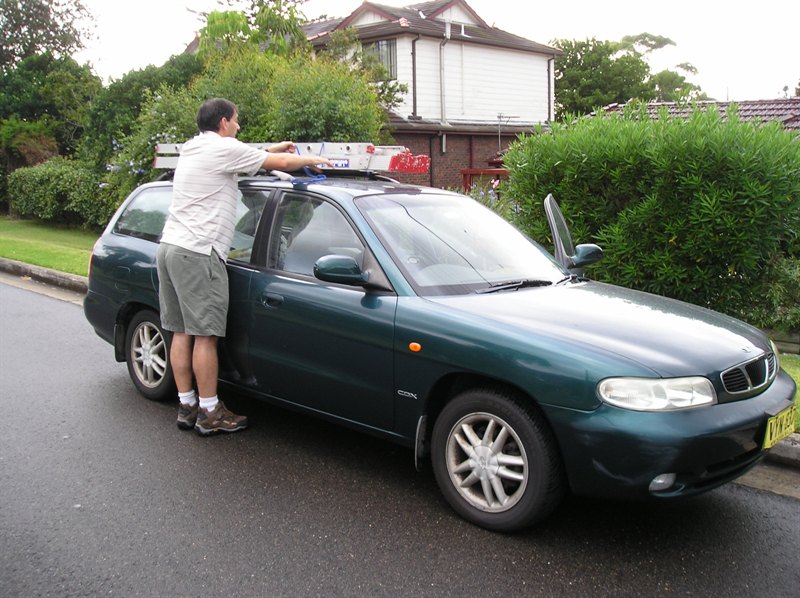
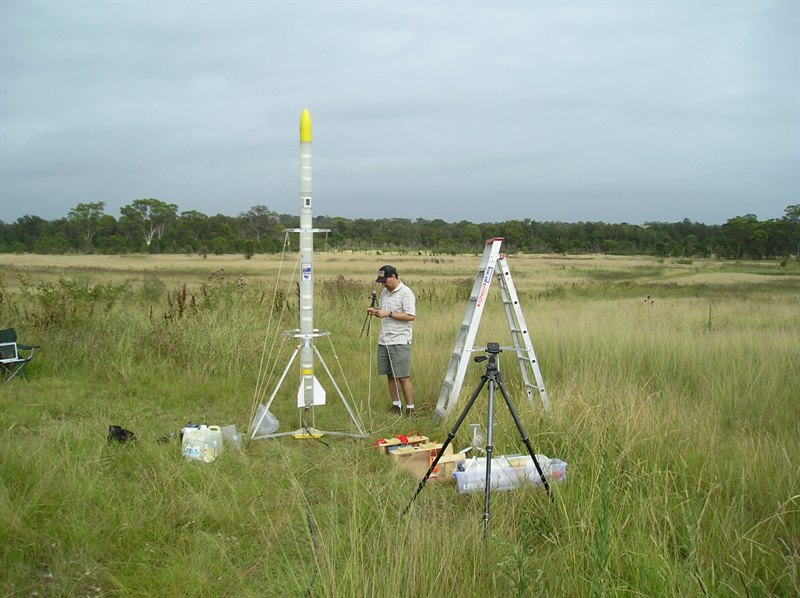
Prepping rocket the night before launch
New bit of gear. Ladder all packed
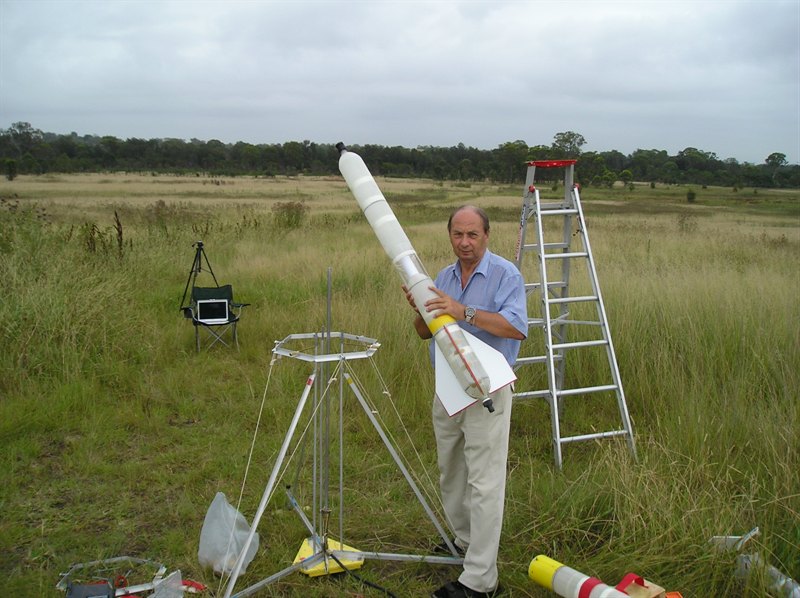
We load the lower half of the rocket first
Then fill with water.
The top section of the rocket is then
screwed into the tornado coupling.
Photo: Andrew Burns
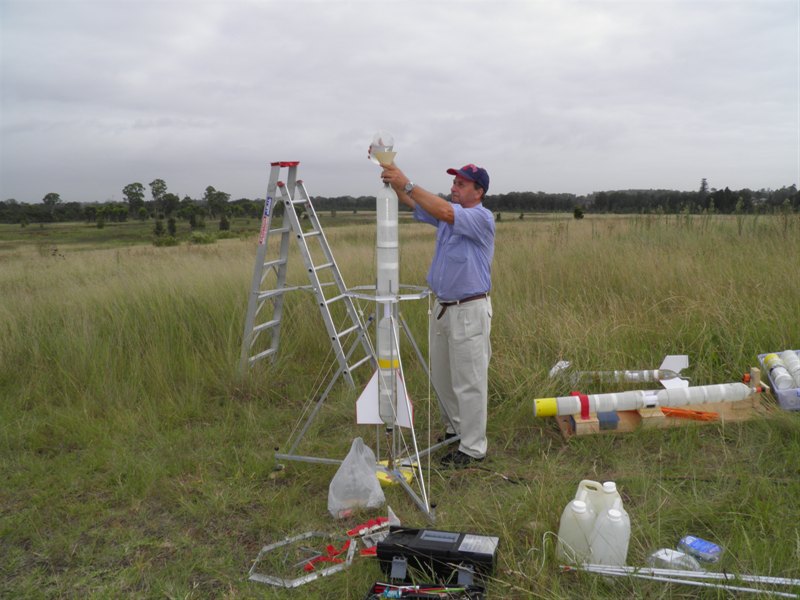
The upper part of the launch tower is then
assembled.
Photo: Andrew Burns
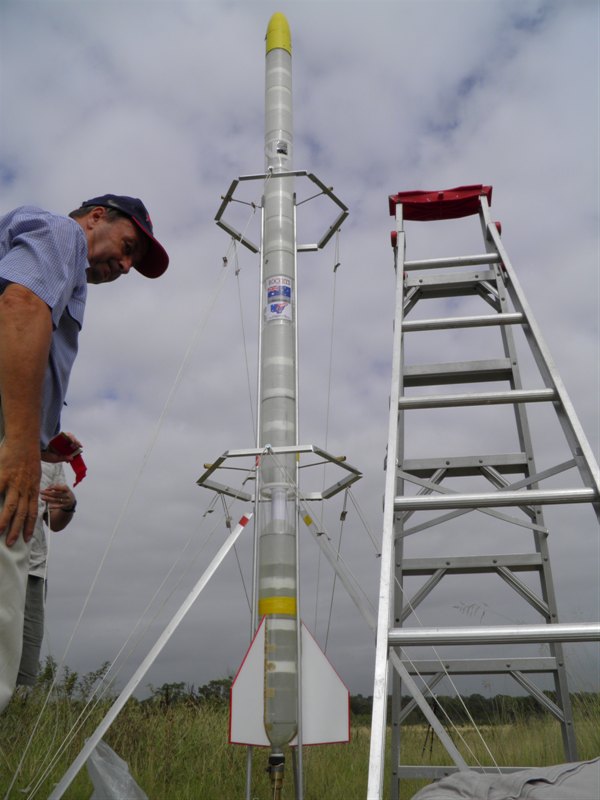
Adding support braces to the launch tower.
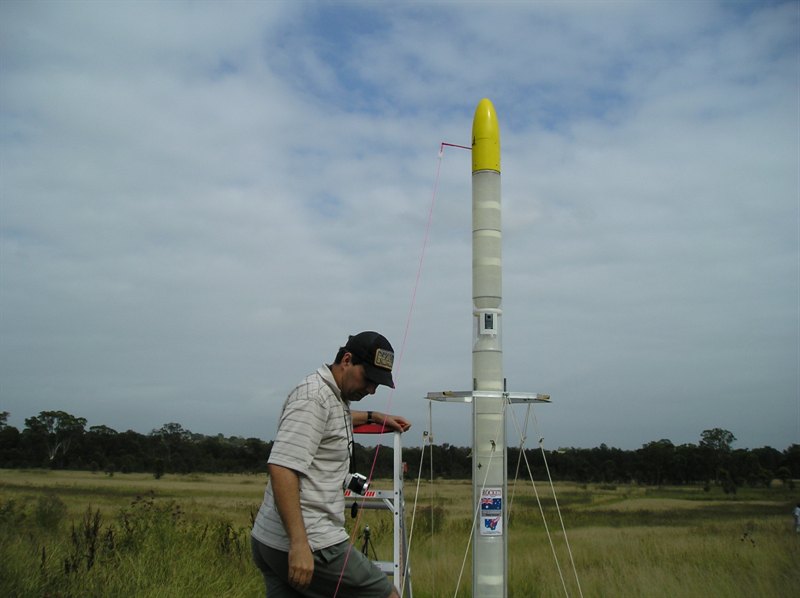
Detail of the remote arming string attached
to the remote arm switch
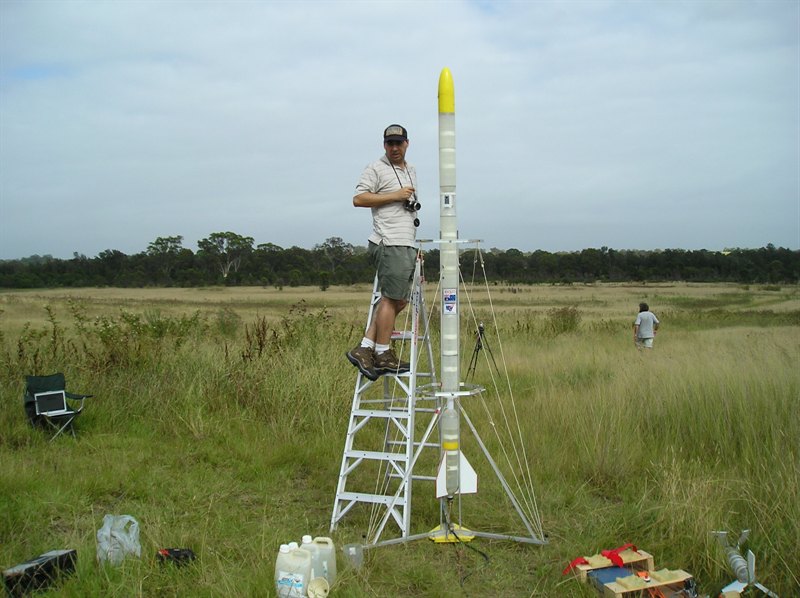
Final prep all finished.
"I can see my house from here"
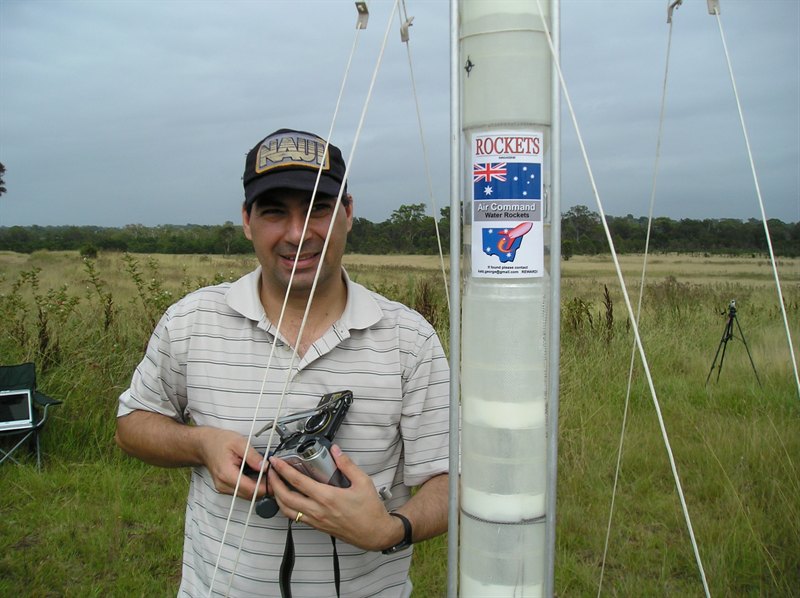
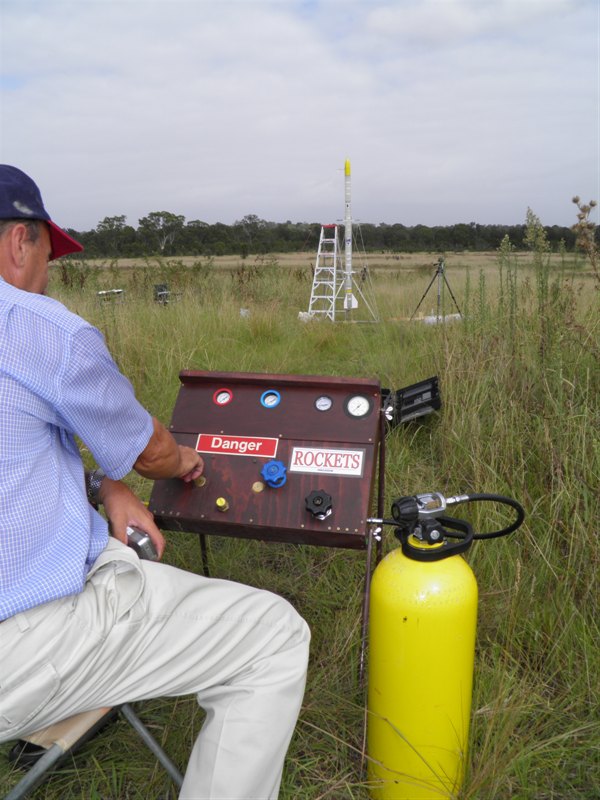
Pressurising the rocket with the high
pressure panel
Launched at around 230psi.
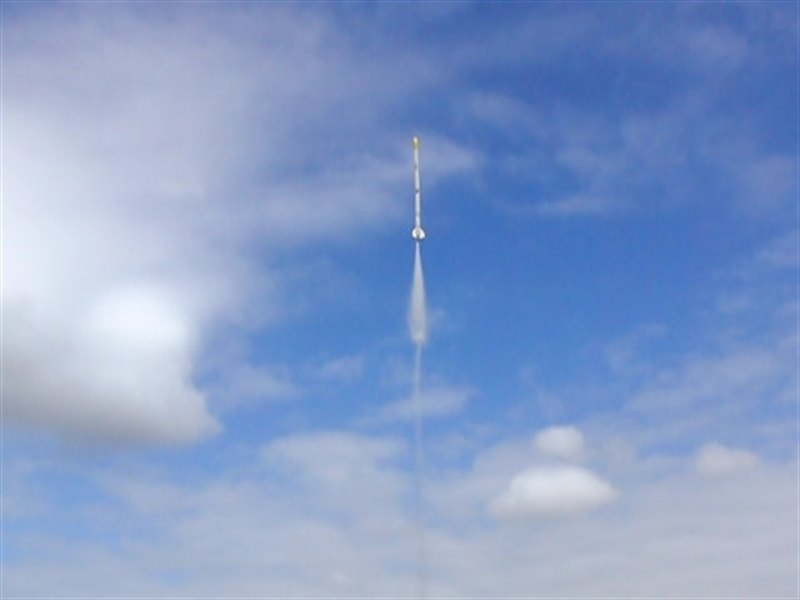
Start of air pulse.
A frame from the ground video.
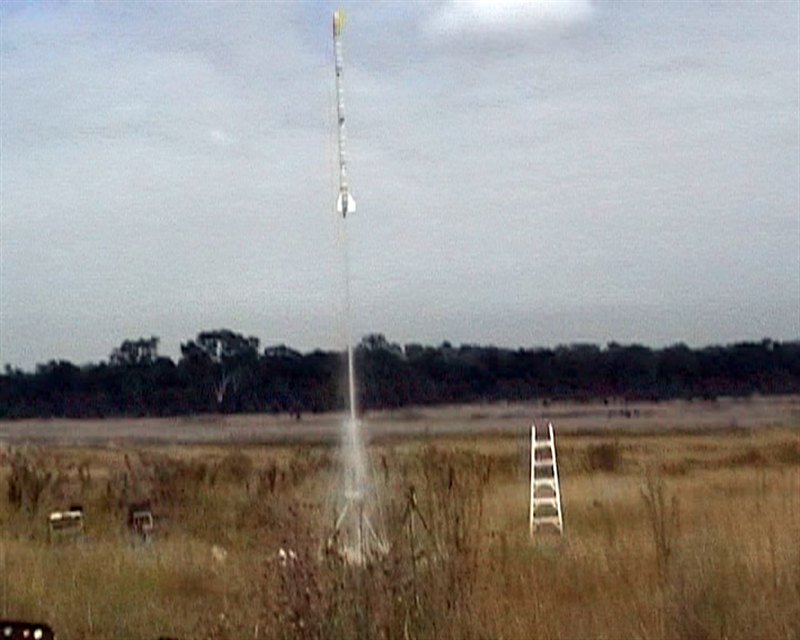
Parachute says goodbye to the rocket.
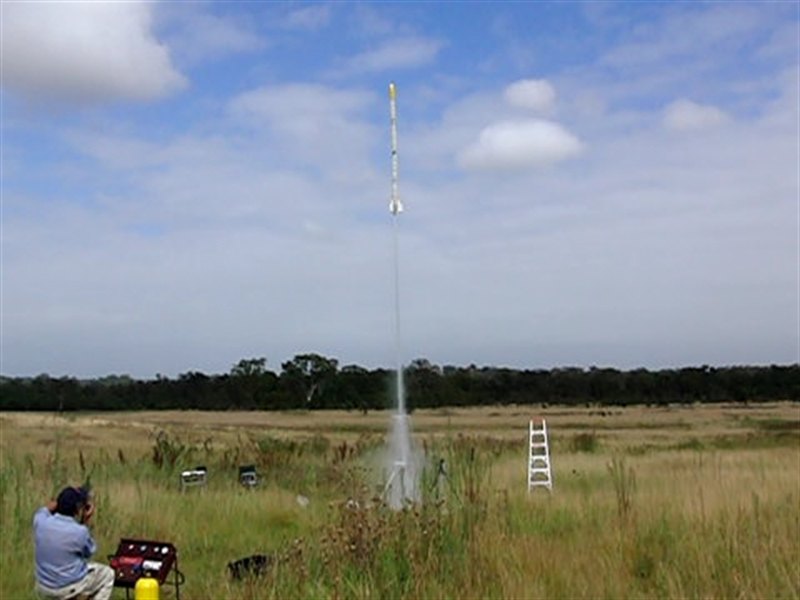
Andrew launches the rocket.
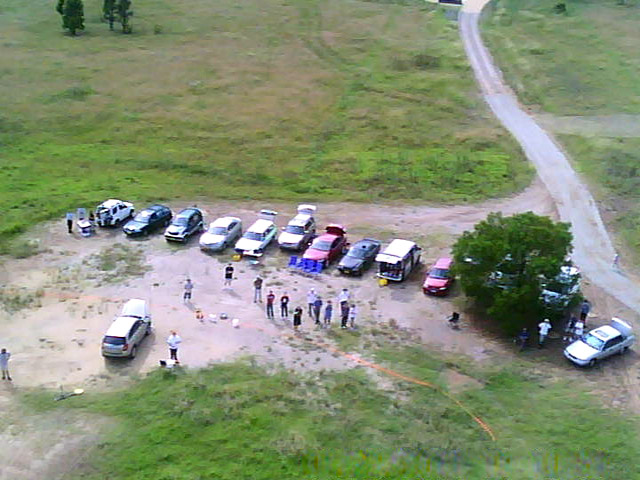
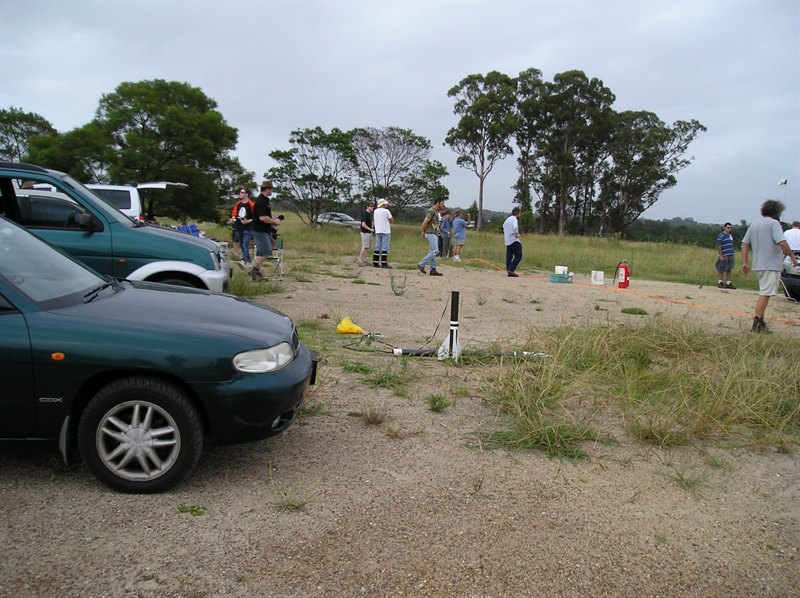
NSWRA club members group photo.
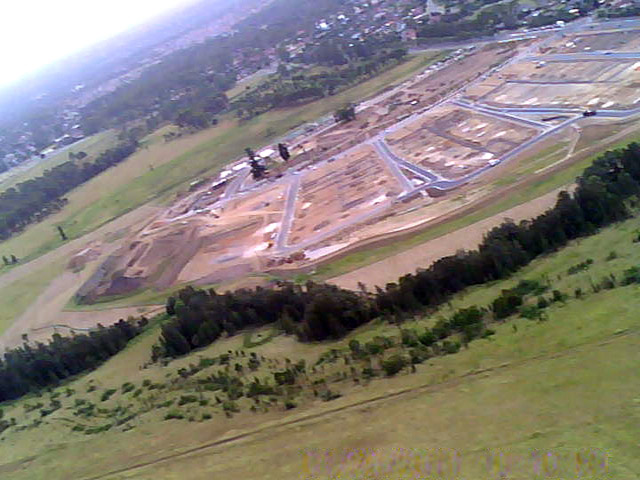
Apogee image at 668 feet.
New housing estate next to the launch site.
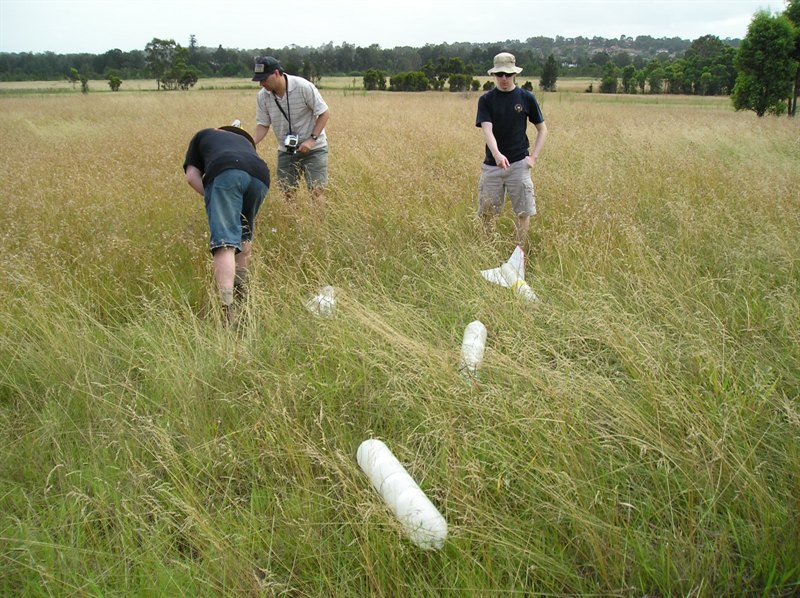
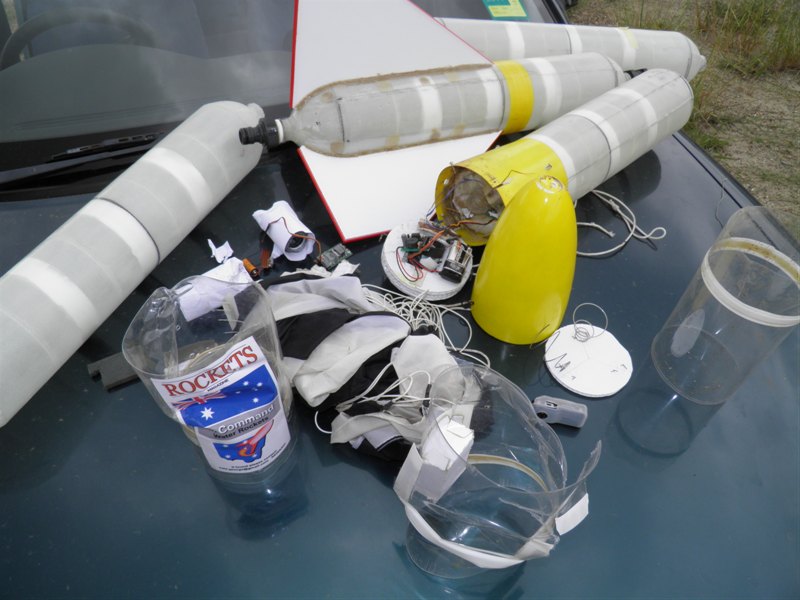
Debris scattered in the tall grass.
This bit slammed into the ground first at
200km/h +
Bottle necks shredded, but tornado couplings
survived. They are pretty tough.
Snapped flight computer
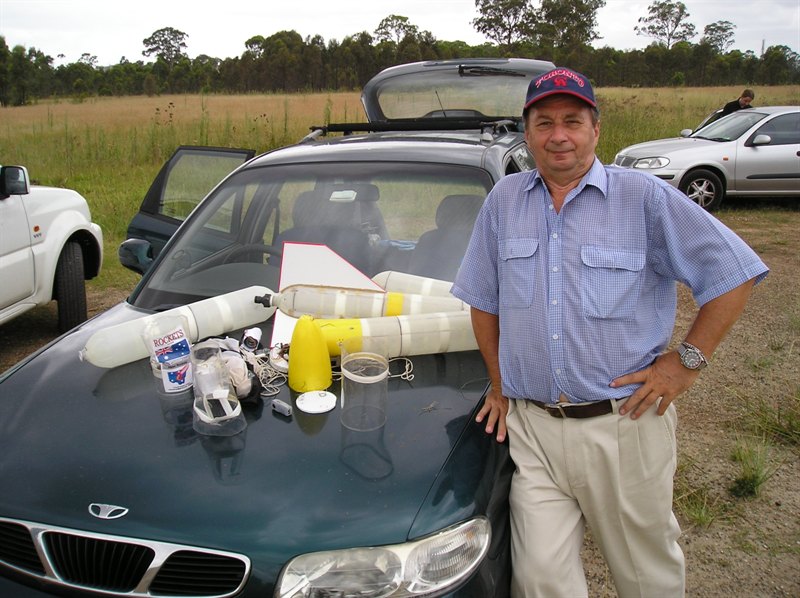
Proud rocketeer.
Some of the bits left over. Nosecone is
largely undamaged.
NSWRA club members.
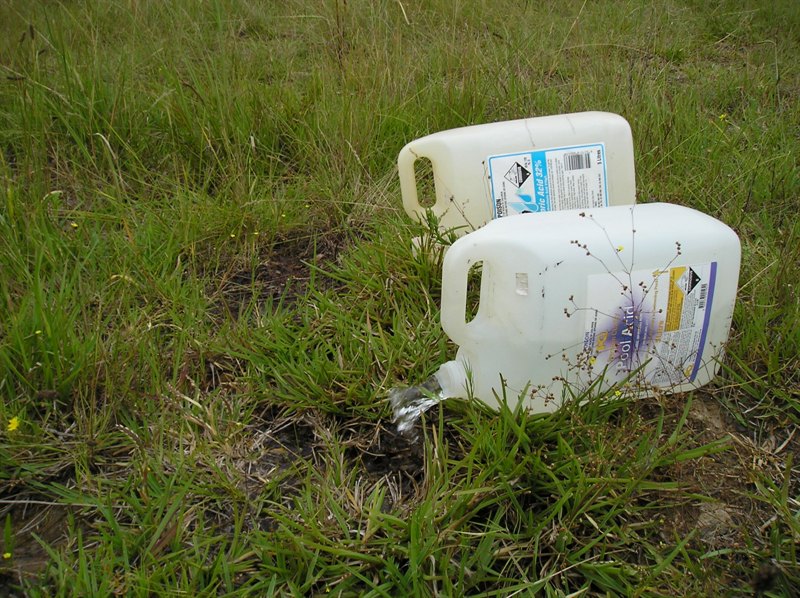
Dumping fuel in an environmentally friendly
manner.
Date:29th January 2011
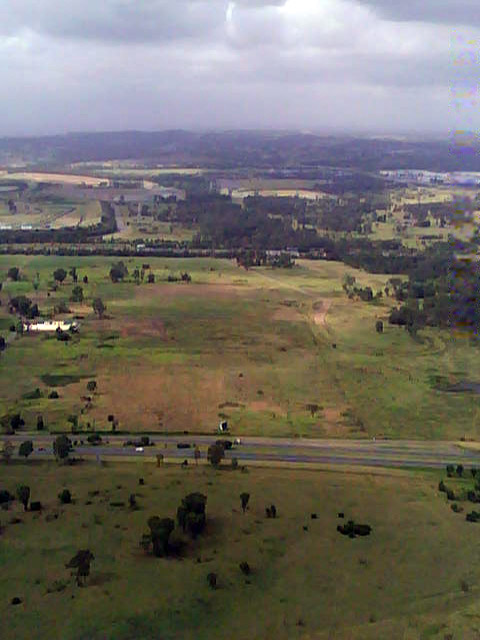
Location:Doonside, NSW, Australia
Conditions:27 Degrees C, light
winds mostly cloudy.
Team Members at Event:PK and
GK
We were happy to finally get the G2
rocket up into the air today. It's been a
long process to come to this point, however,
the flight was not as successful as we would
have liked. Though disappointing we did learn
quite a lot about launching a rocket of this
size. We also have some good on-board data
from the flight, which will help us with
the next series of G2 flights.
We had finished the rocket earlier in the
week and were ready to launch when we
received an email from Alex from (http://ckona.rocketworkshop.net/)
in Ukraine with a good
suggestion to fill the rocket with water
using an external water tank that gets
pressurised to push the water in. (http://balancer.ru/_bors/igo?o=balancer_board_post__2348977). This
is a concept that has been used by others
before, but I
hadn't given filling the rocket with water much thought
and expected us to fill it on it's
side as usual. We normally tilt the launcher over to load
the rocket and then stand it up. But with this
size rocket that was going to be very
difficult to do. Alex had a very valid
point.
We didn't have enough time
before launch to set up the pressurised
water tank, so we opted for assembling the
rocket on the pad. We put half the rocket on
the pad and filled it with water. We then
prepped the parachute into the nosecone and
screwed the other half of the rocket onto
the bottom half. We had to then assemble the
upper part of the launch tower around it. It
ended up being relatively simple, but in the
future we should use the pressurised water
tank.
We also modified the Acceleron V cradle to
make it easier to transport this rocket in
sections.
Flight Day Report
The whole launcher and rocket took about 1.5 hours
to set up.
After the rocket was set up we started
pressurising it. As we reached about 220-230
psi I could hear a leak somewhere on
the stack. With that much pressure you
really don't want to get too close to
investigate, so dad kept filling up until
~250psi, but when the tank was turned off, the
pressure had gone down to about 220psi by the time we were about to launch.
So we re-filled it, but the leak continued,
and the final launch
pressure would have been closer to 220-230psi?
We launched regardless as there was
enough pressure in the rocket to operate
correctly. If the pressure had dropped much
below ~190psi we would have had to abort the
flight as the parachute would have opened
late and there was a danger of it ripping
off.
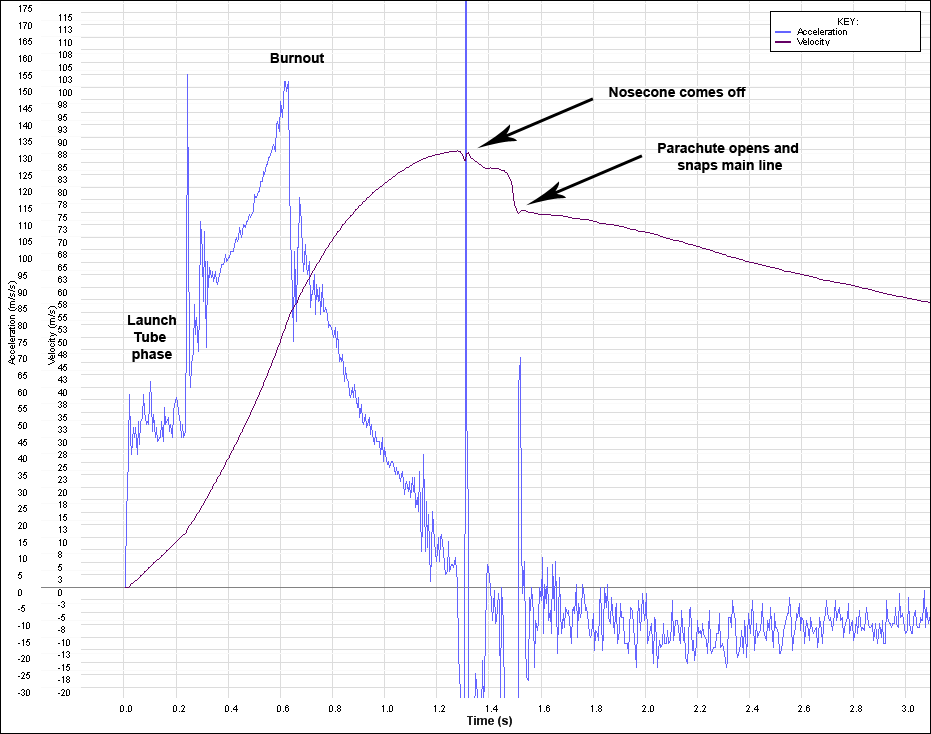
The first part of the flight went very
well as expected with a peak acceleration of
15.6G, but right at peak velocity ~88m/s
(317 km/h) and 1.17s into the flight the nosecone came off and the
parachute deployed 0.3 seconds later. Not surprisingly the
parachute also let go of the rocket. Later
when we looked at the nosecone and parachute
line it was clear that the edge of the
fiberglass nosecone had cut through the cord
as the parachute snapped open. The nosecone
had about a 1cm zipper in it. After the cord
snapped the nosecone separated and fell back
down on it's own and hence is mostly intact.
From the on board data we can see that
the rocket lost about 4m/s when the nosecone
came off and hung on by its string, and another 9m/s when the chute
opened. This means the rocket lost about
47km/h in speed as a result of the event.
Acceleration and
velocity data from Craig's flight computer.
Click to enlarge
The rocket arced over at 668 feet (203m)
and crashed heavily 14.1 seconds after
launch. Due to the lower launch pressure,
the parachute deploy anomaly and the higher
drag, the rocket did not achieve its
predicted altitude.
Z-log altimeter plot
What Happened?
We are still investigating why the
nosecone deployed early. We suspect it was
just enough uneven air pressure on the nose
that made it slide off sideways. The lip
that keeps the nosecone from sliding is
fairly small and with the added pressure of
the springs wanting to force the nosecone
off that's perhaps all it took. There may
have been a part of the parachute caught
under the lip.
Another
possible issue was that the timer could have activated
too early, and even though I was confident
the time was set correctly we wanted to
check the EEPROM setting. The PIC was dislodged
from it's IC socket and all the pins were
bent on impact. Straightening the pins and
inserting it in the PIC programmer we confirmed
that the time was set correctly.
It is possible that the timer triggered
at an earlier event while the rocket was
still on the pad, and happened to expire
about 1
second into the flight. Though early deploy is unlikely to
be the cause as the nosecone came off at
peak velocity shortly after burnout. This
would be too much of a coincidence for the
timer to fire at the same time.
The deployment mechanism was in the deployed
position when the rocket was found, but that does not mean it
activated early as it may have activated 9 seconds into the flight
as designed.
Both of the o-rings holding onto the
latch were found intact and still attached
to the nosecone so o-ring failure is also no
the explanation. It is also possible that at
least one of the o-rings slipped off the
latch.
Damage
The damage to the rocket was quite
extensive and included:
V1.6 flight computer (board snapped) - some
components are salvageable
Nosecone tip - fixable
Bottle cap reinforcing ring - replace
3 x fairings and camera and
altimeter housings - replace
9V battery - replace
Servo motor - replace
Deploy mechanism crank - replace
Remote arming switch - fixable
Fiberglass nosecone base - replace
3 x reinforced spliced quads -
replace
However, the following survived with no
damage:
Tail spliced quad and fins
3 x tornado couplings
Altimeter - (damaged battery)
MD80 clone camera
Craig's Flight computer
2 x 350mA Lipo batteries
16mm nozzle
Parachute
The most critical components such as the
altimeter, camera and Craig's flight
computer survived which is what we were
happy about.
Other Observations
When the rocket crashed the power switch
next to Craig's flight computer was bumped
and cut the power to the FC. This meant we
lost some config data and first 20 samples.
These 20 samples included a part of the
launch tube boost phase so not really
important.
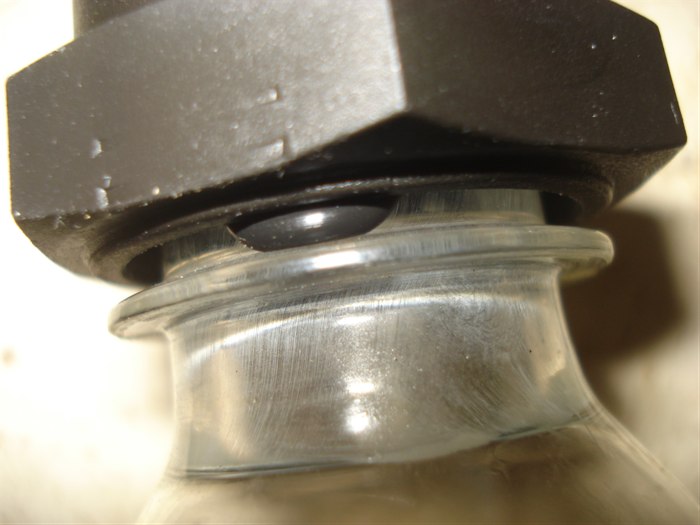
When we were packing up the launcher I
found the nozzle seal lying on the ground
next to it. I unscrewed the nozzle from the
rocket and sure enough the seal was not
there. That was odd because if it had come
out during pressurising we would have seen
the water leak and it would have stayed
threaded on the launch rail. When the nozzle
is tightened part of the seal protrudes on
the inside of the bottle. I suspect the
shear pressure on the seal while all the
water is rushing out is probably what pulled it
out through the nozzle.
The rocket also looked like it had a very
slight bend in it in the middle coupling,
but it did not look like it affected the
flight too much. This may have partially
contributed to the uneven airflow.
Leak
We are currently tracking down the source
of the leak we saw on the pad during
pressurisation. There are a number of areas
where it could have originated: Top cap, 3 x
tornado couplings, bottle/nozzle seal,
nozzle/launcher seal, launcher release head
seal or hose.
We are pretty confident that both seals
around the nozzle were good because we heard
a hissing noise and no water. Two days
before we did a whole rocket pressure test
to 100psi to check for leaks and all was
good. We only uncoupled the middle tornado
coupling so when the rocket was re-assembled
on the pad it could have potentially been
the cause.
The other leading candidate is the hard
rubber seal on the release head. We have not
tested this one to 250psi and will need to
check that but because it is fitted with a
launch tube we need to put a long high
pressure rocket on it first. We'll do this
in the coming days.
We can't check if the cap leaked as it
was destroyed.
All three tornado couplings are intact
with the bottle necks snapped and still
inside them. There are no obvious signs that
the o-rings slipped out as has been seen before
with softer o-rings
(http://www.aircommandrockets.com/images/day89/Day89_05_s.jpg). We are using hard o-rings which should
eliminate that.
There is one additional anomaly we saw in
the altitude data from Craig's flight
computer that could potentially be explained
by pressurised air escaping into the fairing
from the tornado coupling. The computer with
its barometric sensor were inside the
fairing with only a small hole for the
switch access letting out any air. This
fairing was right over the middle join that
was assembled on the pad.
This tornado coupling and the release
head seal are the two likely candidates.
What Worked
Despite the damage, we learned:
The spliced quads work well. This
was their first test flight.
The rocket was stable in flight.
The fins fit through the launch
tower ring braces during launch. There
is only a small clearance.
The fin attachment method worked on
this size rocket.
The rocket didn't explode on the pad
at the 250psi.
Locating the electronics further
down on the rocket prevented them from
getting damaged.
The rocket did not bend severely
during the high G-launch.
What's Next
We are still deciding whether to go back to a
side deploy mechanism, or try to get this
nosecone working more reliably. There are
advantages to both approaches. We are
likely going to increase the strength of the
parachute cord, and add a shock cord to
reduce chances of ripped off parachutes. We
still have 3 more new spliced quads we
can use, 2 of which need to be sanded and
pressure tested. We are also likely to use a
different setup for switching power on and
off to electronics to prevent power interrupts in case of
another crashed rocket.
The nozzle is going to be re-made to use
o-rings instead of the flat seal.
For the next set of flights we are going to
add a second redundant recovery system.
There will be a weight penalty initially,
but when we get the main deploy working
properly, then we will be able to remove the
backup for better performance.
Acknowledgements
Thanks goes to Craig and Andrew for
helping us set up and launch the rocket.
This was the first
flight of the G2 rocket. Good
take-off, but parachute deployed
early and ripped off. Rocket crashed
heavily destroying servo motor,
battery, flight computer and
nosecone. 3 out of 4 spliced quads were
also destroyed.


