Each flight log entry usually
represents a launch or test day, and describes the
events that took place.
Click on an image to view a larger image, and
click the
browser's BACK button to return back to the
page.
Day 22 - Cluster
Flights
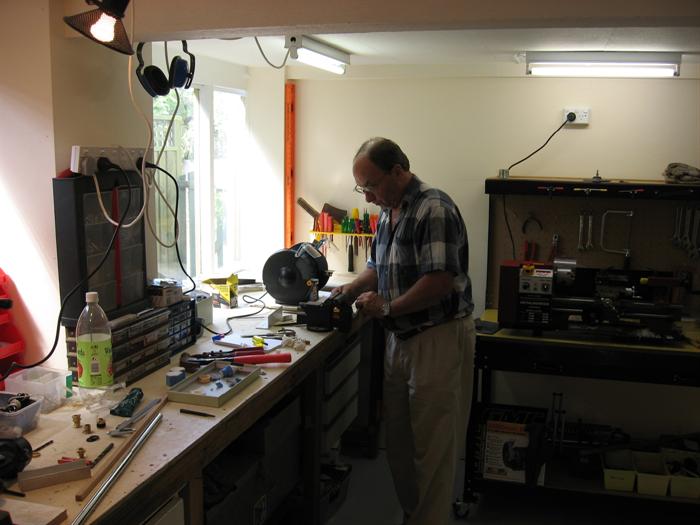
Our newly renovated workshop gives us plenty
of room to build bigger rockets.
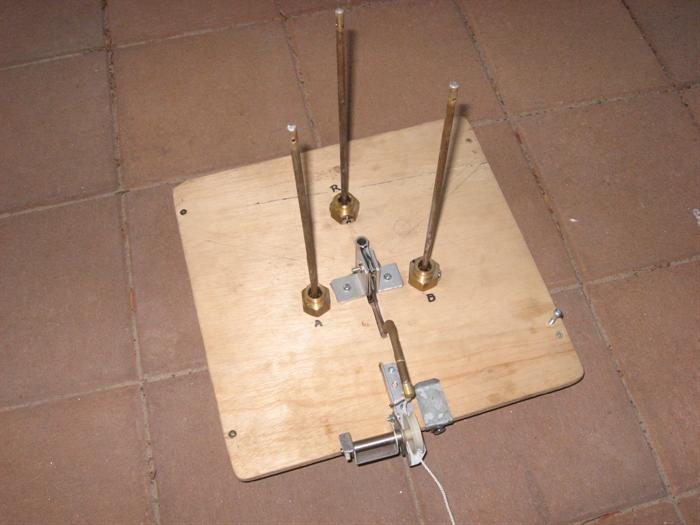
The Acceleron launcher, shown here without
guide rails.
A view from underneath the launcher. The air
supply comes from the top connector.
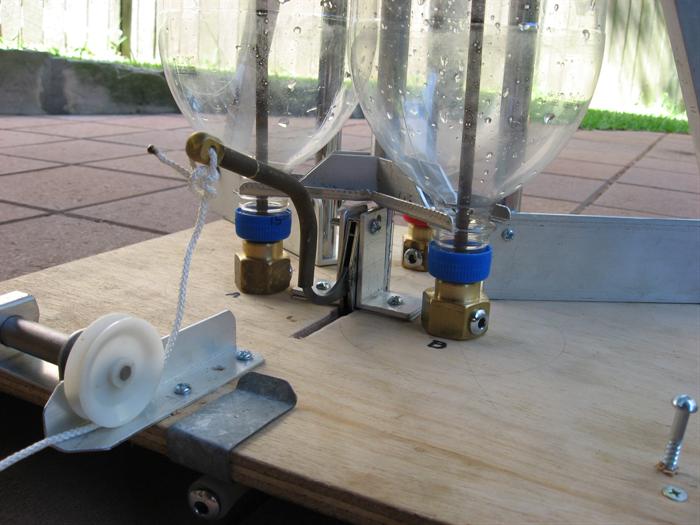
The rocket locked into the launcher. This
photo shows detail of the release mechanism.
Everyone in the family gets involved. Amanda
sews a custom parachute for Acceleron.
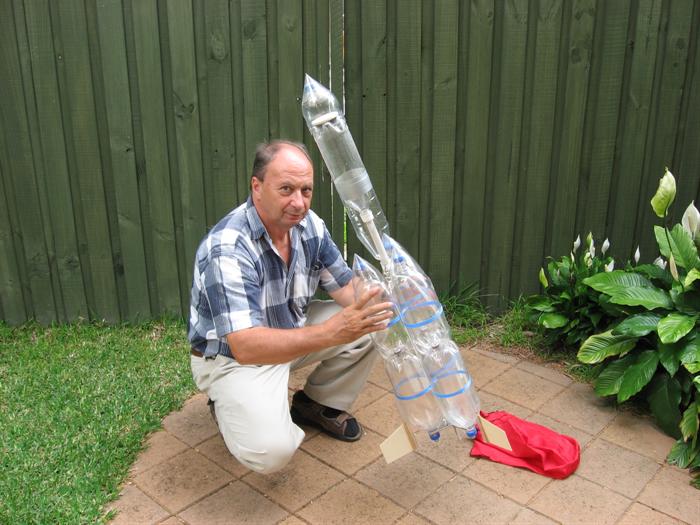
Acceleron complete on the launcher. The
guide rails are also installed.
One final pose before it is packed up and
taken off for its maiden flight.
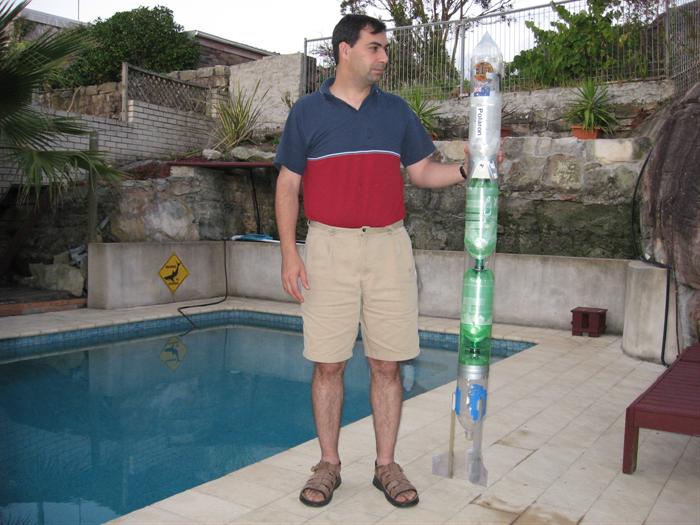
Polaron also completed and ready for
transportation.
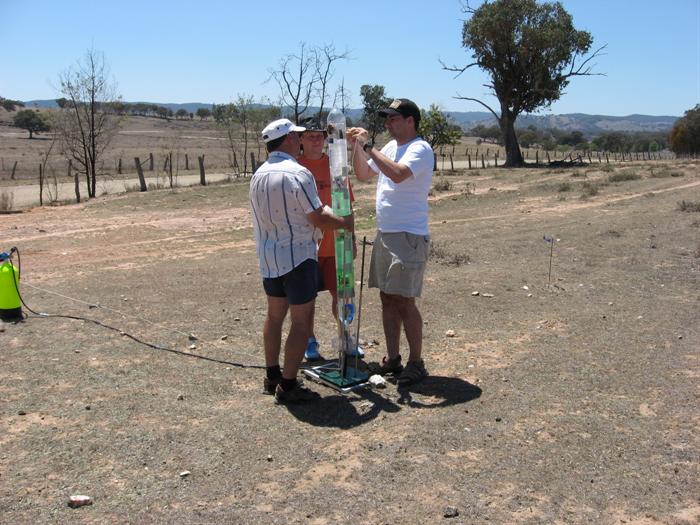
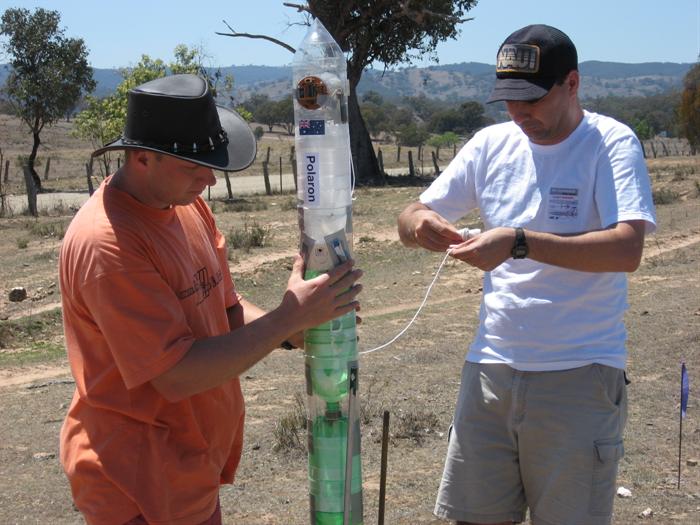
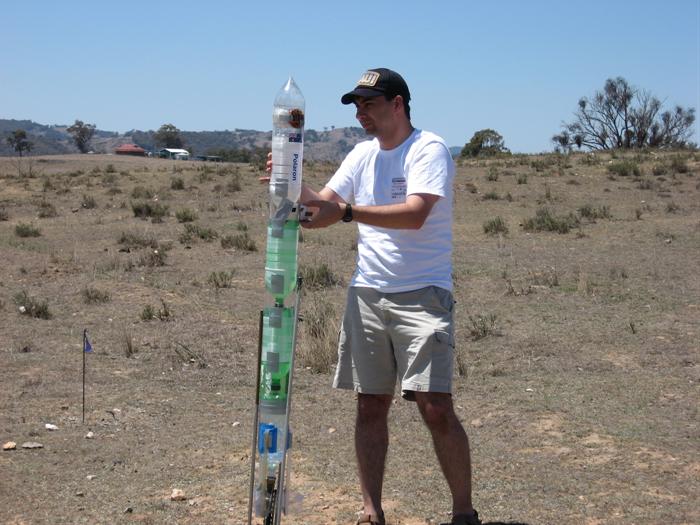
Setting up Polaron for its first flight.
Packing twin parachutes for Polaron.
Inserting the video camera. It now lives
below the first segment.
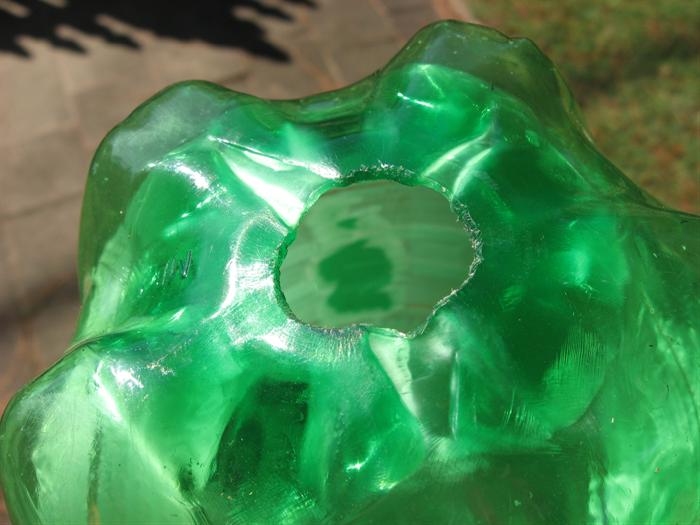
This image shows the bottle that failed on
Polaron at 130psi. Luckily the stretch regions
didn't rupture.
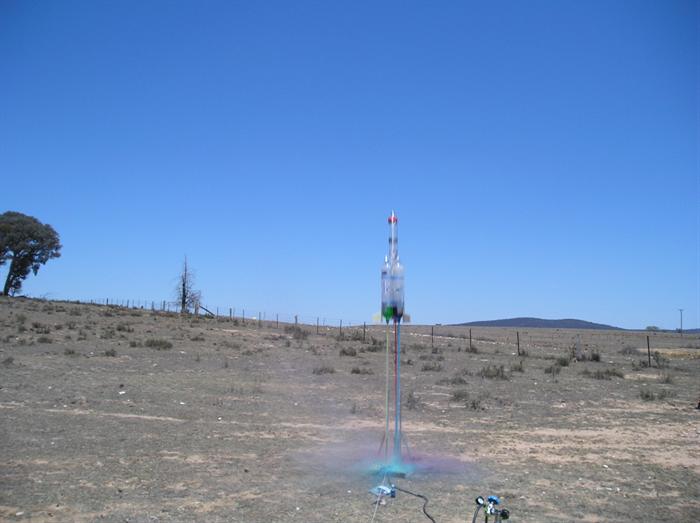
Adding a little food colouring to the water
can produce a more dramatic lift-off.
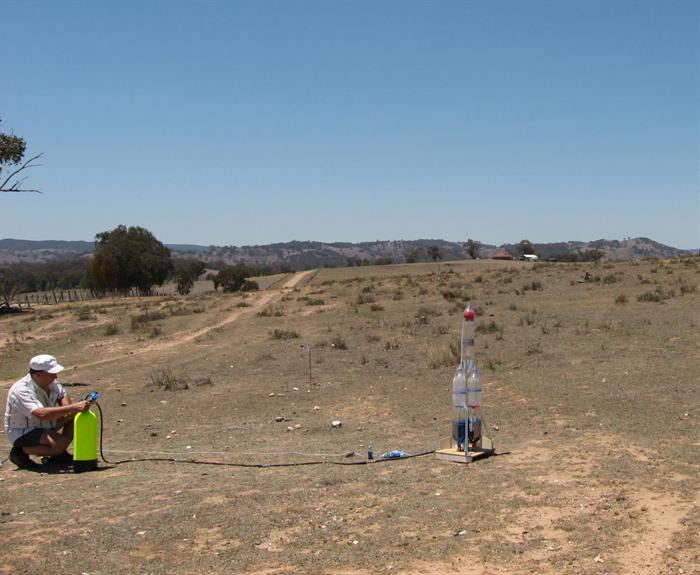
Acceleron being pressurised to a test
pressure of 100 psi.
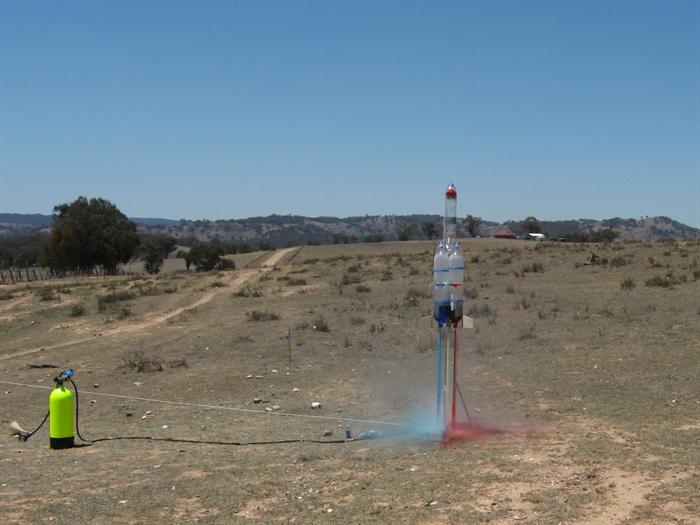
Acceleron mixes a little colour on the way
up.
A different view of the pressurised
Acceleron.
Another view of the same maiden flight
takeoff.
Acceleron just after the parachute opened.
You can see the spray of water from the dummy
payload.
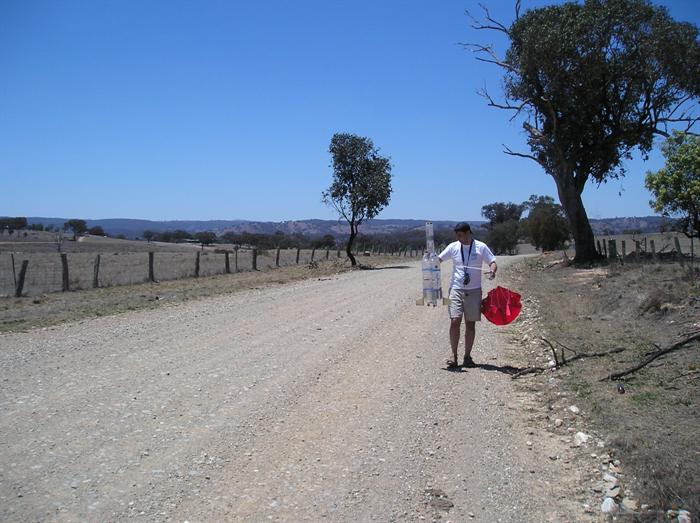
Recovering the rocket from the road before
a vehicle flattens it.
Topping up Acceleron's dummy payload with
water. The water empties as rocket passes
apogee.
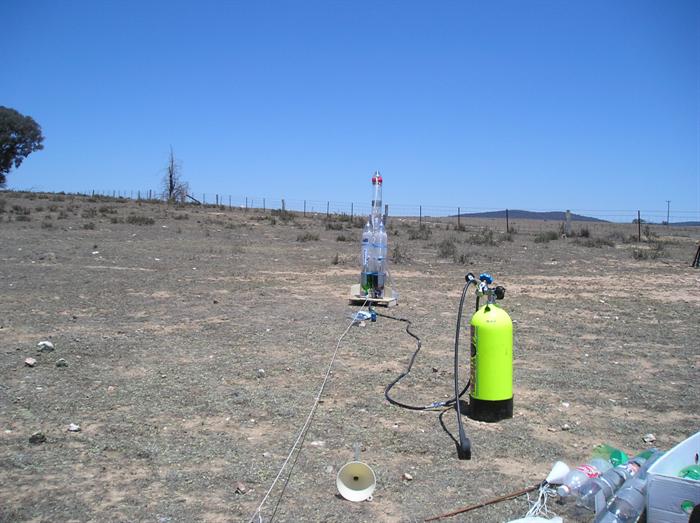
A less than desirable launch area, but hey,
that shouldn't stop us doing experiments right?.
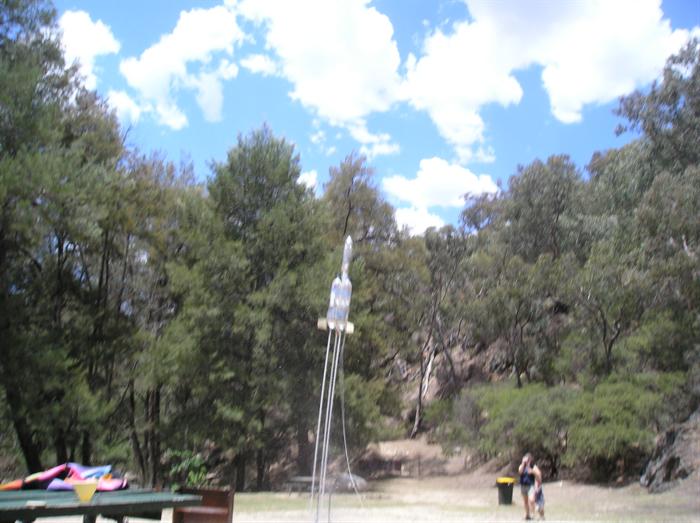
Acceleron going up with only 50 psi.
Same launch ... different angle.
Date: 11th January
2007
Location:
Ophir, NSW. (launch site #5) Where exactly is that? Click the
above link to see a Google Earth
place mark. What is
Google Earth?
Conditions:
Very hot, clear skies, moderate blustery
wind.
A new cluster rocket with 3
segments and 3 nozzles.
Millennium Falcon
1.5 L
A new rocket built by our new
team member.
Team Members at
Launch Event:
PK, GK, DK, AK, Paul K and John K.
Number
of launches: 9
Since we were going camping this week we
thought we would bring along three of our
new big rockets. We knew the campground was near
very large open fields, perfect for testing
new rockets. This update covers two days as
day one had only one actual launch.
As we have run out of kids nicknames for
the rocket names, we have switched over to
using the names of
subatomic particles.
Flight Day Events - Part 1
We arrived at the launch site and the
weather was looking great with clear
skies, until we stepped out of our
air-conditioned cars. The temperature was
nearing 40 degrees C. Without shade,
setting up a rocket launch site is tough
going. We set up our new untested Polaron
rocket on the launch pad and one thing
became obvious that the launcher was
inadequate to handle such a large rocket.
One of us was going to have to hold it as
it launched!
Drawing the short straw, I was holding
the rocket against the wind (Do not do
this at home) as it was filling up towards
130psi. All of a sudden the top segment
started leaning over and the top most
joint started to hiss. So I let go of the
rocket and jumped aside thinking that failure was imminent,
but luckily the air was cut off quickly
and all the air escaped. The wind blew the
rocket over with the launcher. I was glad
most of the pressure had escaped by the
time the rocket hit the ground as it may
have taken off. We were going to remove
the faulty bottle segment, but we
noticed that the fins were quite bent and
would also need repairs. Fixing both in
the heat with virtually no shade made that
a less attractive option.
Later upon inspection, we found the failed
bottle was quite distorted and the
coupling hole had enlarged significantly
(see photo on left).
So instead we set up
J4 II and started
pressurising it. Being about the same
length as Polaron, we were going to have
to hold it again during launch.
Unfortunately J4 also suffered a minor
leak at one of the segments, and with the
heat again causing us to postpone any in-the-field repairs.
We were deciding whether we should
continue or pack up for the day, because a
fairly blustery wind was also picking up.
We knew that setting up
Acceleron would
take about 15 minutes, but we persisted
and managed to set it up for launch. This
was the first time the new rocket was
going to be fired from the new launcher,
so we really didn't know what to expect.
Dad had the brilliant idea of adding food
colouring to each of the booster segments,
to make a more colourful takeoff.
After setting it up we were ready for
blastoff at a test pressure of 100psi. A
short wait for the wind to die down and we
launched. It was a great takeoff and made
plenty of noise. The rocket
pitched over a little but flew quite
straight. The parachute opened perhaps a
little early, but you could clearly see a
cloud of spray out of the dummy payload
section as the chute opened, which worked as we designed it
(see design and
development below).
All in all for the first launch it was a
really good flight. The 900mm diameter
parachute worked well to slow the rocket
down to prevent any serious damage on
landing.
(If the video does not play, try
downloading the latest
Flash player from Macromedia)
After we set it up on the launch pad
again, we noticed that two of the nozzles
were leaking while
filling with water. We discovered that the
previous launch flushed the O-rings out of
their seat grooves. Having already driven for almost 5
hours to get to the launch site and almost
an hour in the sun we were tired, and by this time we
were seriously in need of shade so we
packed up and continued to our camp site
that we still had to set up. There was
always tomorrow.
Flight Day Events - Part 2
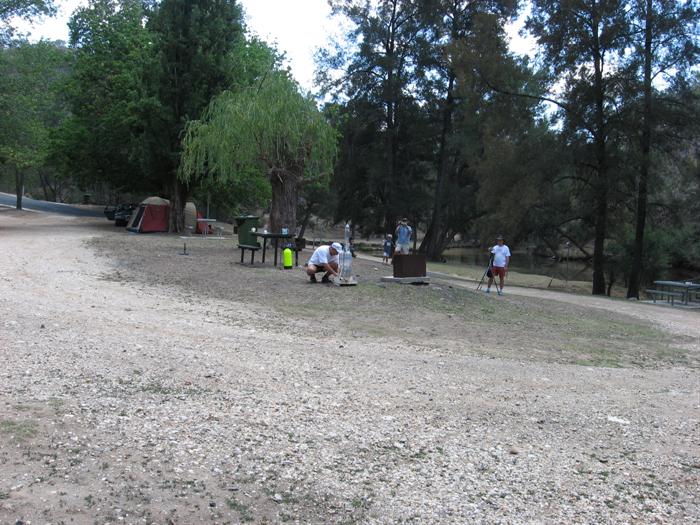
The next day we decided to launch
Acceleron at the campsite. One major
problem with the location was that it was
in a valley surrounded by very tall trees.
We were going to perform low altitude
launches just to check things out.
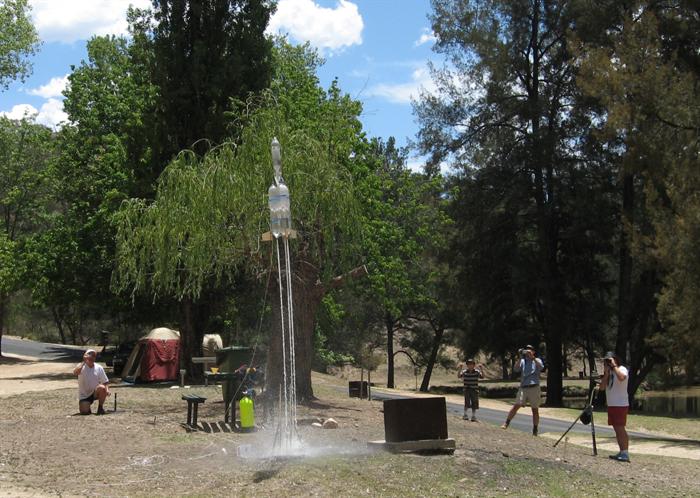
We removed the parachute so that it
would not get snagged in a tree, filled
each booster segment with around 2 L of
water and filled it to 80 psi. It was a
beautiful launch and the rocket slowly
arced over the tallest tree and crashed
through another tree to the ground. You
could see that the rocket was quite stable
through most of the flight until the water
emptied in the dummy payload and then the
rocket's heavier tail took over and the
rocket flew sideways on the way down which
helped it prevent serious damage.
We set it up again, but this time we
tied a thin 20 m string to it so that
should it get caught in a tree we would be
able to pull it down. We only filled it to
50 psi and about 1.25L fill per segment.
The rocket again flew nice and stable,
although be it to lower altitude with the
lower pressure. After the water emptied it
flew sideways again, but without the
parachute it landed pretty hard and bent
the support frame and broke off a fin. Something that is
easily fixed, but it did not fly again on
the day.
We then also launched a new 1.5 L
rocket at 120 psi a few times, and then
spent a bit of time recovering it from the
river and the surrounding hills. It does
not have a recovery system and just uses a
soft nosecone for landing.
Flight Record
Launch
Rocket
Pressure (PSI)
Notes
1
Polaron
130
During
pressurisation the second bottle
from top failed and the coupling
leaked. The rocket fell over and the
fins broke. It could not be
repaired.
2
J4 II
100
During
pressurisation the second coupling
started leaking, so the rocket did
not launch.
3
Acceleron
100
Maiden flight with
food colouring added for effect.
Fairly straight path, a bit of a
spiral, on the way up but the
parachute opened a little early. The
dummy payload emptied all the water
when the parachute opened as
designed.
4
Acceleron
80
No parachute, and
filled with around 6 liters, slow
takeoff, but the rocket accelerated
and arced over the tallest tree,
before crashing through another
tree. Virtually no damage, and the
rocket was ready to fly again.
5
Acceleron
50
No parachute, filled
with 3.75 liters. Slow take off and
lower than previous flight. Hard
landing caused the support frame to
bend and a fin broke off.
6
Millennium Falcon
120
Very good, straight
flight and went very high. Landed on
the rocks in the river, but bottle
was only slightly crushed.
7
Millennium Falcon
120
Again a very good
flight, this time it landed on top
of the hill, and again only suffered
a minor buckle. It was fixed again.
8
1.5 L bottle
100
We had an empty 1.5
L bottle at the campsite so we
filled it with water, added a nozzle
and launched it. No fins and no
nosecone. Bottle spun in the air a
couple of times. Not very
interesting flight.
9
Millennium Falcon
120
Very similar to
flight #7 except we all lost sight
of it, so we listened where it
crashed through the trees. We
recovered it and again had little
damage.
Design and Development
We have been
continuing the development of the cluster
rocket (Acceleron). Here are some technical details and
some of the design decisions we made along
the way.
The Rocket
The final rocket design intends to be a
two stage rocket. The cluster under
development described here is just the
booster. The booster consists of 3 segments
with 4.25 L capacity each giving a
total volume of 12.75 L. Each segment consists
of two bottles a 2L and a 2.25L bottle
joined at the base with a Robinson coupling.
Eventually each segment will be either 3 or 4
bottles in length providing up to around
27.5 Liters.
The segments are attached to a central
aluminium tube for stiffness, and the
central tube also supports the second stage.
In these first experimental flights the
booster carries a dummy payload to simulate
the second stage weight, and also to provide
some stability for the rocket.
The dummy payload consists of a vessel
containing about 600-700ml of water for
weight, but the dummy payload is designed to
passively empty the water when the rocket
flips over and falls under parachute. We
didn't want the booster to land with such a
heavy weight attached.
On top of this vessel is our typical
parachute arrangement that uses the
nosecone-off-at-apogee technique. We
specifically made a new parachute for this
rocket that is 900mm in diameter. Eventually
the parachute will be stowed on the booster
but for these flights we are keeping it
simple.
Each booster nozzle is 8.8mm in
diameter.
Including the 600ml of water in
the dummy payload the "dry" weight of the
rocket is ~1.6 Kg. The total weight at
launch is 5.35 Kg.
The Launcher
The custom nozzles of the booster fit
into the custom seats in the launcher that contain an
O-ring for sealing the nozzle. For
simplifying the rocket design and hence
reducing its weight, we chose not to provide
the necessary pressure equalisation between
each segment on board the rocket, instead the
launcher provides the equalisation.
In the center of each seat is a small tube that
carries the air above the surface of the
water in each segment. Since all three tubes
are connected to the same manifold the air
pressure is allowed to equalize without
transferring any of the water between the
segments. (as happened in the first test) Each
of these fill tubes also acts as small
launch tube that assists with the launch.
Because of its eventual size, this rocket
is also our first rocket that is placed dry
onto the launch pad.
The rocket is filled with water simply by
opening the top bottle cap of each segment and
pouring the water in. Because the top bottle
has its base at the bottom, the base lobes,
could collect water and essentially provide
dead weight since they are below the
coupling, so we fill the lower bottle using
a long tube and funnel.
Each of the seats
does not hold the segment down, the nozzles
are free to move out of each seat. The
entire cluster is held down by the central
pipe and a flanged aluminium support frame
connecting each of the segments. An aluminium
fitting attached to the support frame was
made that fits into a spear gun release
mechanism. This centralised release
mechanism simplified the launcher and allows
all of the segments to be released at exactly
the same time.
The launcher also has two adjustable
guide rails that help the cluster launch
vertically.
Notes to Self
Bring gloves when handling food
colouring
There is no excuse for not having
spare batteries.