 |
 |
|
|
last updated: 9th November 2024 - Day 236 - Launch Tubes #2 |
|
|
|
Splicing Bottles AS#5 |
|
#235 - Coming Soon |
|
#234 - Coming Soon |
|
#233 - Coming Soon |
|
#232 - Coming Soon |
|
#196 - Coming Soon |
|
#193 - Coming Soon |
|
#172 - Coming Soon |
|
|
| FLIGHT LOG | ||||||||||||||||||||||||||||||||||||||||||||||||||||||||||||||||||||||||||||||||||||||||||||||||||||||||||||||||||||||||||||||||||||
|---|---|---|---|---|---|---|---|---|---|---|---|---|---|---|---|---|---|---|---|---|---|---|---|---|---|---|---|---|---|---|---|---|---|---|---|---|---|---|---|---|---|---|---|---|---|---|---|---|---|---|---|---|---|---|---|---|---|---|---|---|---|---|---|---|---|---|---|---|---|---|---|---|---|---|---|---|---|---|---|---|---|---|---|---|---|---|---|---|---|---|---|---|---|---|---|---|---|---|---|---|---|---|---|---|---|---|---|---|---|---|---|---|---|---|---|---|---|---|---|---|---|---|---|---|---|---|---|---|---|---|---|---|
|
||||||||||||||||||||||||||||||||||||||||||||||||||||||||||||||||||||||||||||||||||||||||||||||||||||||||||||||||||||||||||||||||||||
| Day 153 - ClearCam | ||||||||||||||||||||||||||||||||||||||||||||||||||||||||||||||||||||||||||||||||||||||||||||||||||||||||||||||||||||||||||||||||||||
|
Date:
12th
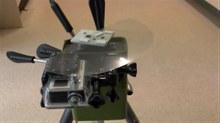
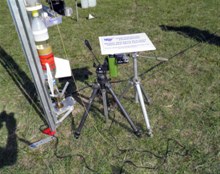
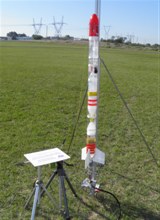
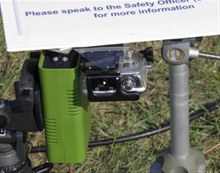
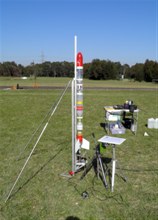
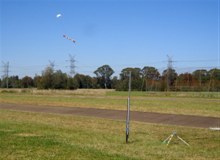
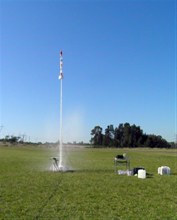
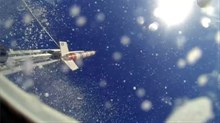
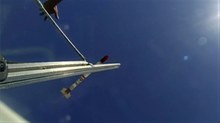
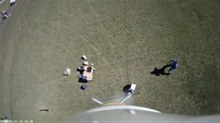
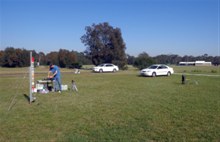
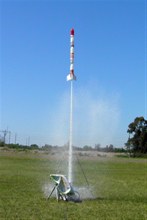
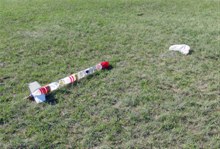
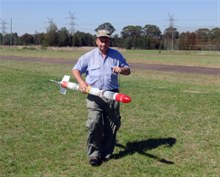
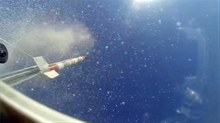
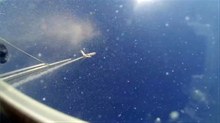
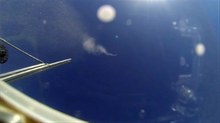
October 2014 Location: Whalan Reserve, NSW, Australia Conditions: Clear skies, calm to light winds < 5km/h, ~28C Team Members at Event: PK and GK ClearCam - PrototypeOne of the biggest problems with with putting a camera under a water rocket to watch it fly upwards is the fact that the lens inevitably gets covered with water droplets making it hard to see the action. Borrowing the concept from car race-cams that use a moving strip of plastic in front of the lens to keep it clean we modified the PanCam box so that instead of moving the camera, the servo motor moves a clear sheet of plastic in front of the lens. The plastic starts moving as soon as the rocket launches. Most of the plastic sheet is protected from splashes by a guard positioned above the plastic with a small section uncovered for the lens to see through. The plastic sheet is just cut out of overhead transparencies (remember those?) We also updated the STII firmware to move the servo in 15 increments so that you could quickly move the sheet and then pause before moving it again. This was done in preference to just moving the plastic slowly where any drops would move out of the way too slowly. The pauses are configurable in these settings: 10ms, 20ms, 50ms, 100ms, 200ms, 500ms, 1000ms, 2000ms and 5000ms. Launch DayThe Axion II rocket was set up as normal and the ClearCam was positioned underneath the rocket looking up. The trigger switch is positioned under one of the fins so that when it starts moving the plastic sheet also starts moving. After the launch we noticed that the clear plastic that should have been protected was covered with foam from underneath. We forgot about the splash back from the nozzle upon release. For the next launch we hung a towel over the entire mechanism to protect it from splashes from all sides. This time we got better video without the back splash. On the third launch the rocket self launched at about 20psi because it wasn't locked down properly. For launches that use the camera trigger switch we always pressurise the rocket a little bit in order for it to "pop up" in the launcher first, and then arm the camera electronics. If we don't do this the slight movement of the rocket can trigger the camera. It was a very gentle launch and the rocket only went up perhaps 15 feet As I was still close to the pad I tried to catch it but managed to trip on the launcher so the rocket hit nose first. Surprisingly there was no damage, just a little buckling of the top bottle. We set the rocket up again but this time double checking that it was locked in. The rocket went up and the video was much better.
We also added extra roll correction tabs to the rocket fins to help give more stable video on the way up. This set of fins hadn't be roll corrected previously. Flights #4 and #5 were very similar to the first two, we were just trying to get as many shots as we could on the day. Overall the ClearCam results were reasonable, but there are a few things that need improving:
Flight Details
|
